8. Exam prep and Trial
27th May 2024
After managing to make pieces I was finally happy with in time for the exam, I still had a lot more to do before I was even ready for this exam. To be honest, this was overwhelming, thinking of how many steps I still needed to take, and I had not had the chance yet to see how it would look, or if it would fit together.
I was adamant about making my own wings, but that is easier said than done. I had a rough idea of how I would make them with wire, but I was struggling with how to get a stone-like texture. One of my teachers suggested using sand and latex, which was a great idea. All I needed was sand that I got from B&Q. I started bending the wire into wings, connecting them with smaller wires. Then I used some cardboard packing as the base in the middle to support the weight. After that, I went in with foam clay, as I still had a lot of it and it is a very light clay. I needed to keep these wings light, or else they would not hold themselves up.
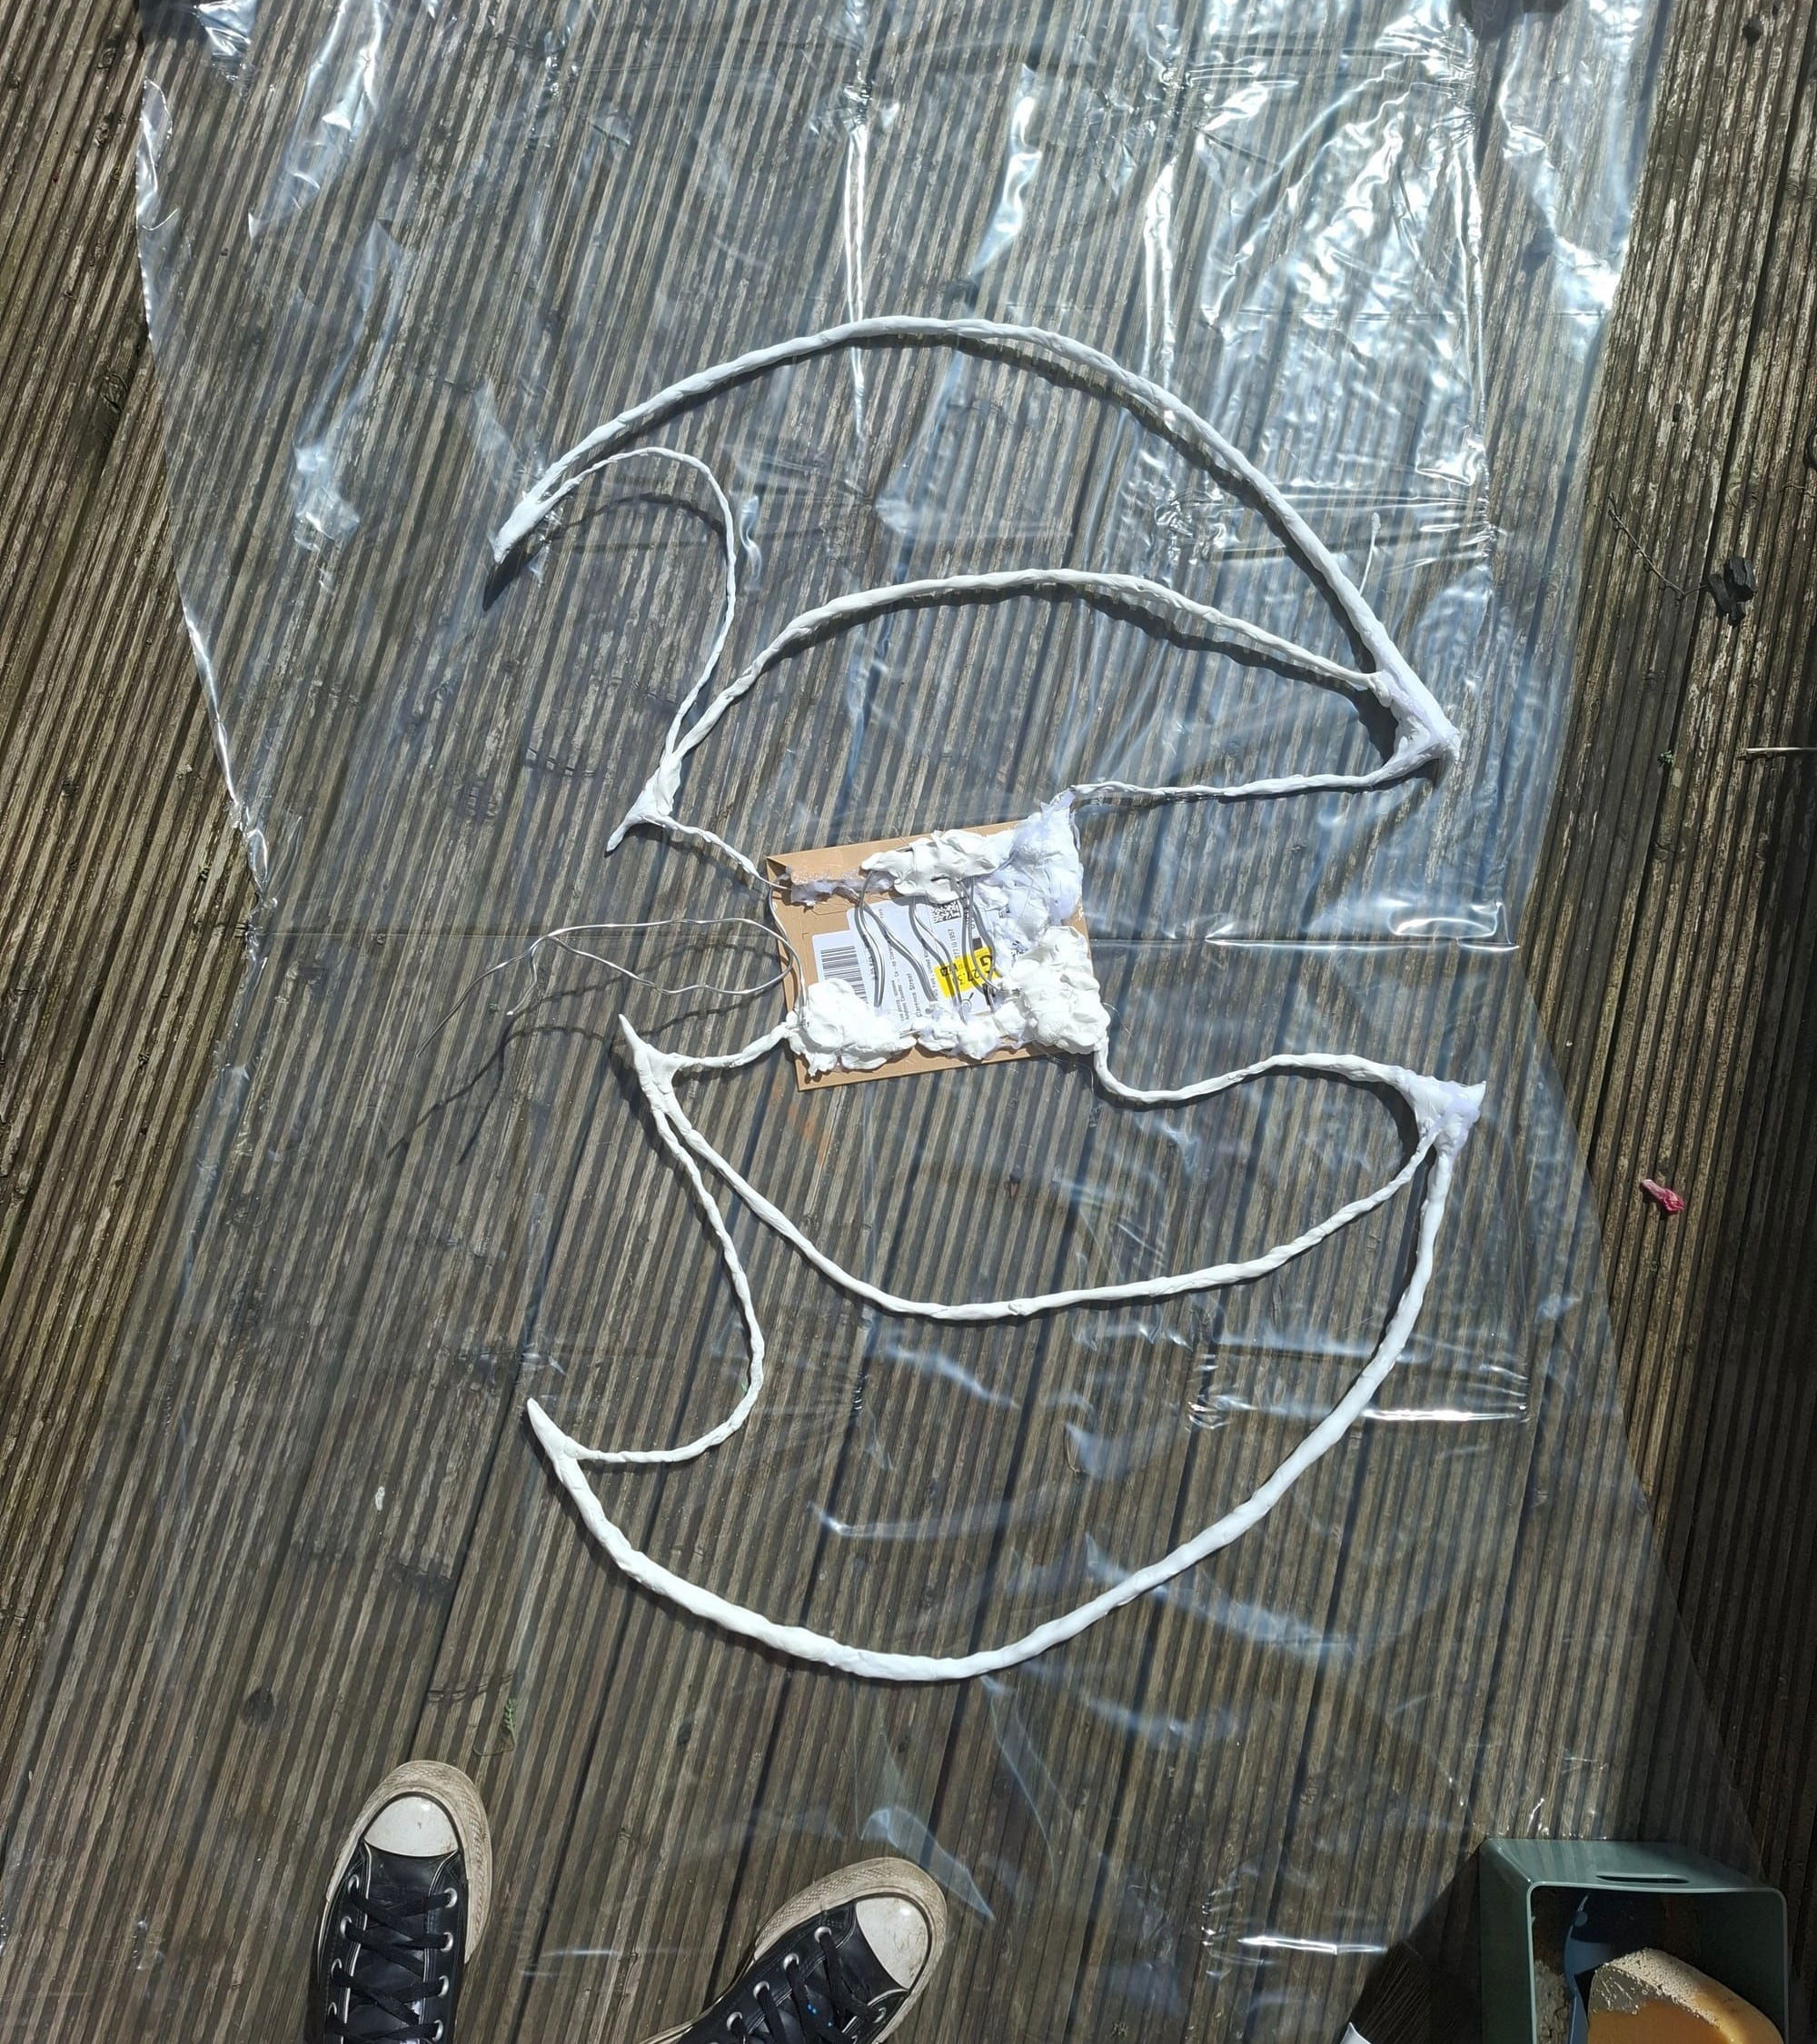
Figure 1: Wings Progress (Keites-Gorman, 2024)
I then created my concoction of latex and sand, not a pleasant smell, but I did do it outside at least. I placed a clear plastic sheet underneath the wings so the latex would not stick to the decking. I thought that the latex would peel off this; however, I chose to keep it as support, as I ended up with not as many layers of latex as I had hoped. But the plastic sheet helped keep the structure without adding too much weight. I did a total of two layers on each wing giving it a good coverage and left them to dry.
Figure 2: Materials (Keites-Gorman, 2024)
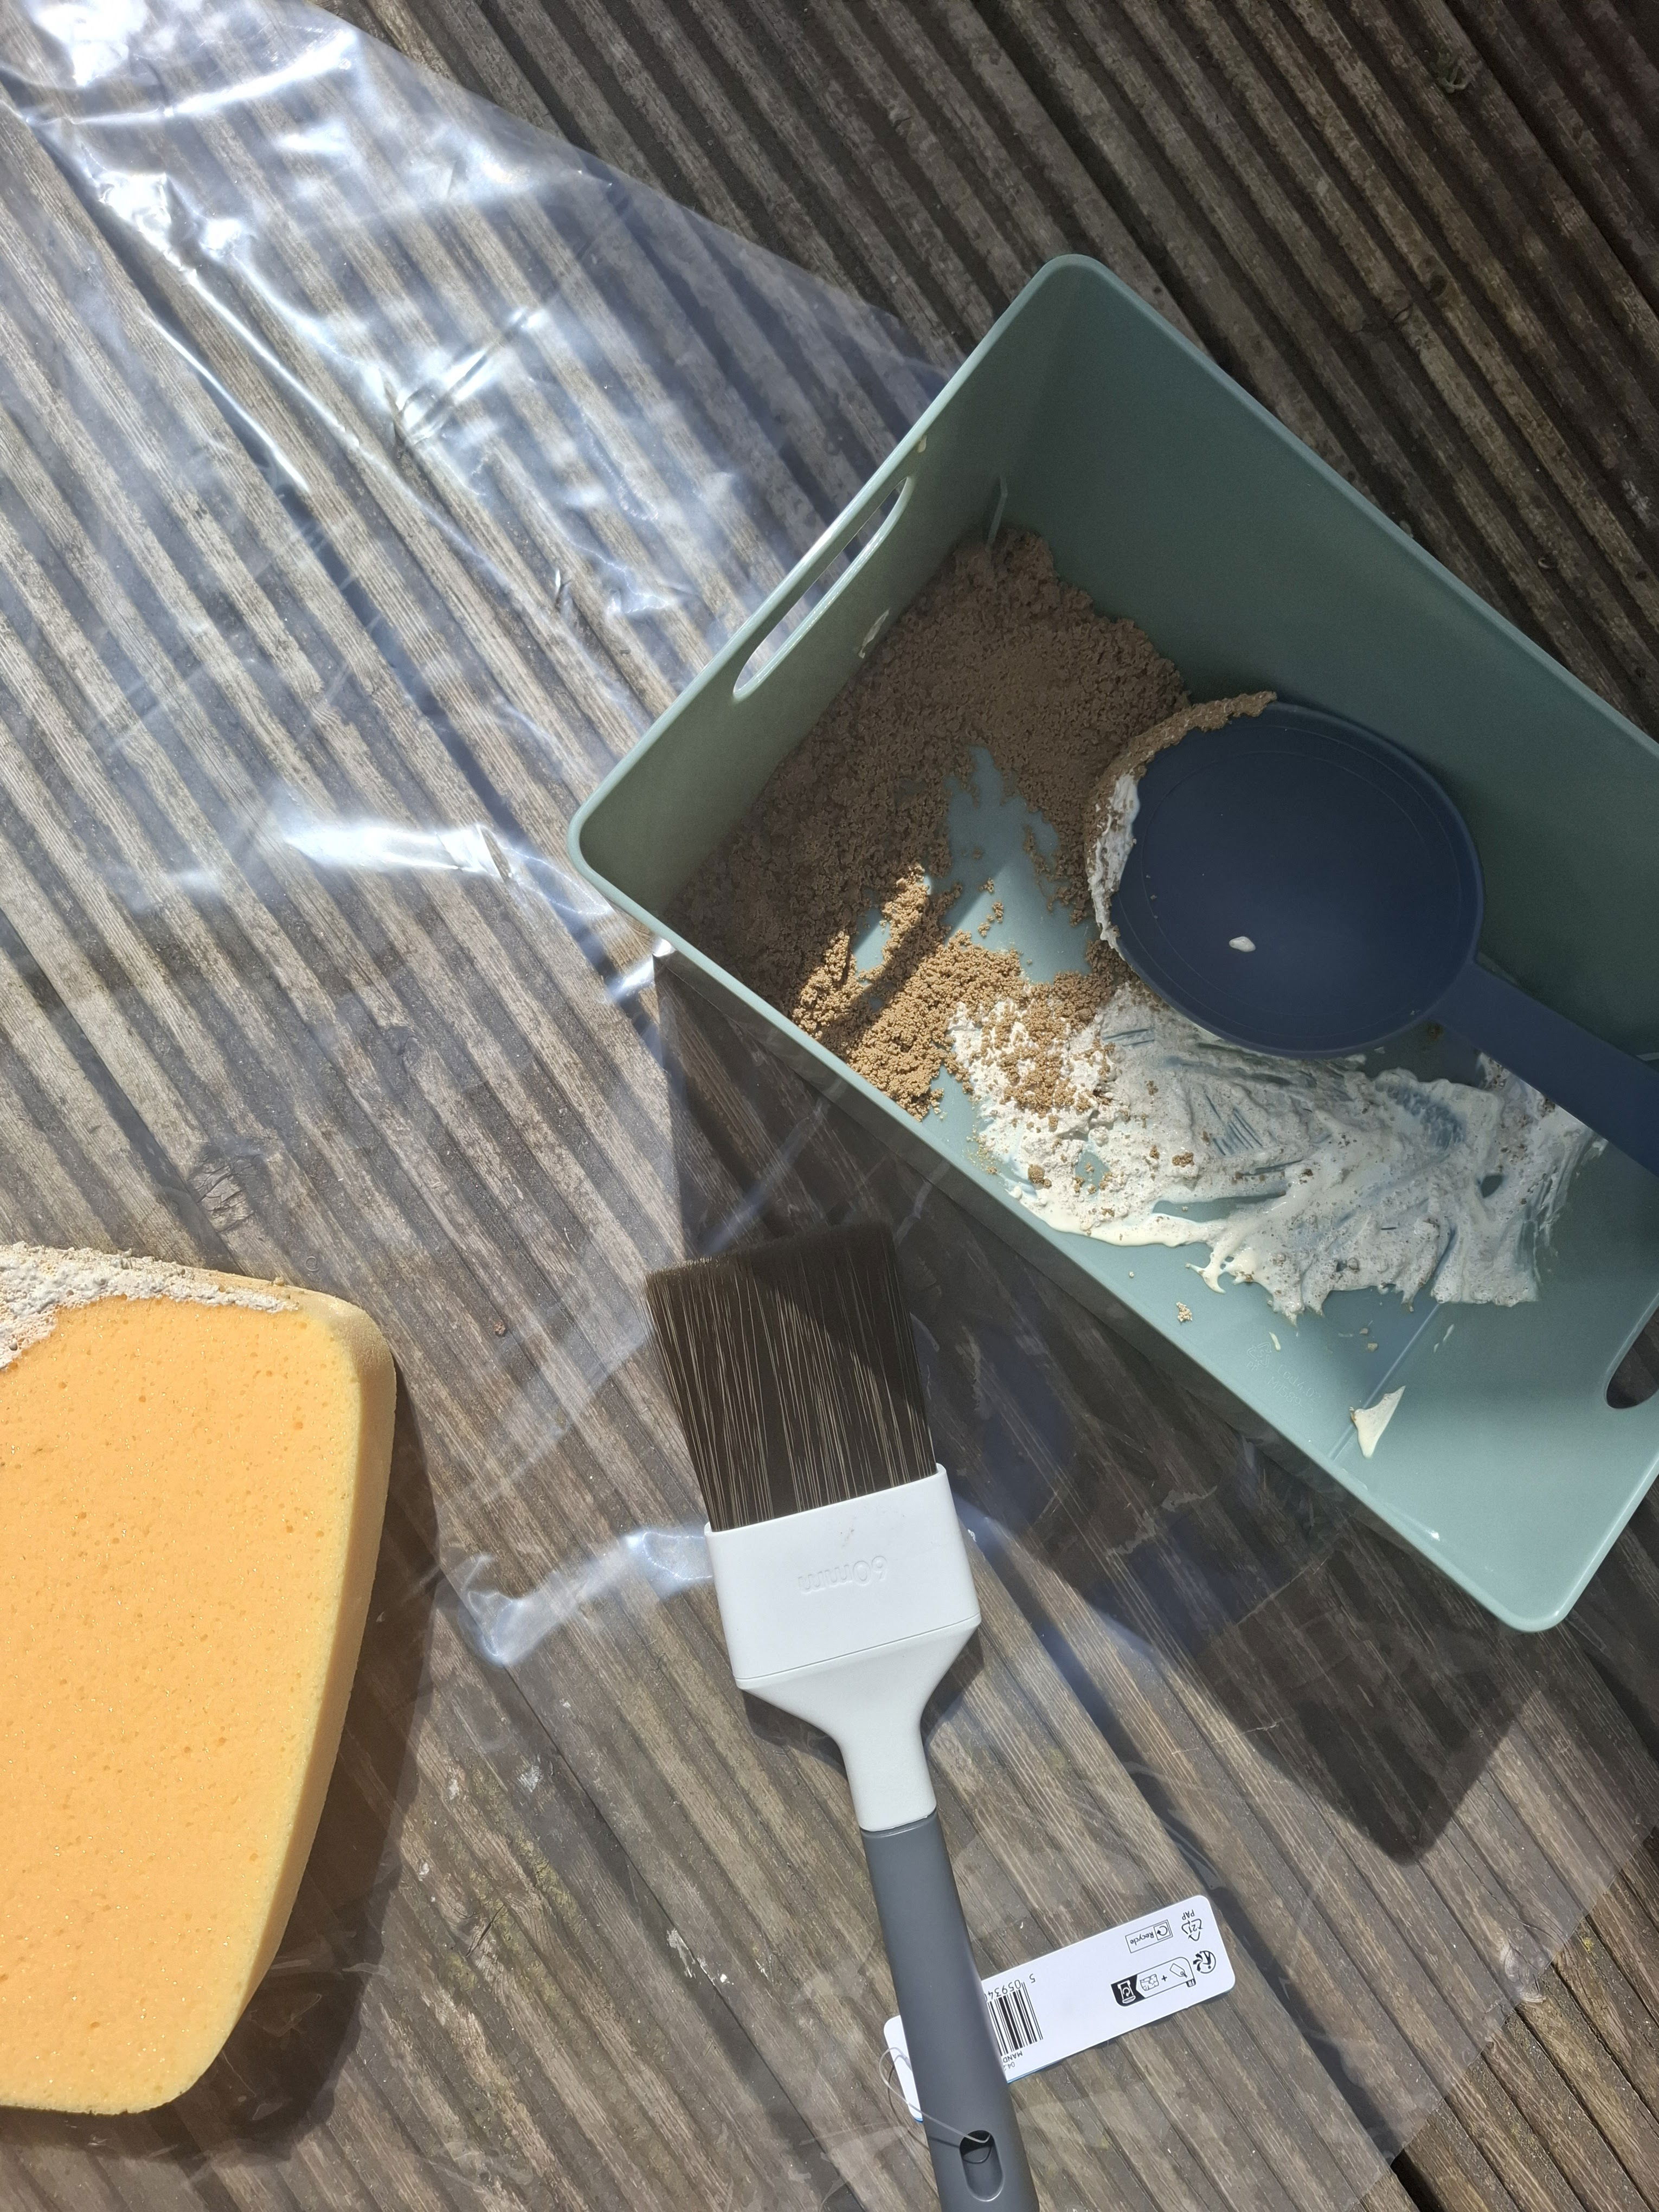
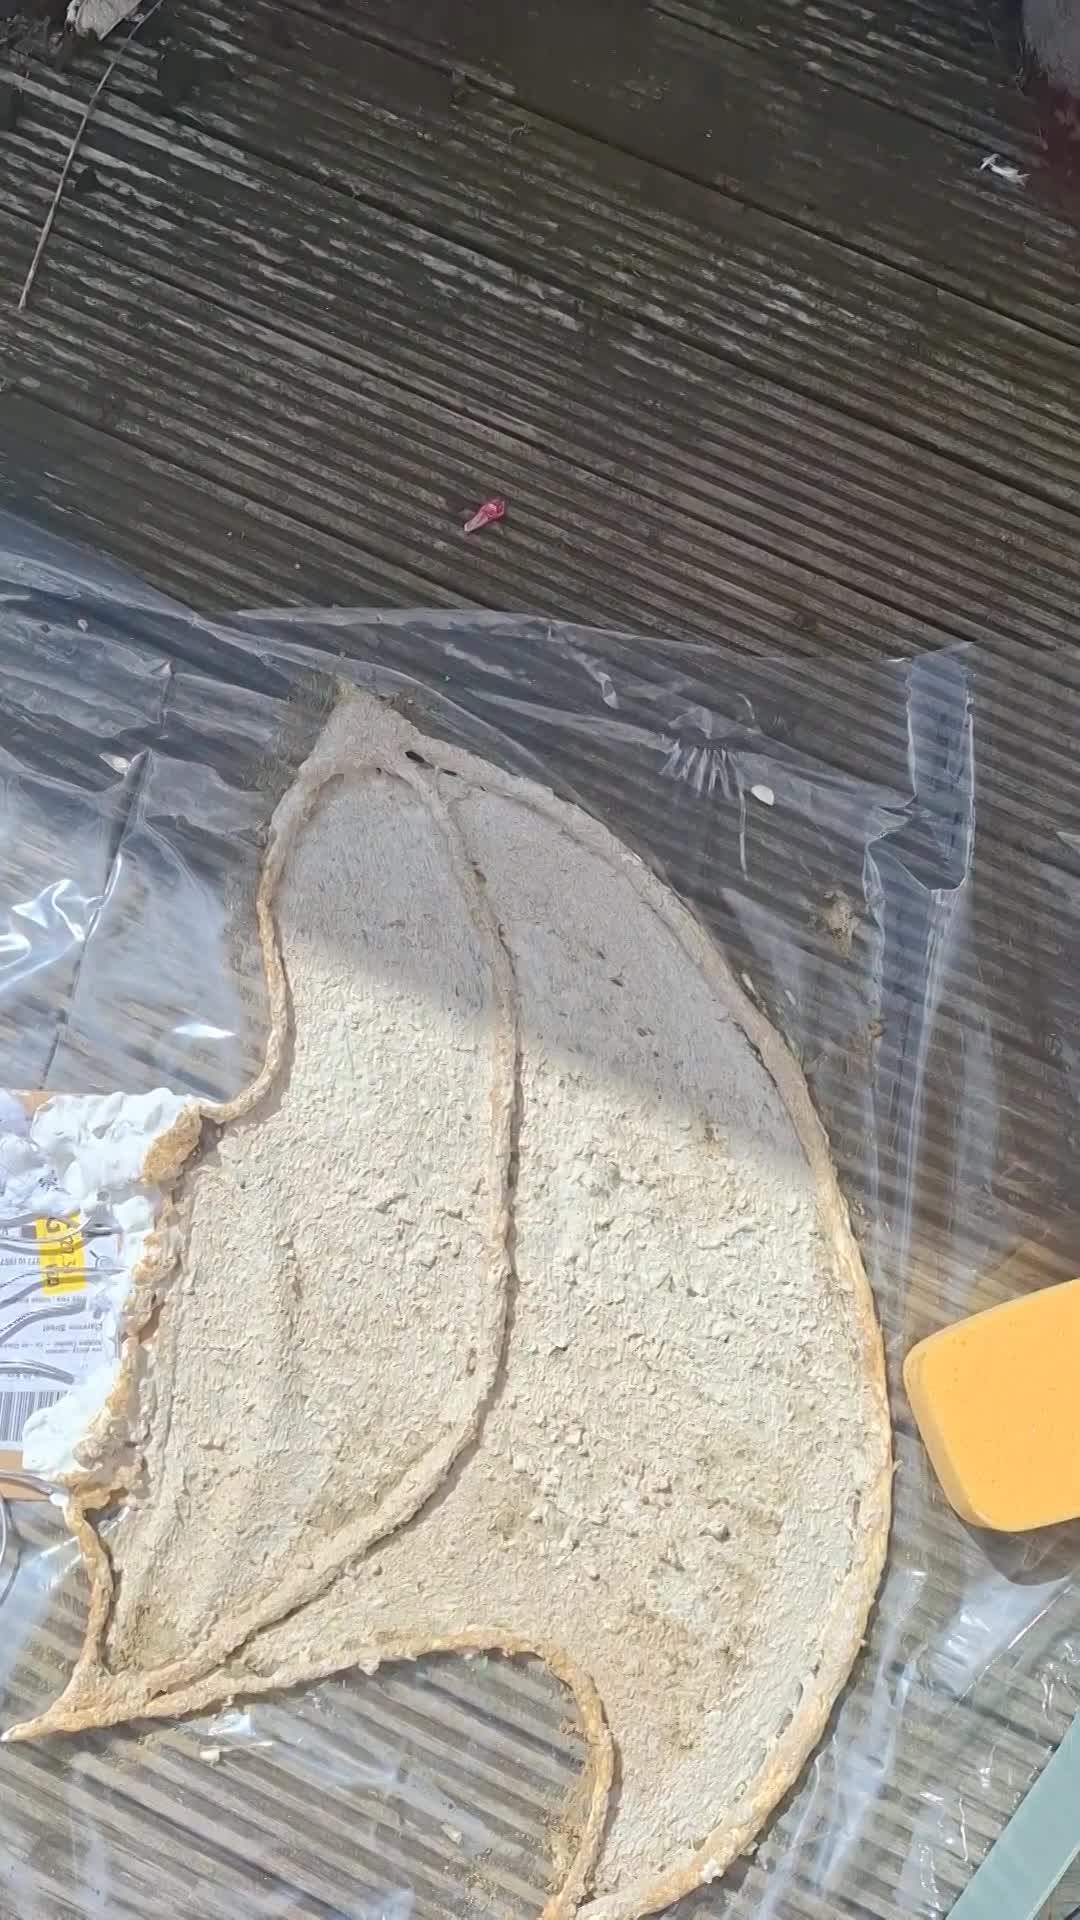
Figure 3: Wings Latex (Keites-Gorman, 2024)
The next day, the paint had dried and I was able to start painting. It took a few layers, but the paint I initially used had a very blue undertone, making the wings look more blue than grey. I decided to use a more neutral grey paint, which gave me the idea of a grey stone colour. I also added black foam to the back support to prevent the wires from poking my model. I realized that I needed to put straps on the wings, which was annoying, but I managed to get some fabric and safety pins to attach the straps around the shoulders. I was able to paint these to match the body and disguise them quiet well, it also was a lot more comfortable for my model and easy to put on and also remove.
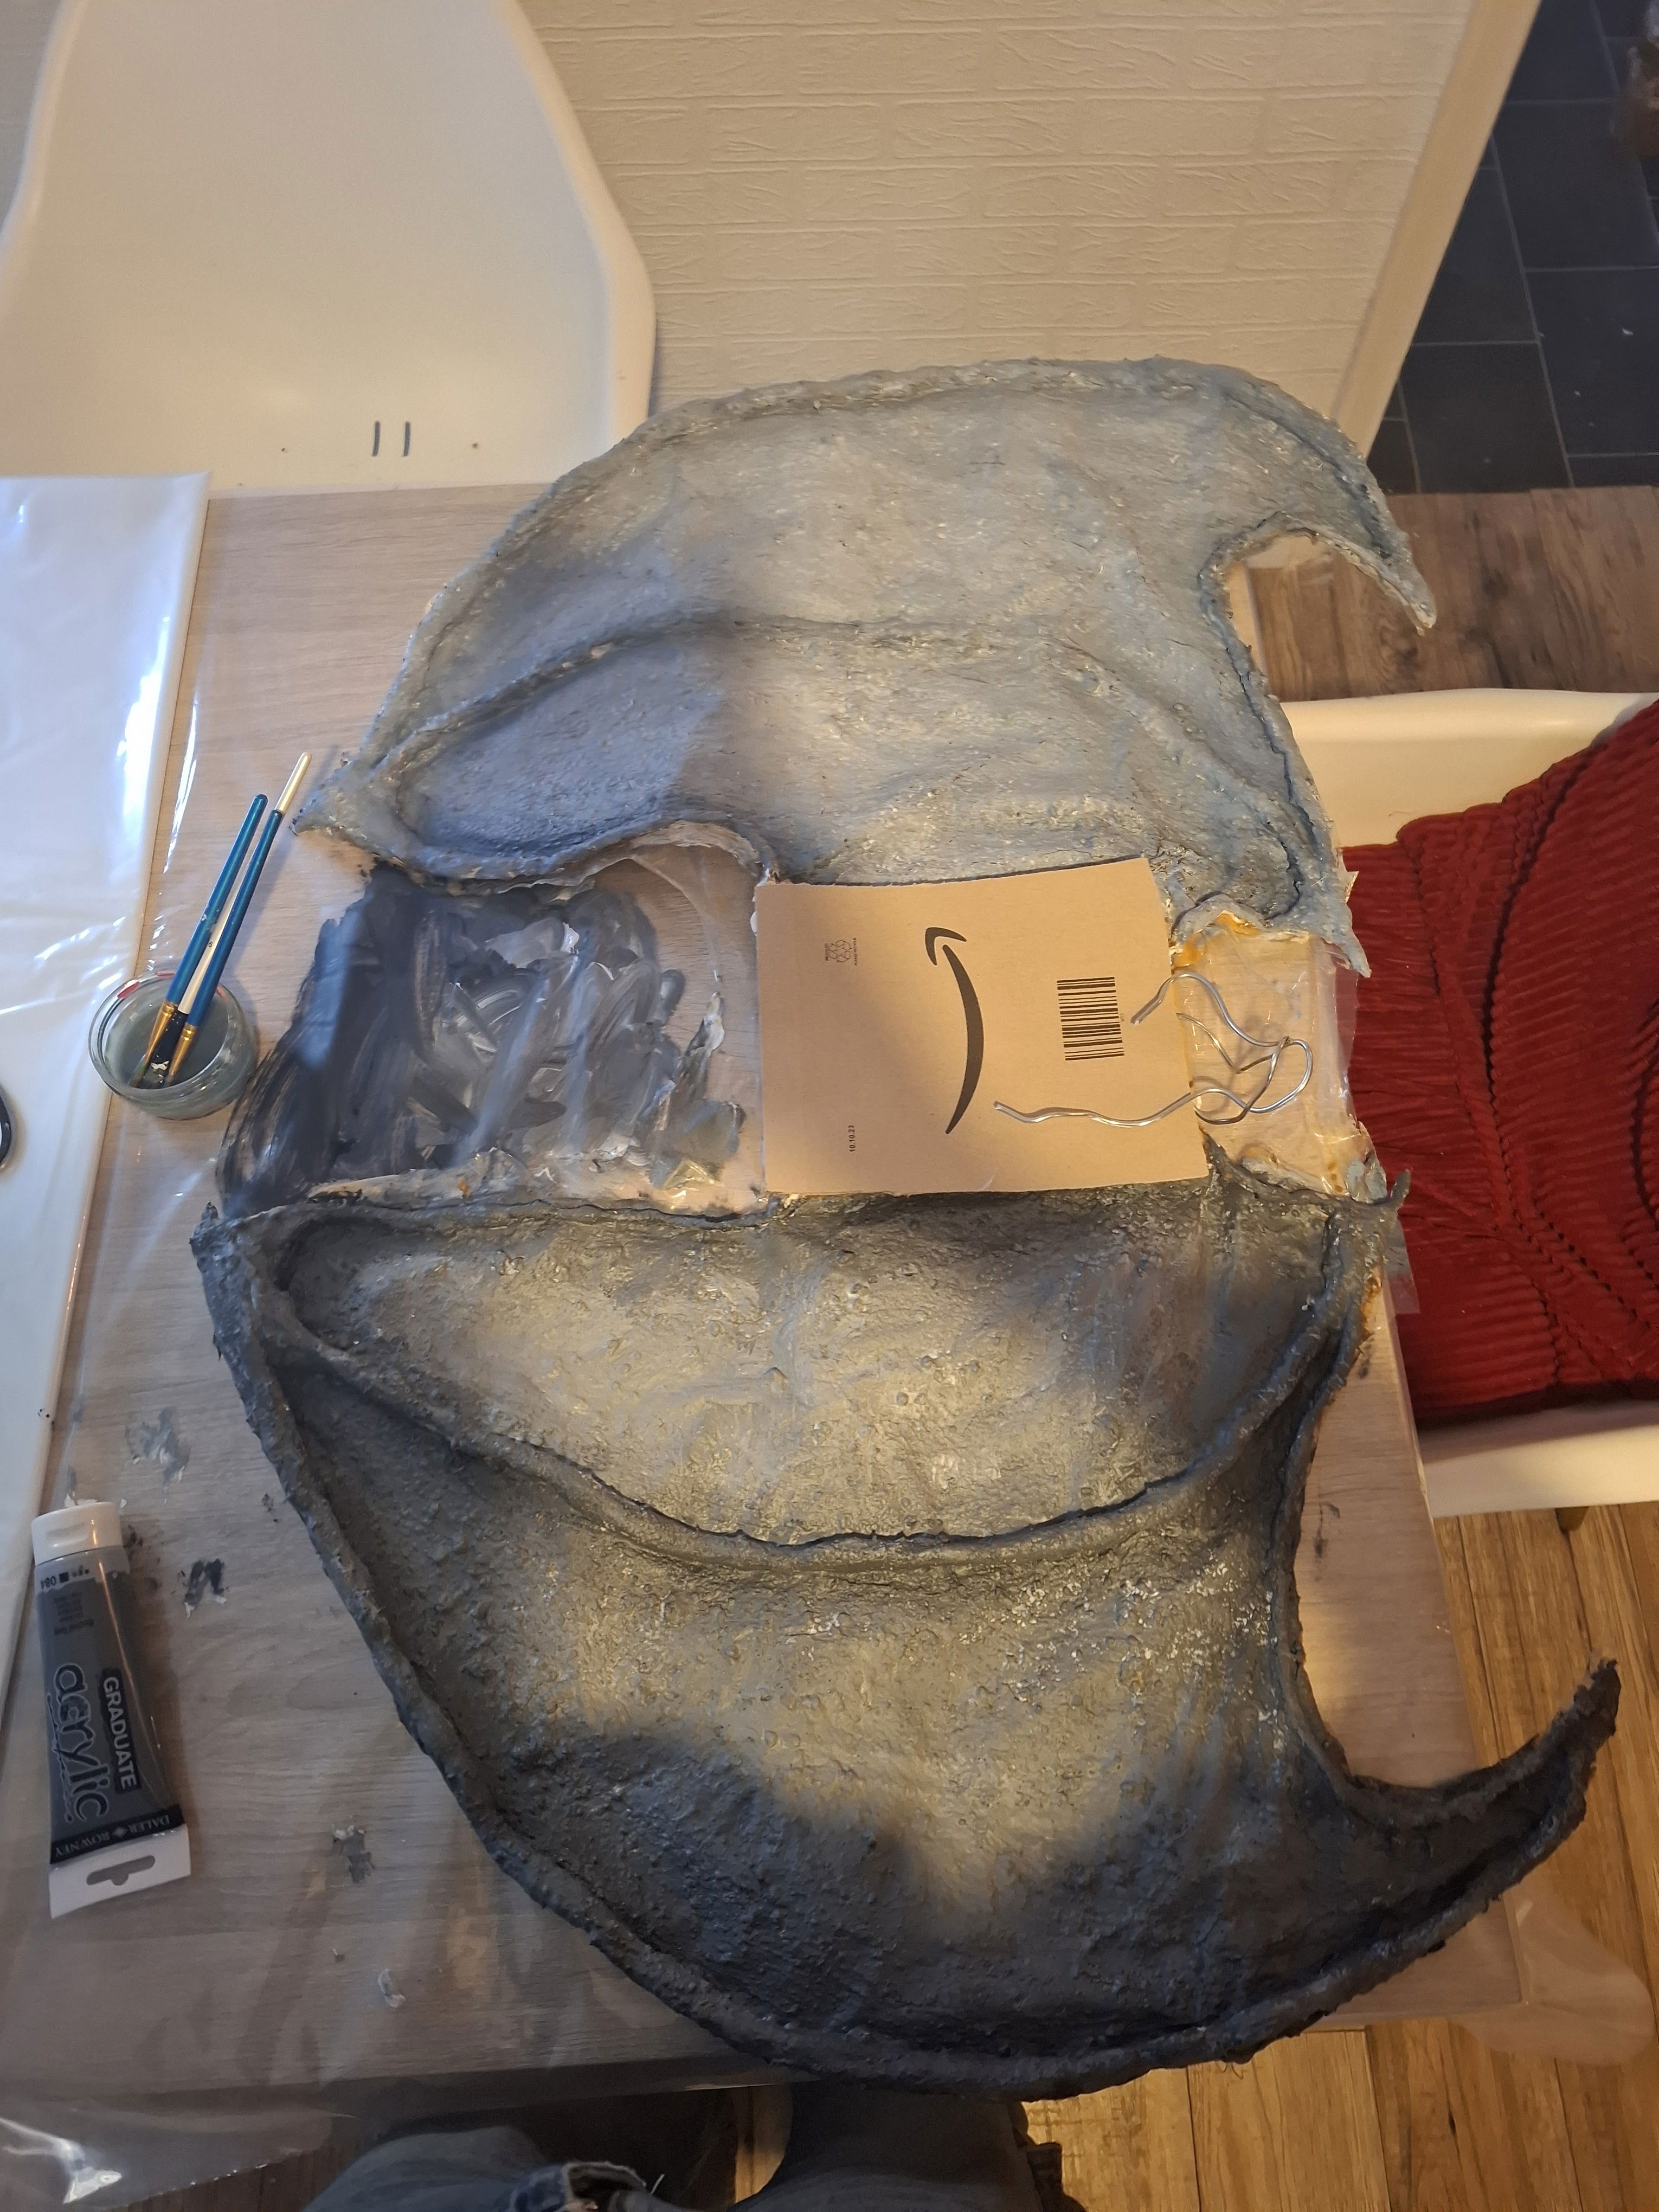
Figure 4: Wings painted (Keites-Gorman, 2024)
Additionally, I made the costume. It was a bit last minute, so I used some old boxers and an old t-shirt from my model and hot glued and sewed ripped pieces onto them. This provided my model with some modesty and also matched my design. It was a quick, easy, and inexpensive solution.
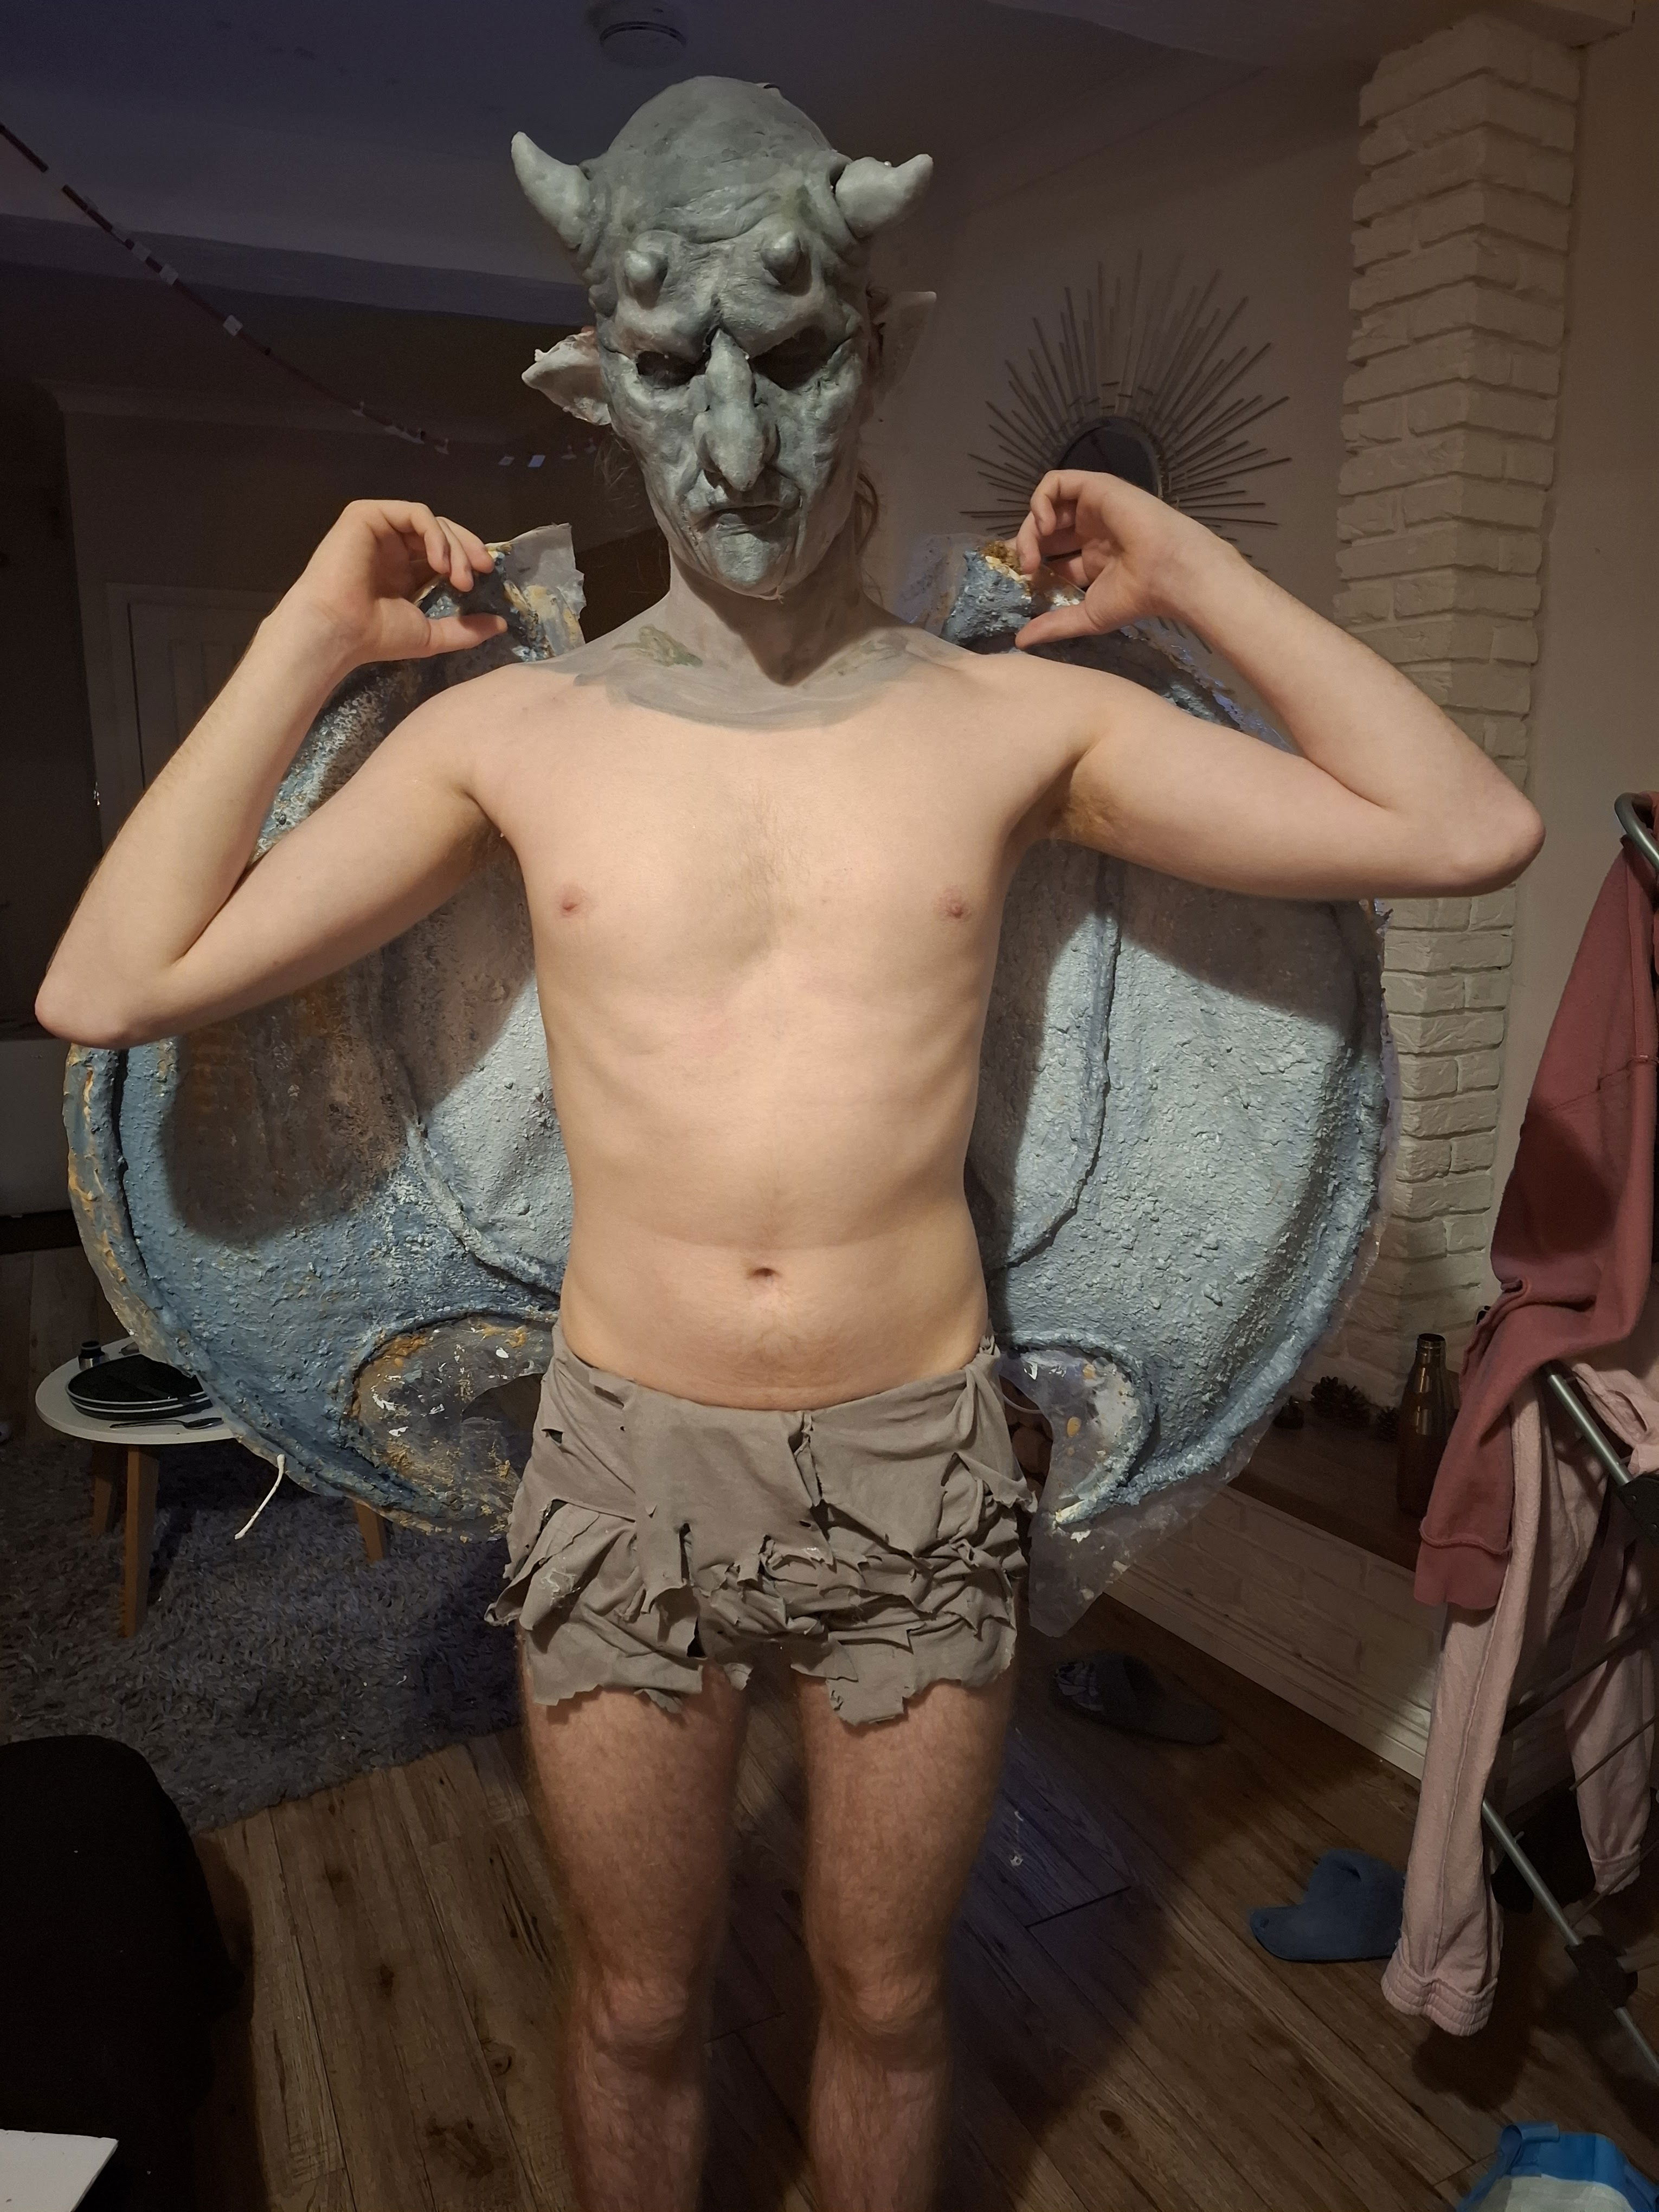
Figure 5: Trial try on (Keites-Gorman, 2024)
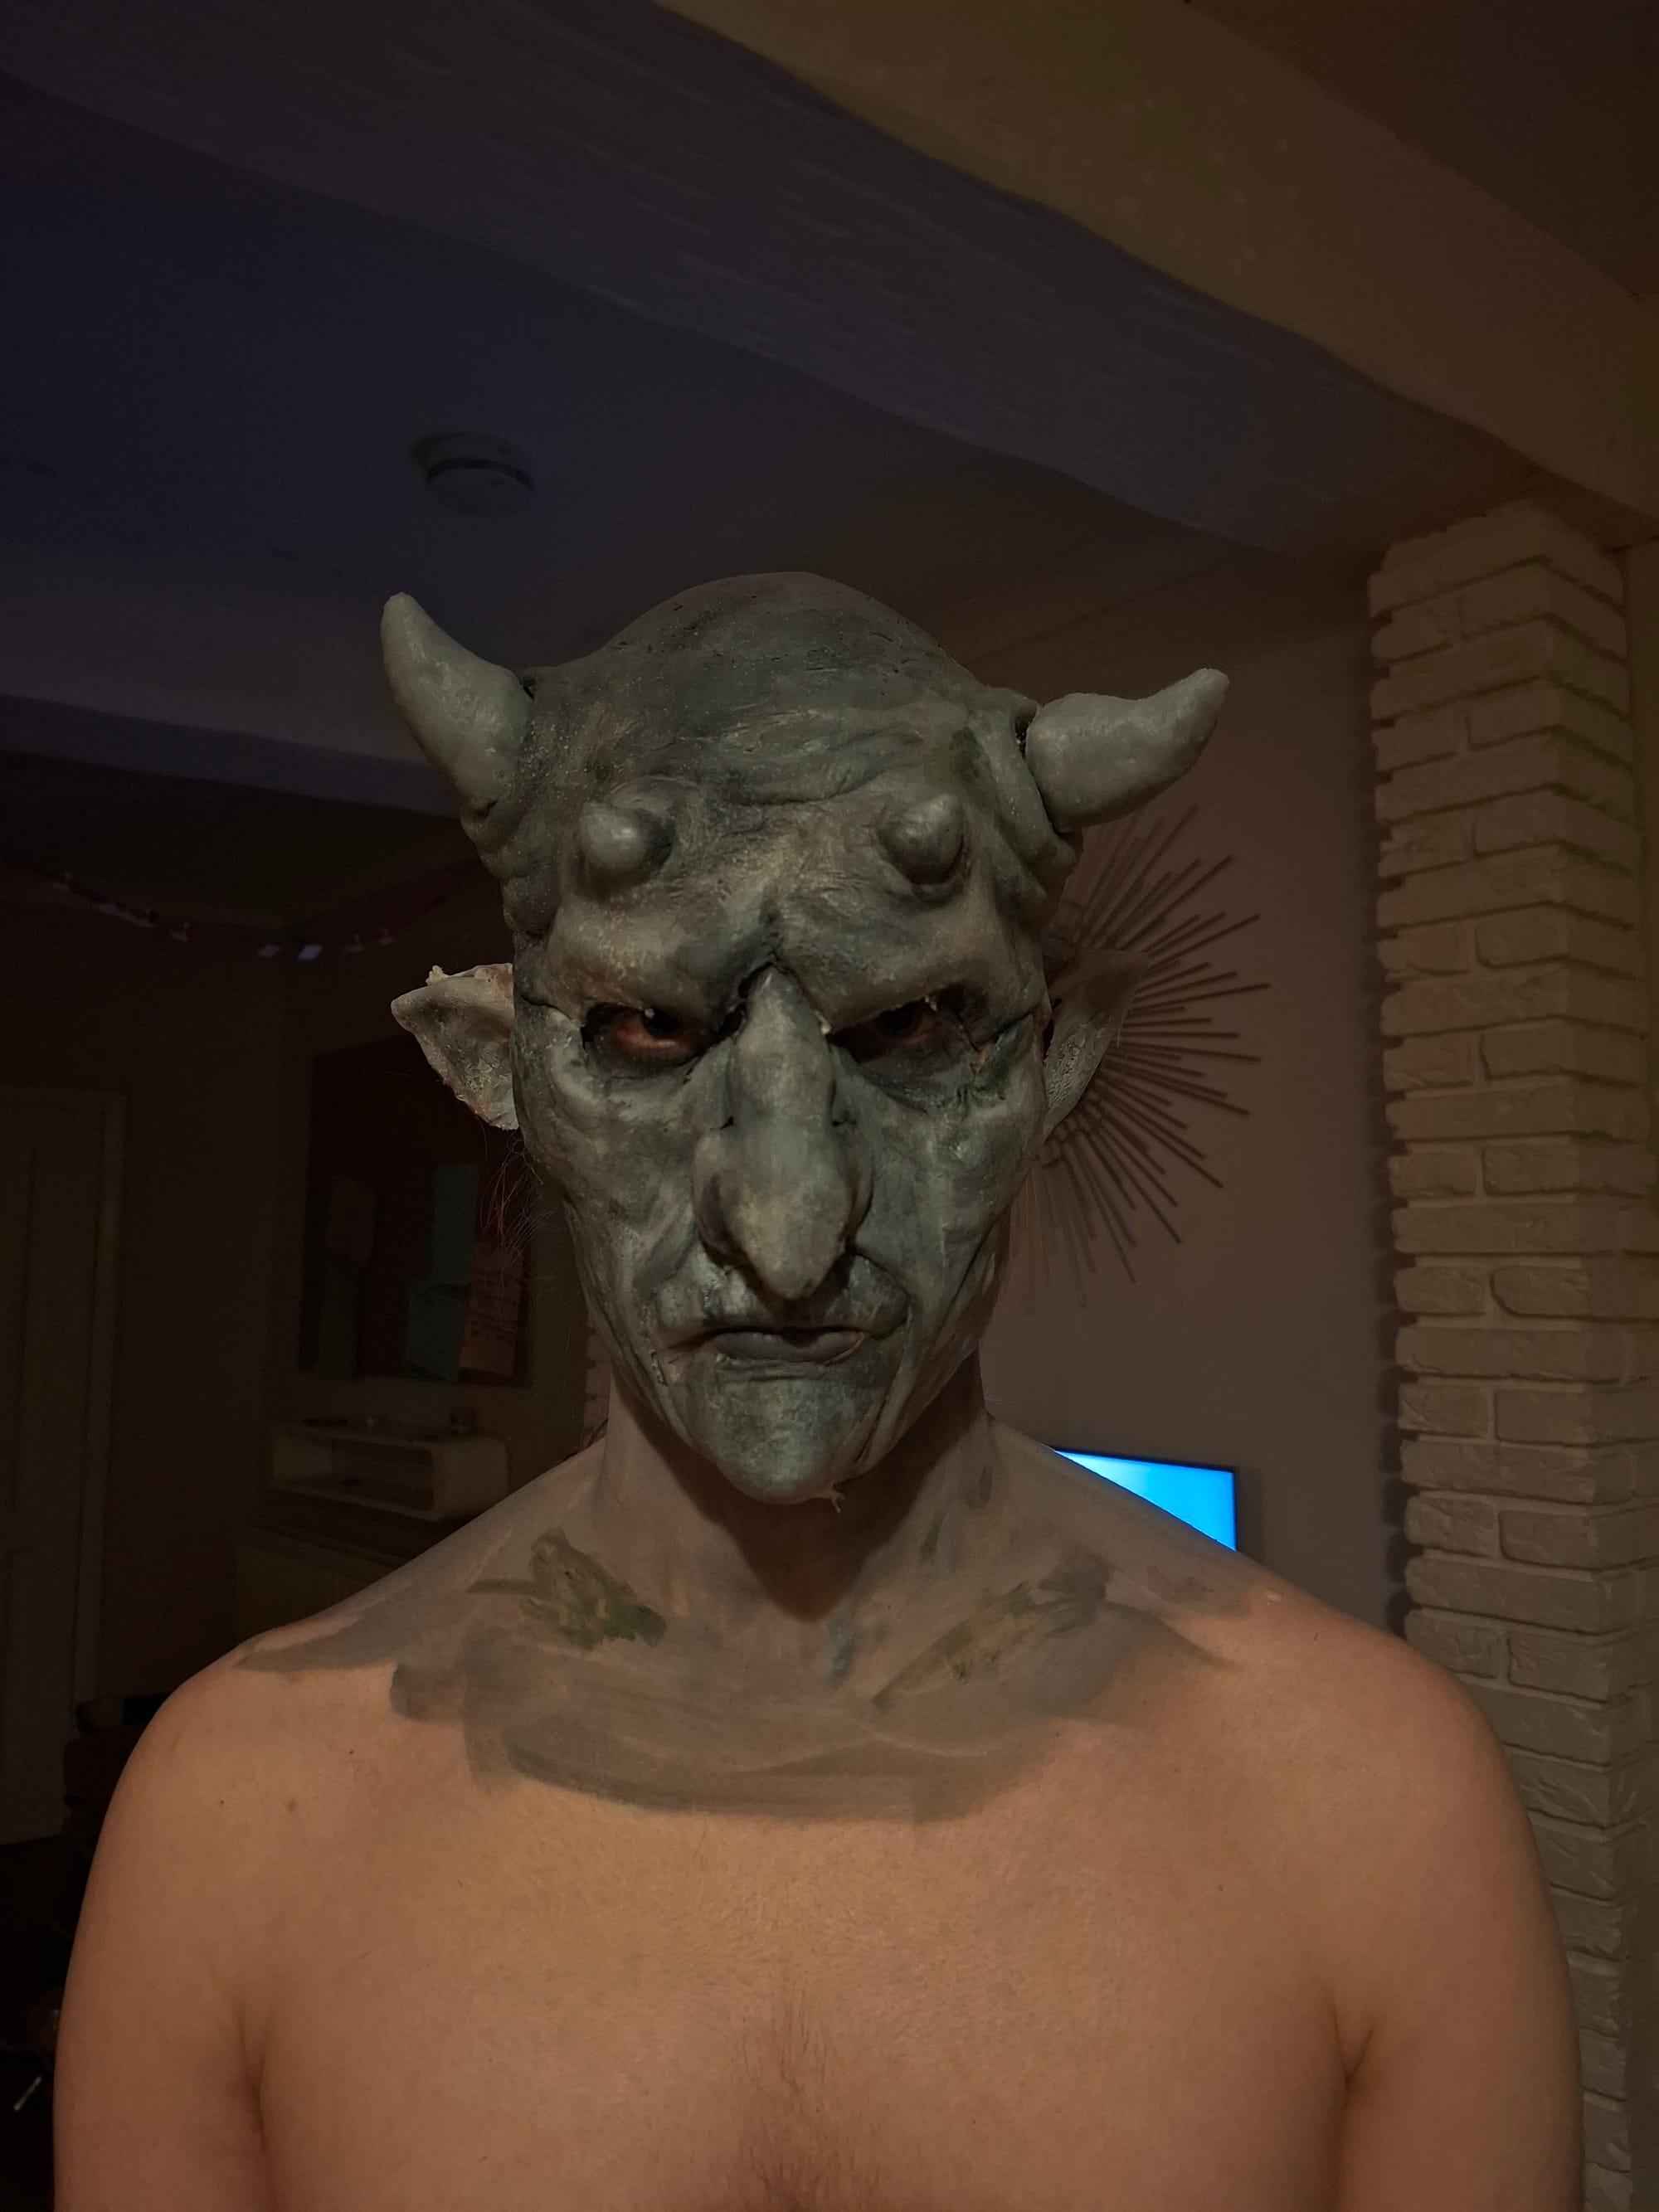
After making those pieces, I needed to practice applying them. Luckily, my model was with me for the half-term week and allowed me to practice on them a few nights before the exam. I picked out the pieces that weren't so good, so I didn't have too high expectations for the trial. However, I was very nervous. I loved creating the gargoyle, but it was complicated to split it up into pieces, and I didn't know if they would fit together. Well, I was about to find out.
Luckily, they did. The relief I felt was immense. I started with the chin, then the cheeks, nose, and finally the forehead, connecting it all. Without the ears, it looked like something out of Doctor Who, which isn't a bad thing, but it wasn't what I was going for. When I put the ears on, it finally looked more like a gargoyle. Then, I added colouring with cream paints and school-activated palettes, letting myself experiment with what works and using sponges and brushes to add texture. This wasn't perfect, and I didn't want it to be, but it helped me to know what looked good and what did not. I noted that I liked the addition of moss colours rather than it being all grey tones and that I wanted the waterline to be darker.
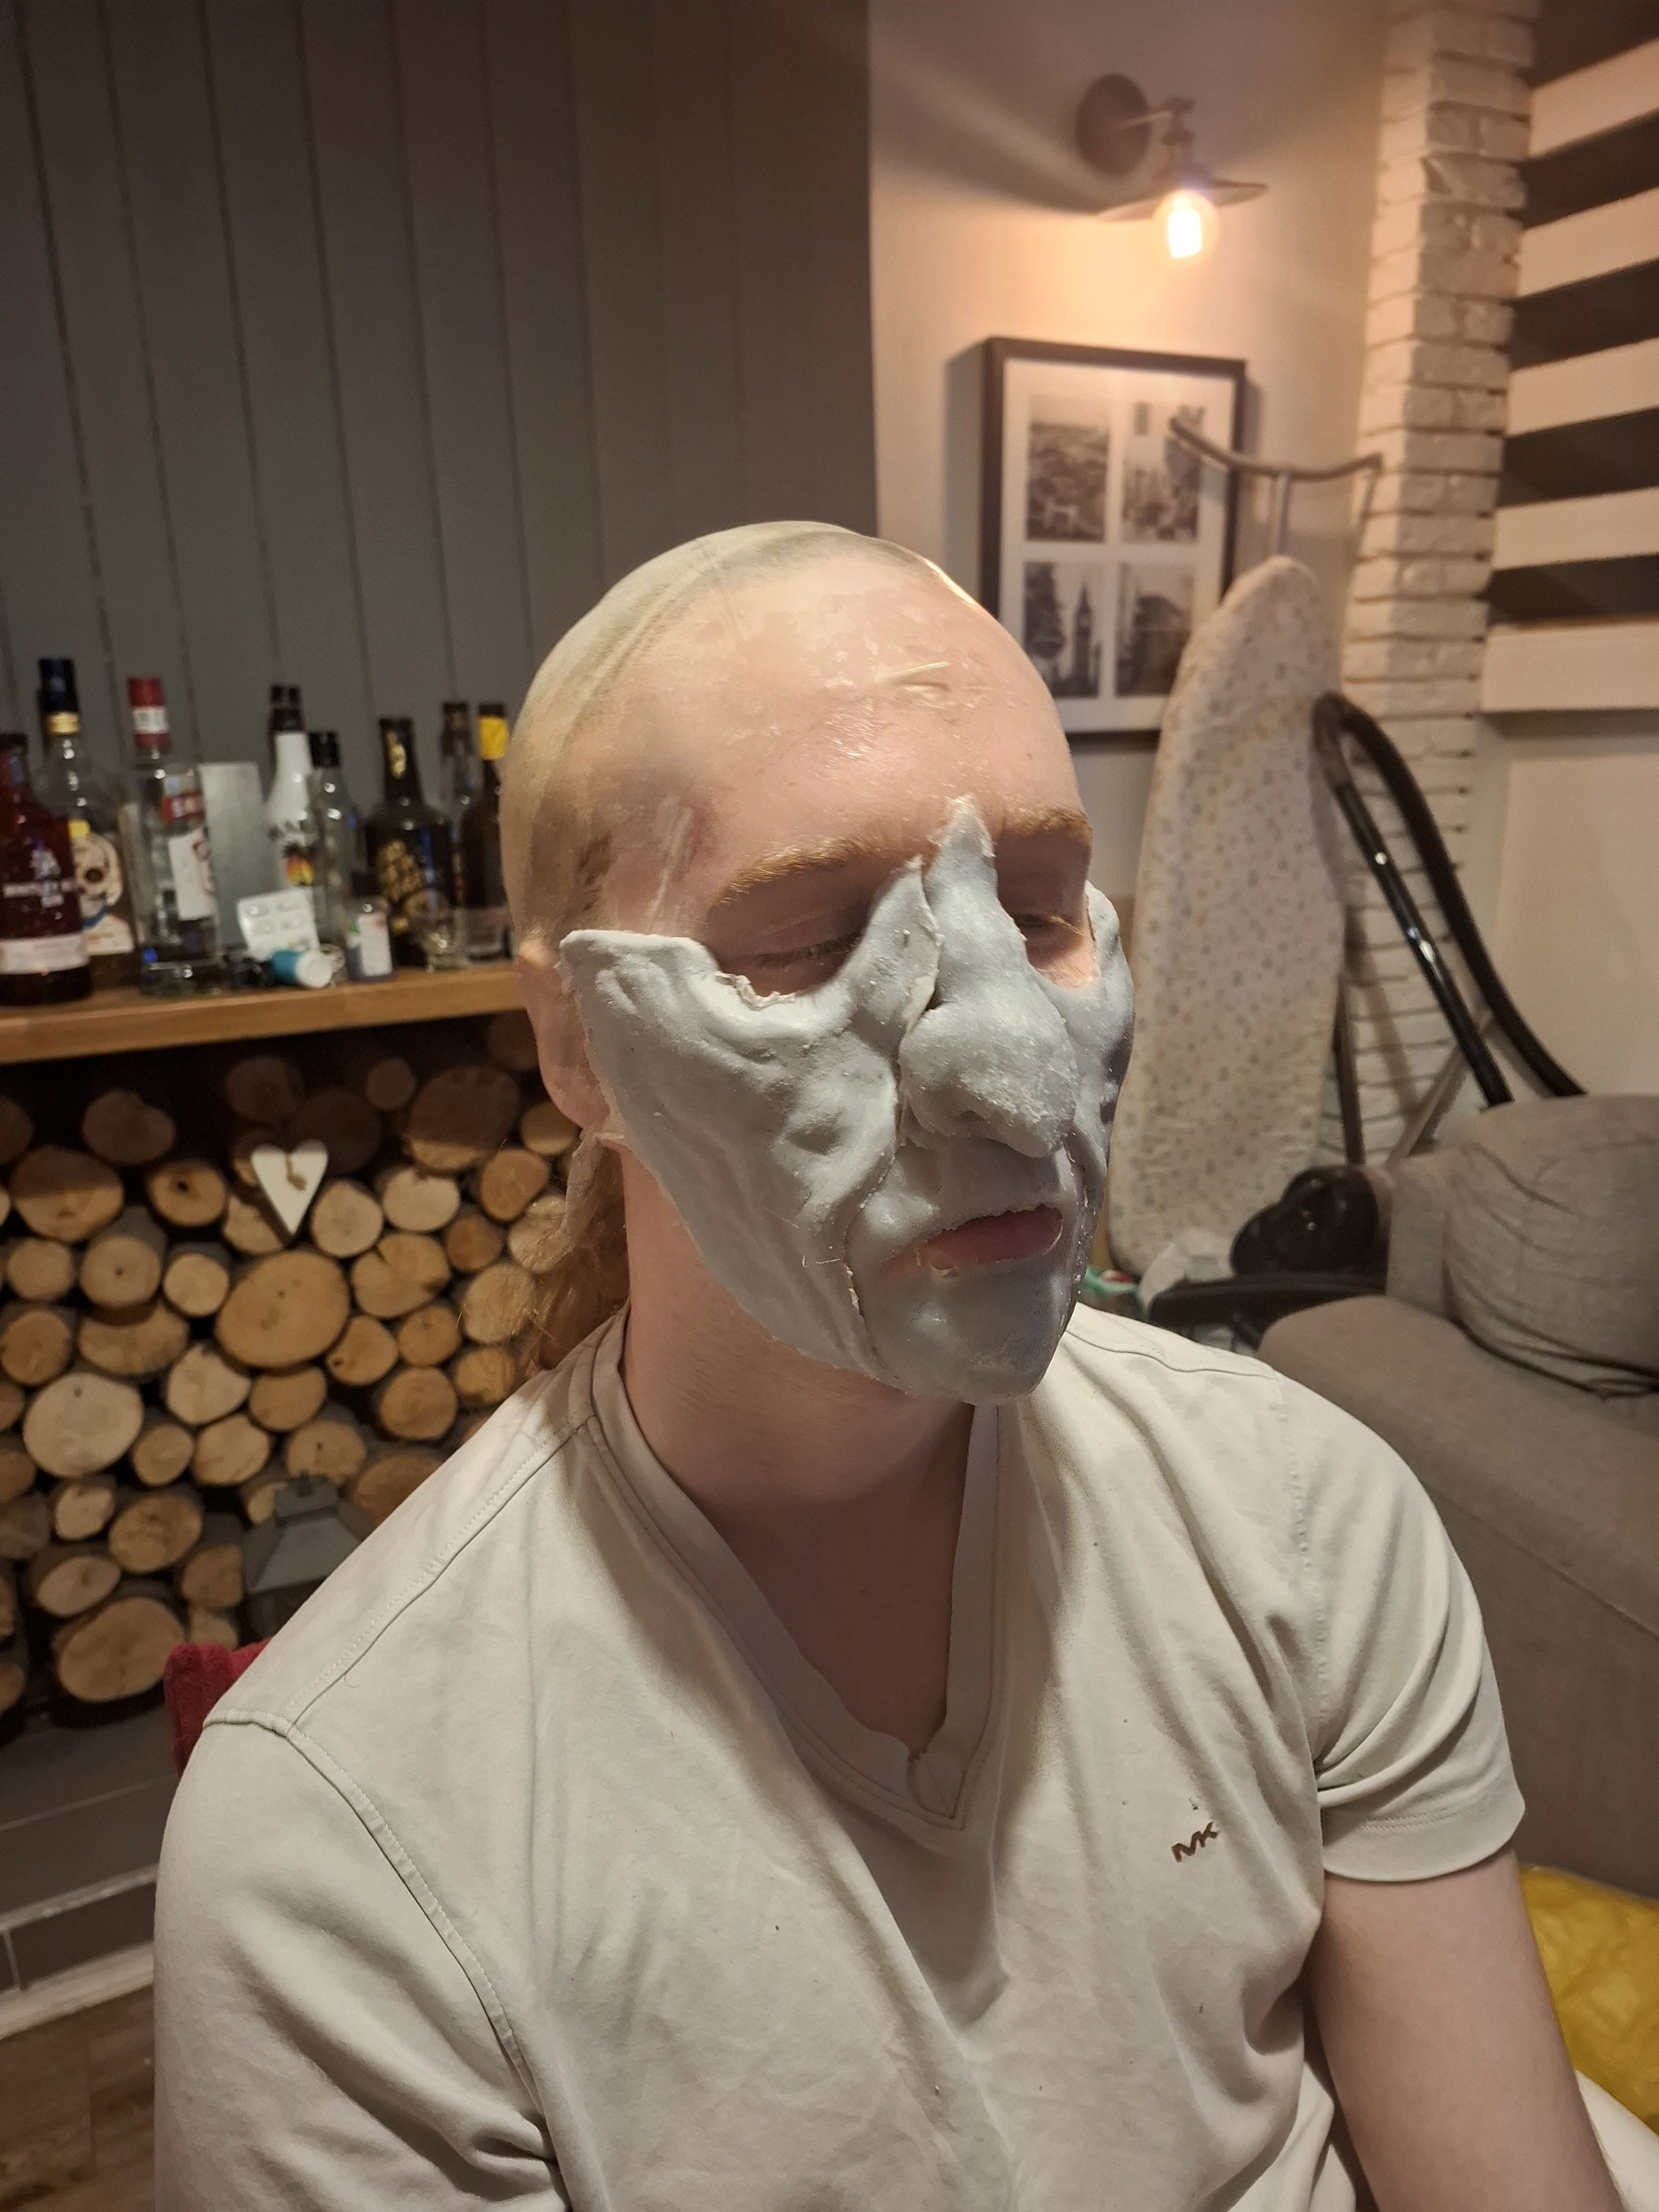
Figure 6: Prosthetics progress ( Keites-Gorman, 2024)
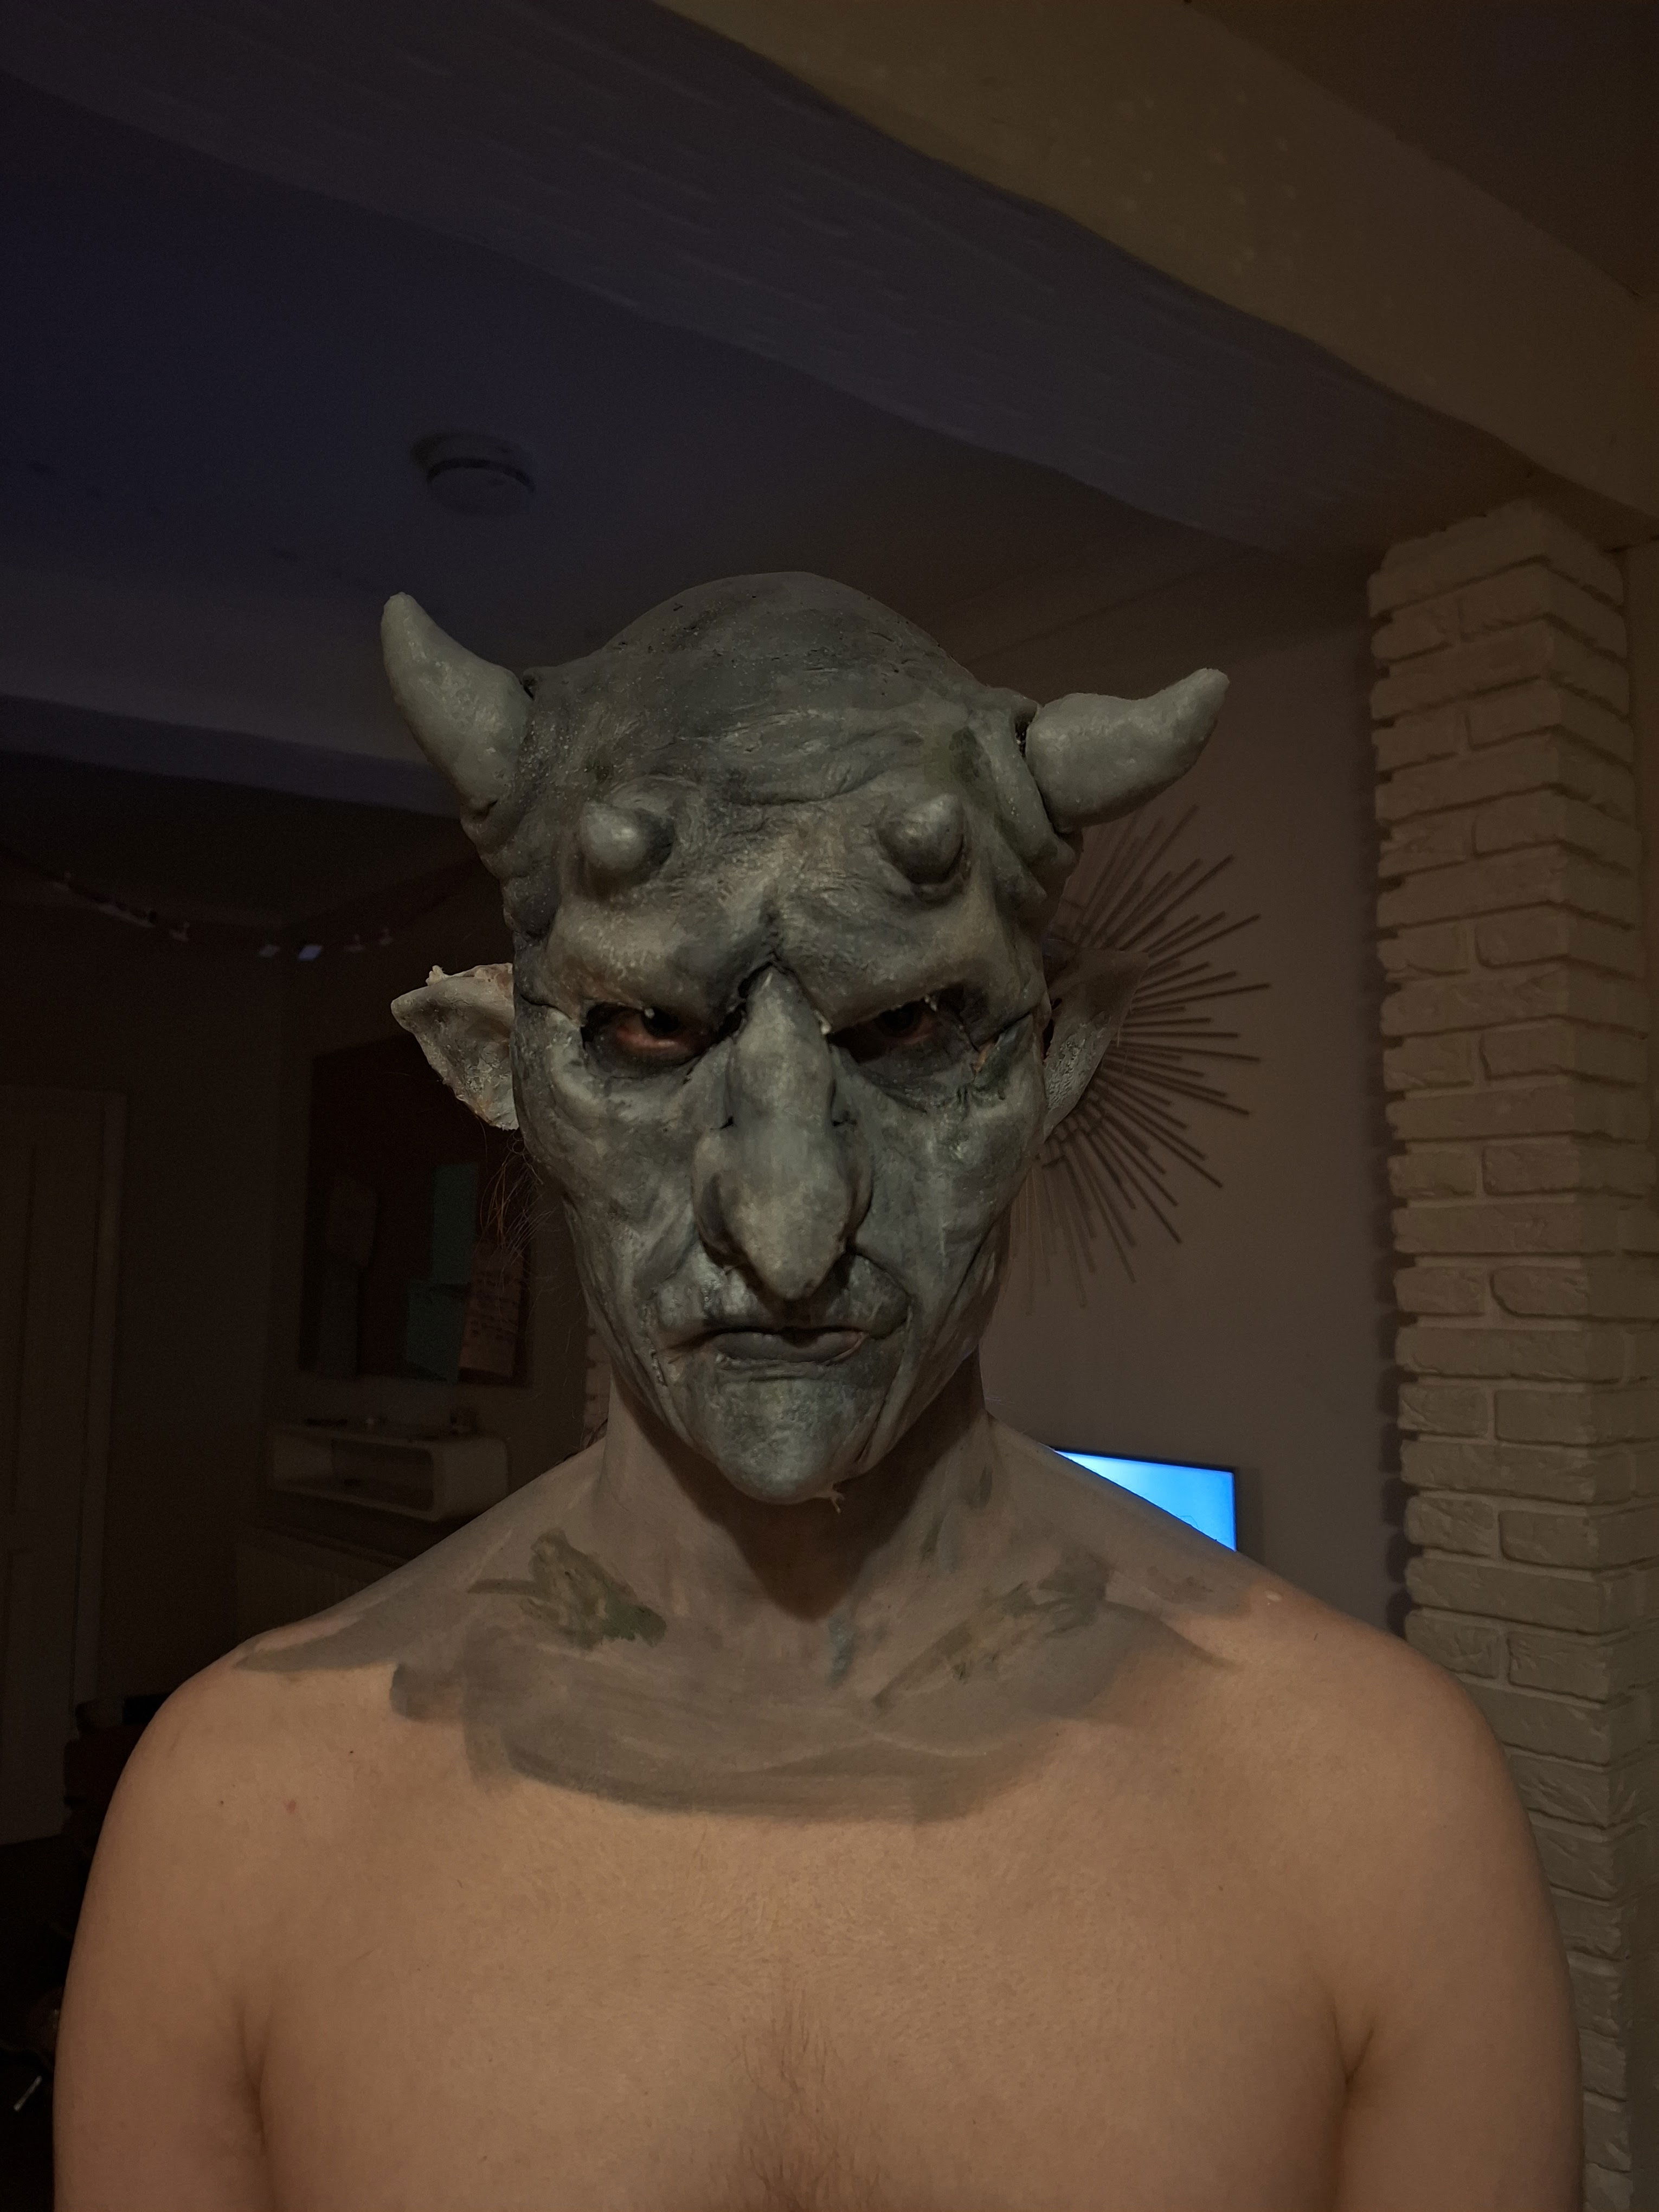
Figure 7: Fished Trial (Keites-Gorman, 2024)
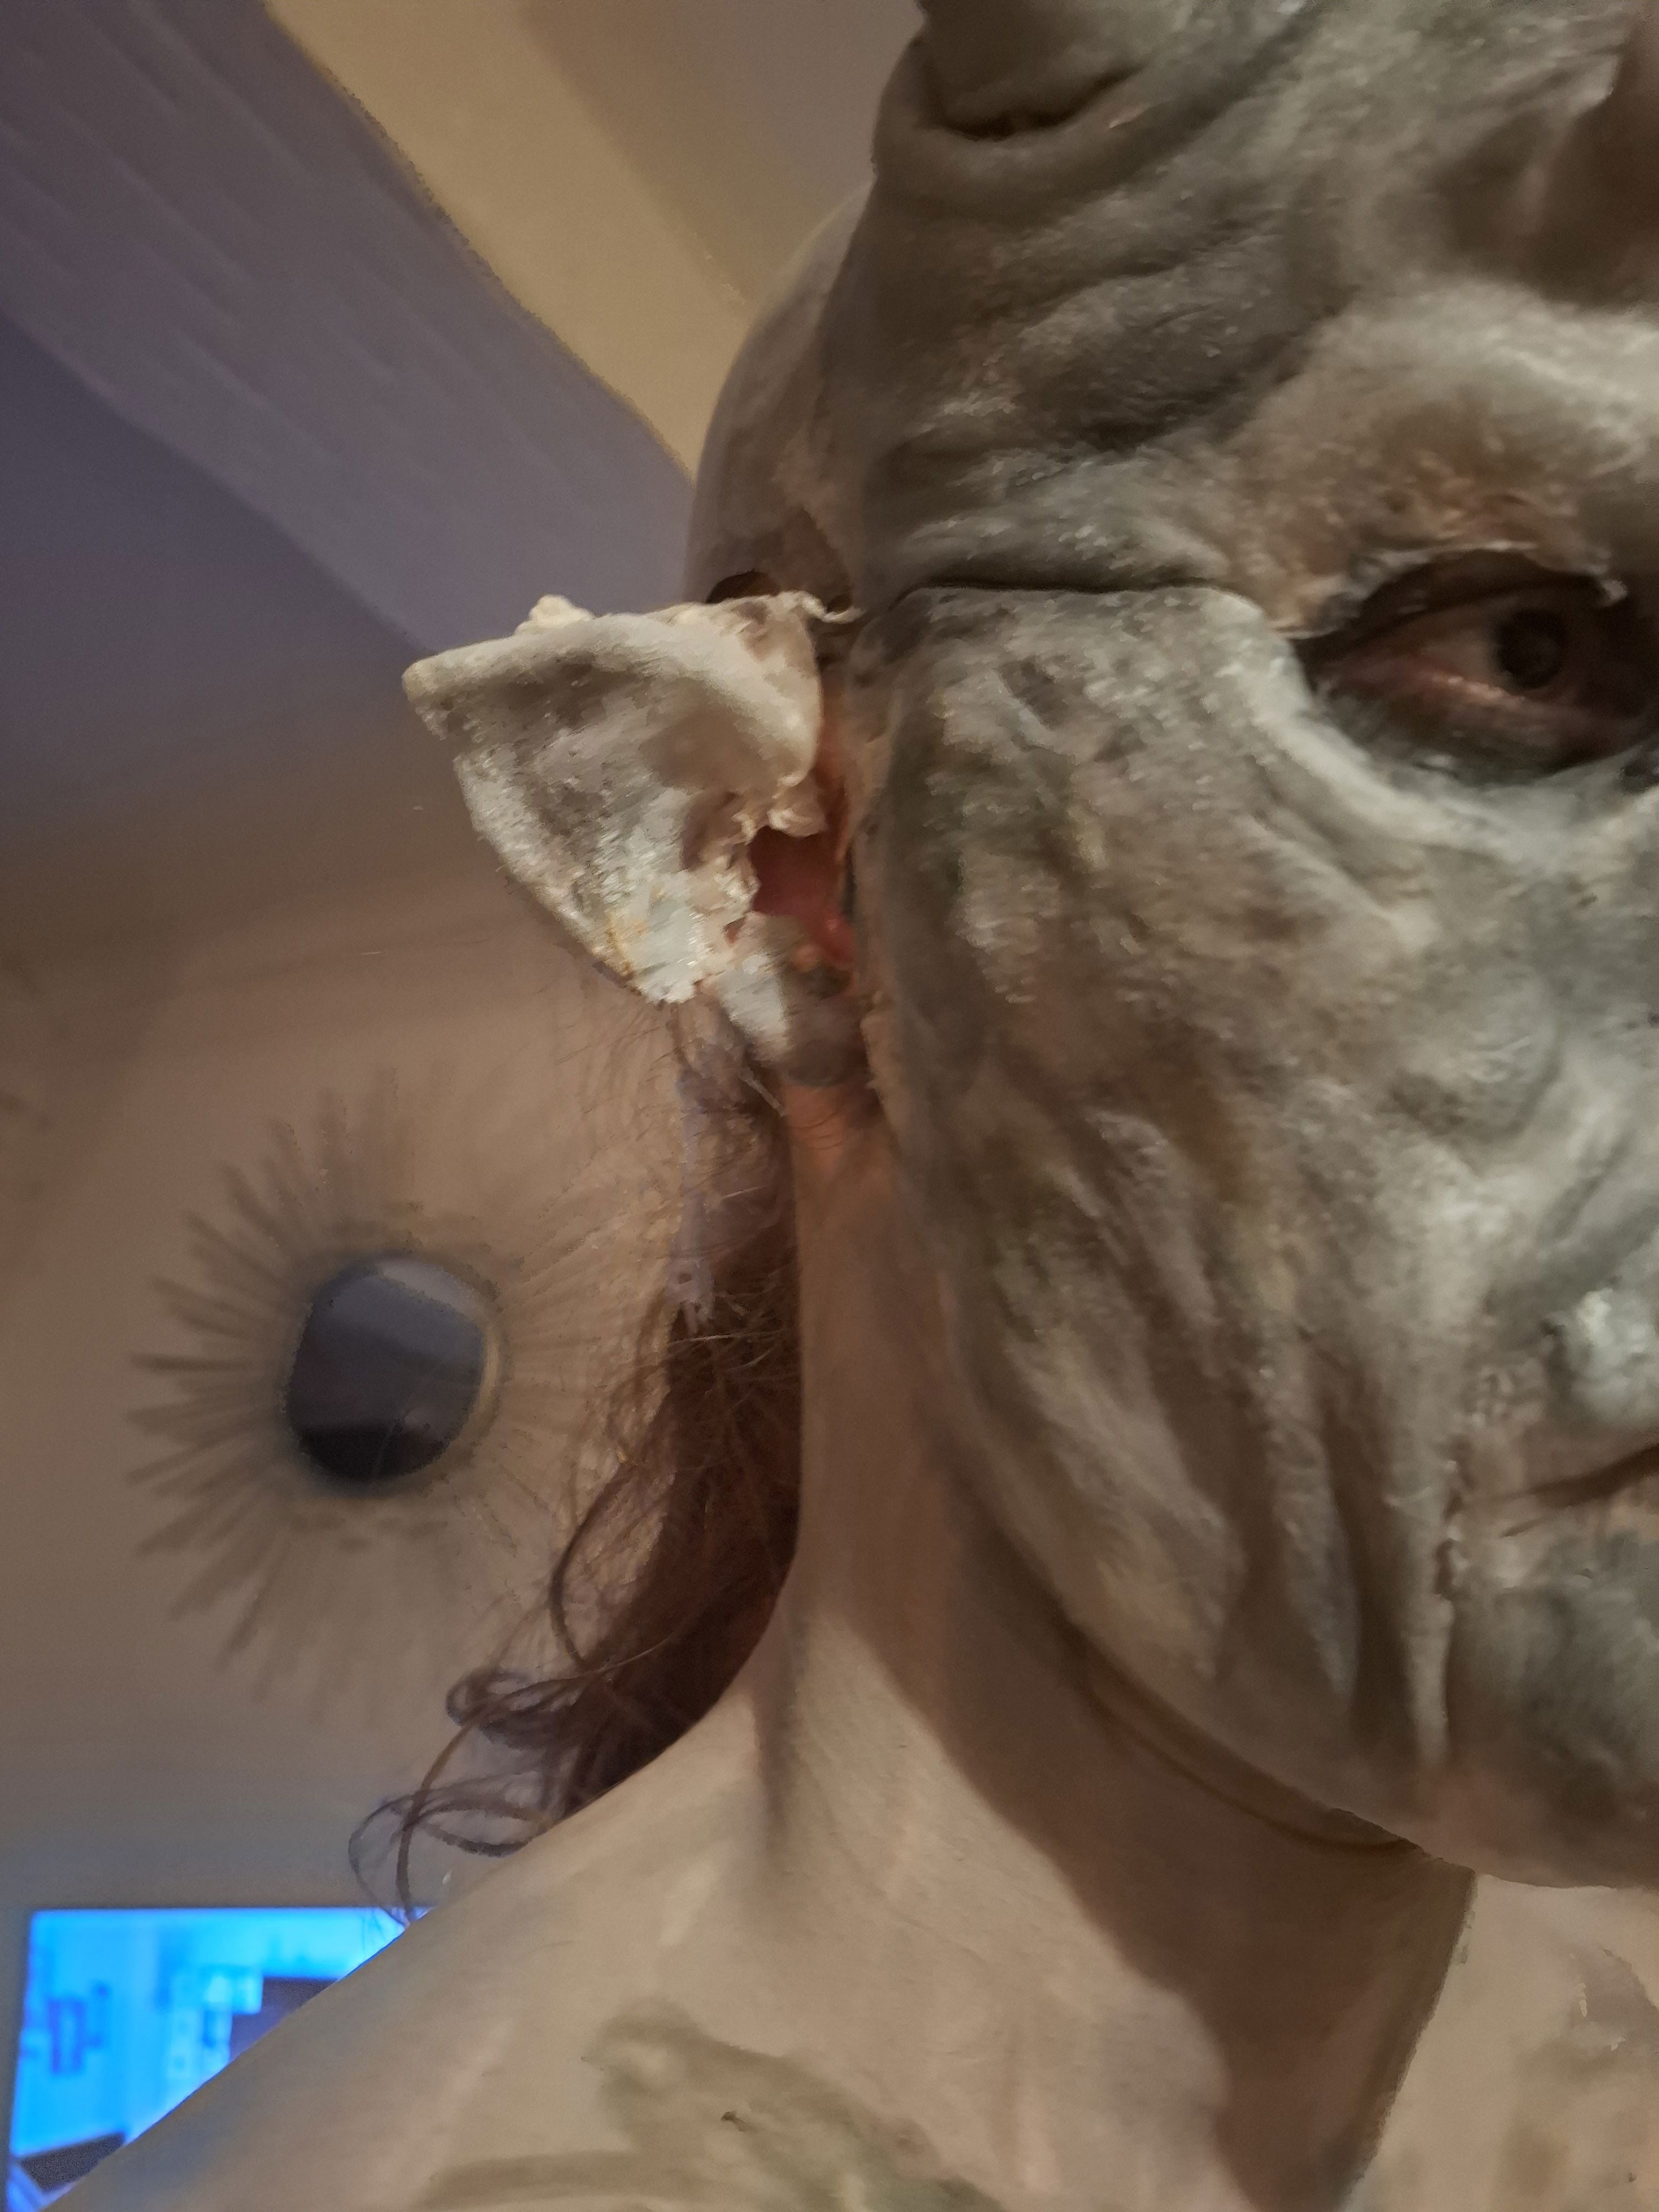
Figure 8: Side close up (Keites-Gorman, 2024)
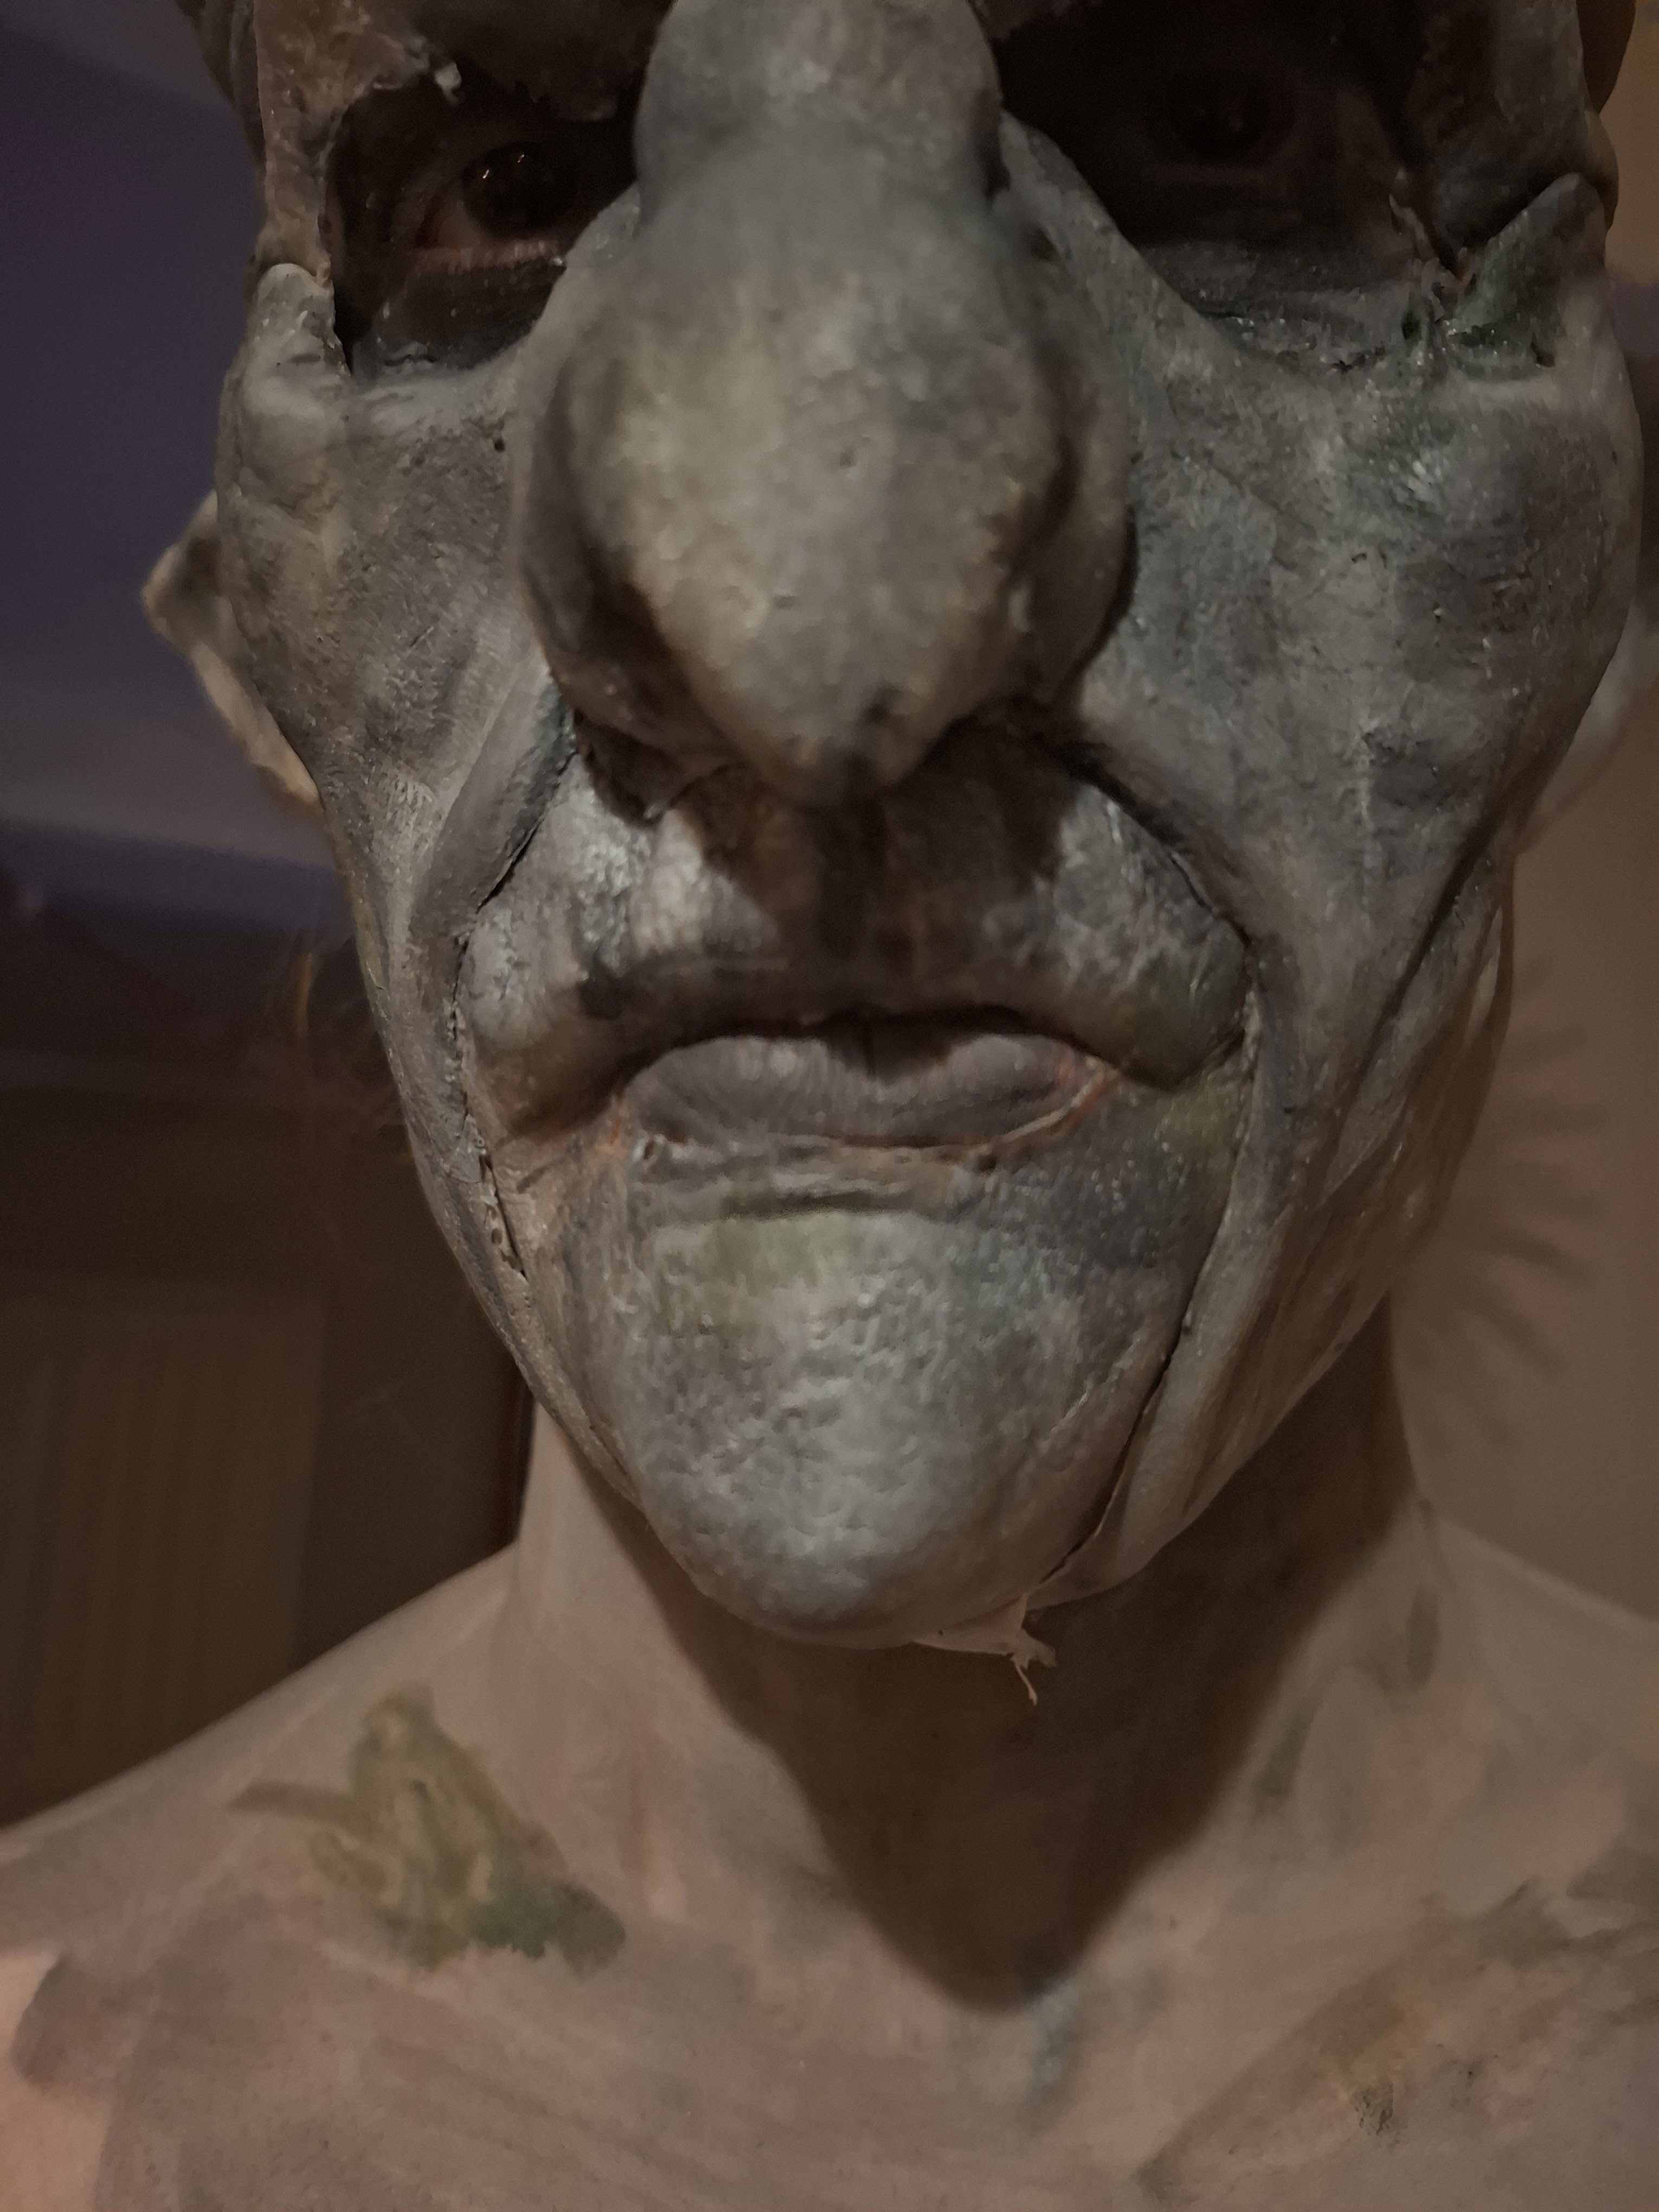
Figure 9: close up chin (Keites-Gorman, 2024)

Figure 10: Other side close-up (Keites-Gorman, 2024)
Overall, I was happy that I got a chance to trail this, as it gave me an indication of timings and visualisation, and altogether made me confident that all my work and my design looked good. It's very nice after working a year on something and not being able to see the final look until now. Finally my kit preparation, on the day I wanted to be as organised as possible on the day as my design naturally had a lot of different components to it. So I wrote an equipment list and the order I would do my exam.
Figure list
Figure 1: Keites-Gorman, E. (2024). Wings Progress. [Own Work]. York College, UK.
Figure 2: Keites-Gorman, E. (2024). Materials. [Own Work]. York College, UK.
Figure 3: Keites-Gorman, E. (2024). Wings Latex. [Own Work]. York College, UK.
Figure 4: Keites-Gorman, E. (2024). Wings painted. [Own Work]. York College, UK.
Figure 5: Keites-Gorman, E. (2024). Trial try on. [Own Work]. York College, UK.
Figure 6: Keites-Gorman, E. (2024). Prosthetics progress. [Own Work]. York College, UK.
Figure 7: Keites-Gorman, E. (2024). Finished trial. [Own Work]. York College, UK.
Figure 8: Keites-Gorman, E. (2024). Side close-up. [Own Work]. York College, UK.
Figure 9: Keites-Gorman, E. (2024). Chin close-up. [Own Work]. York College, UK.
Figure 10: Keites-Gorman, E. (2024). Other side close-up. [Own Work]. York College, UK.