3. Sculpting

23rd November 2023
Sculpting is a key aspect of special effects because what you sculpt is what you get. So, in that respect, a good sculpt creates good-fitting seamless prosthetics. I have slowly developed preferences for tools and techniques I like, as every sculpting technique is different. However, I also found it helpful to read and watch people sculpt. Stuart Bray comes to mind with his sculpting videos. I really love the one on skin texture incorporating techniques like creating depth in the wrinkles. This is even more expanded on with Todd Debreceni, "there is depth to the wrinkles" and "there's texture within texture." You might think skin texture is irrelevant when it comes to creating a stone-like texture; however, using a lot of techniques such as Bray's video. When we had a lesson with Shaun Harrison, I had the opportunity to ask him how to create a stone-like texture, and he responded by using actual stones and using them as stamps. This is something I did do, and analysis of the texture on them was also just a great reference.
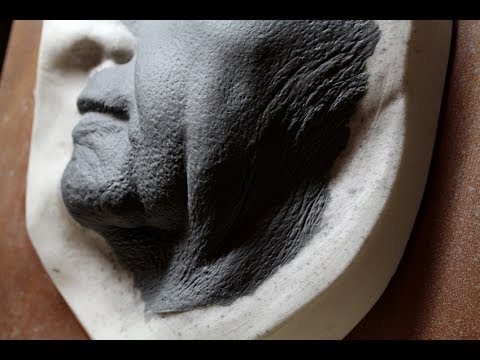
Sculpting Prosthetics: Skin Textures (youtube.com)
Figure 1: Sculpting prosthetics skin textures (Bray, 2014)
Having a reference image is really important. I referred back to my sketch and inspirations, as I agree with Debreceni that "trying to sculpt from memory alone is difficult at best and practically impossible if your level is below expert." The times when I forgot my reference images were the times I struggled to sculpt the most, so reference images are definite. (figures 4 and 5 for my reference).
Tools
Loop tools are my favourite, especially the ones with more wire wrapped around the loop. This means that the tool takes off less clay and gives you a more seamless look. I also loved using very small detailed brushes to really get into some small wrinkles or cracks.

Figure 2: Loop Tools (Keites-Gorman, 2023)
I don’t know what I would call these brushes, but with these and clingfilm on a sculpt, I created a nice texture, which I used a lot.
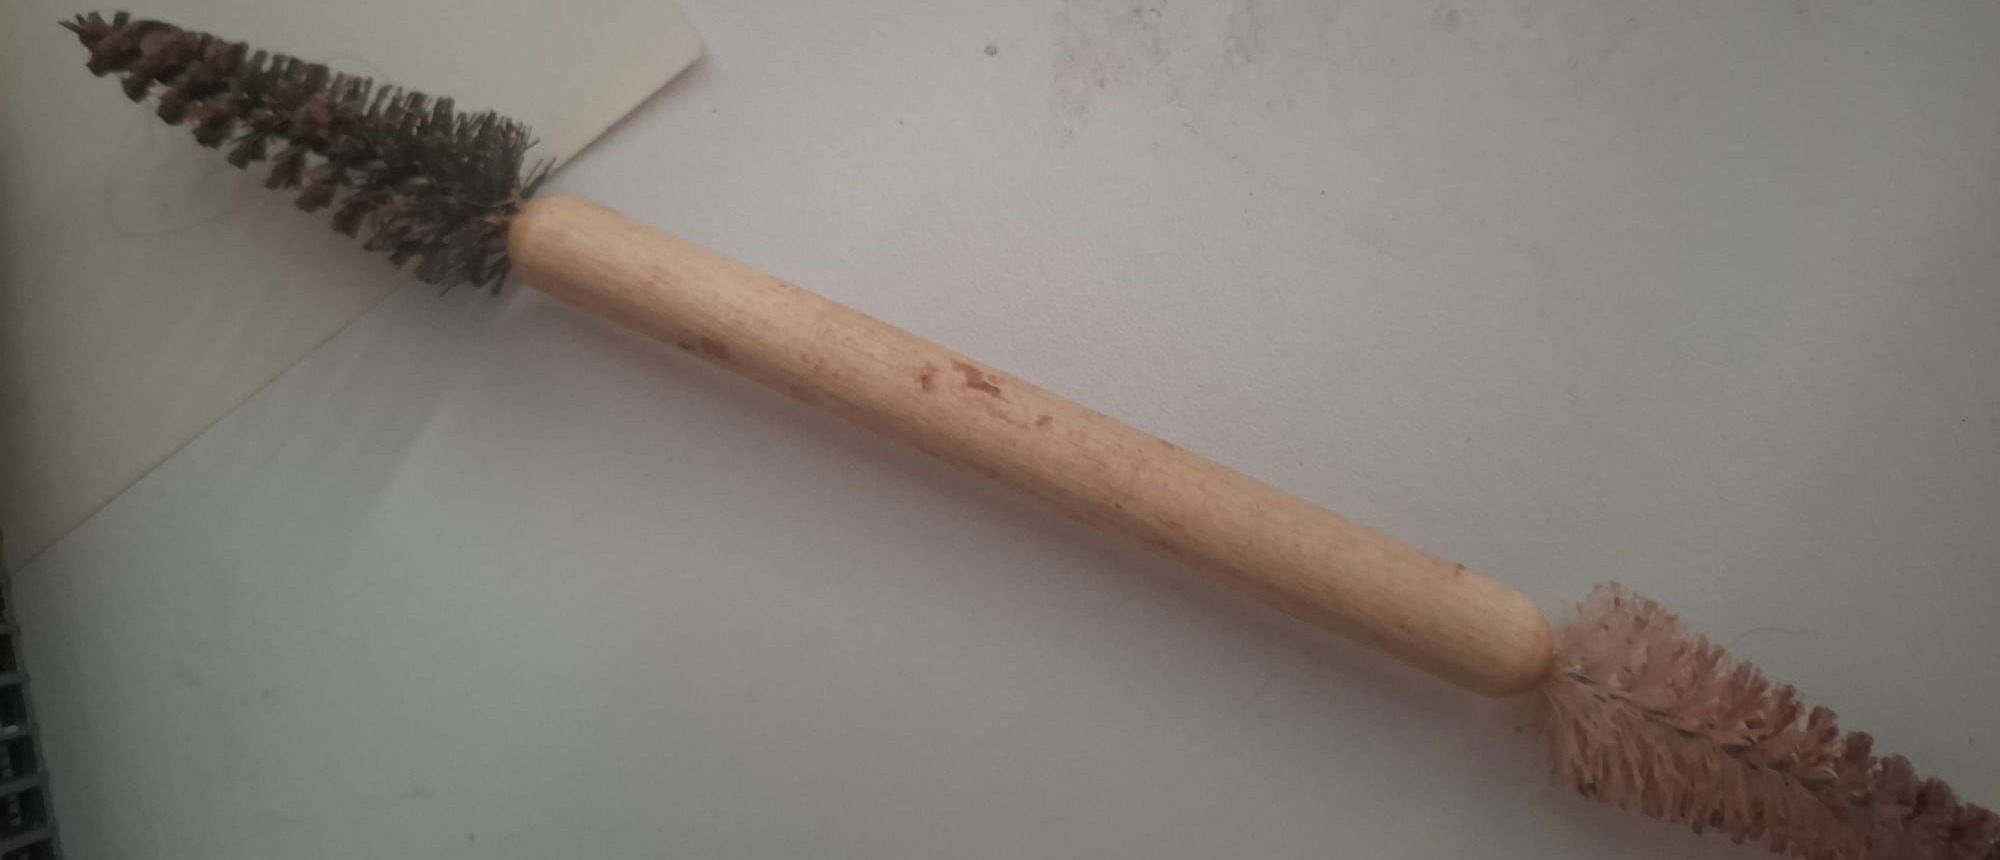
Figure 3: Brush tool (Keites-Gorman, 2023)
Sculpting Process
In the lesson, we started with small sausage-like balls of clay to create a base layer and some shapes. It's important to smooth the clay together to achieve a smooth surface. Initially, my sculpture ended up lumpy, which was not desired. Heating up the clay and using Vaseline made a huge difference. I learned that being patient at this stage would have been helpful.
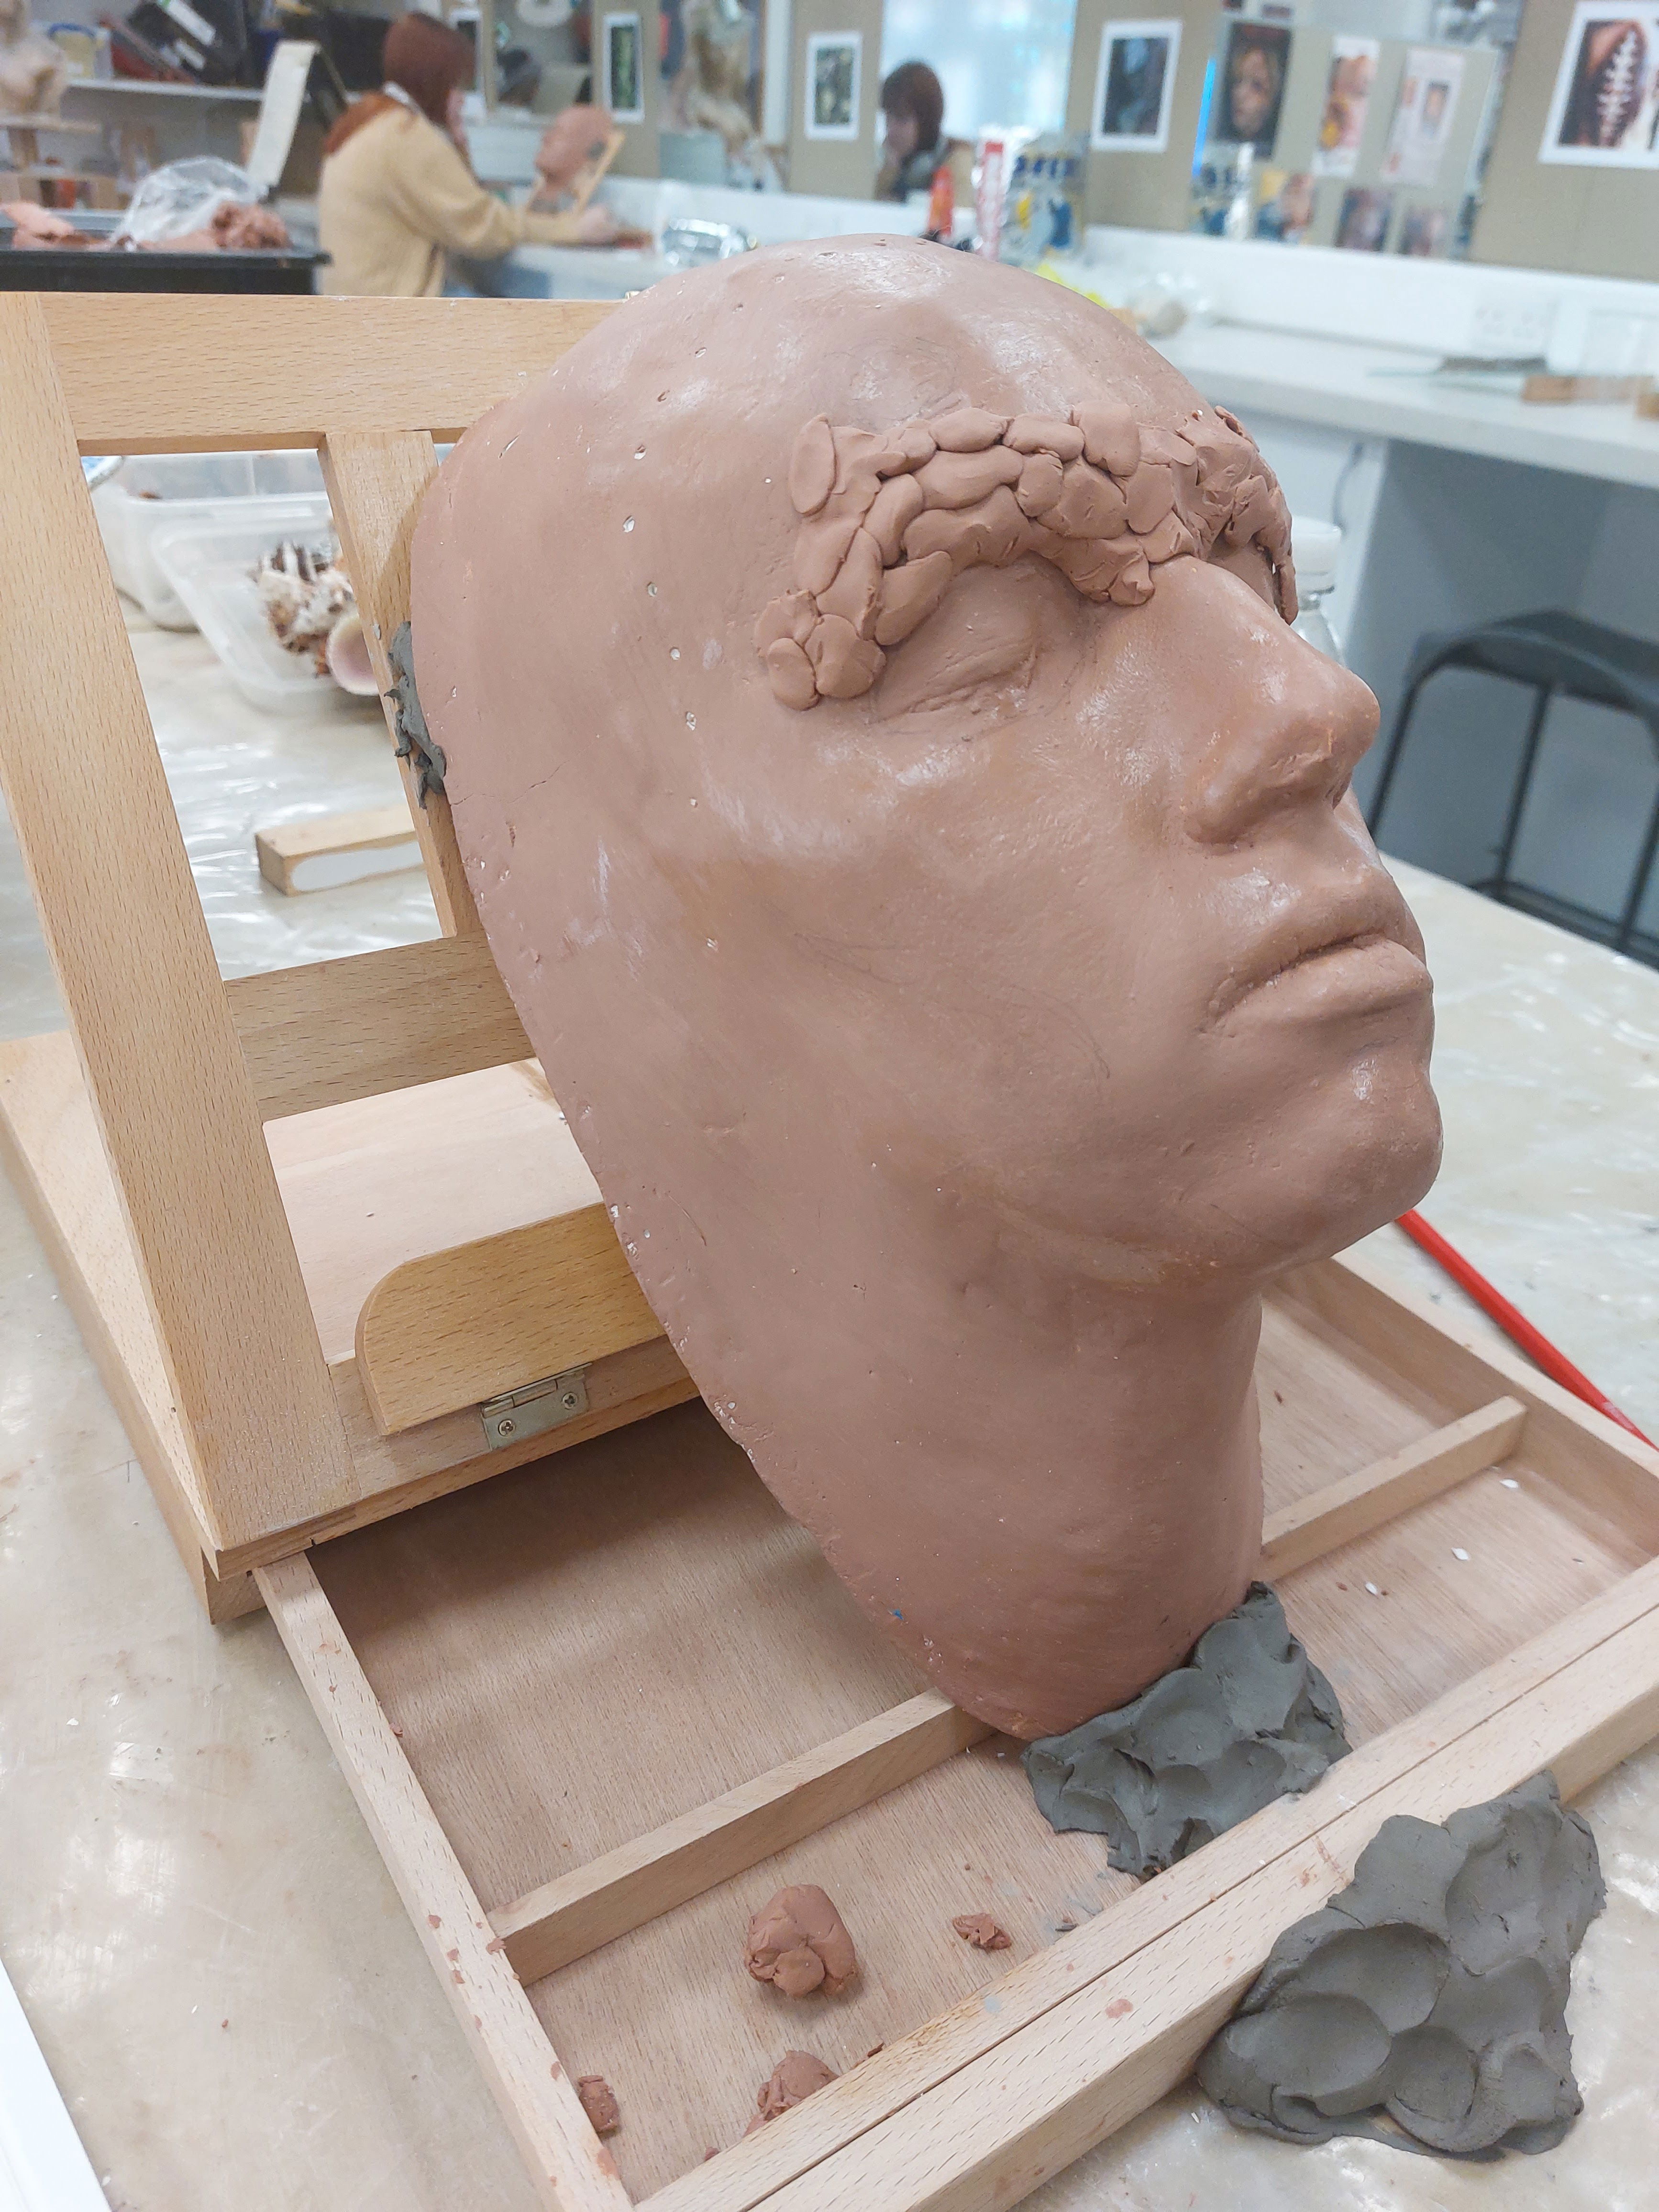
Figure 4: Sculpting Progress (Keites-Gorman, 2023)
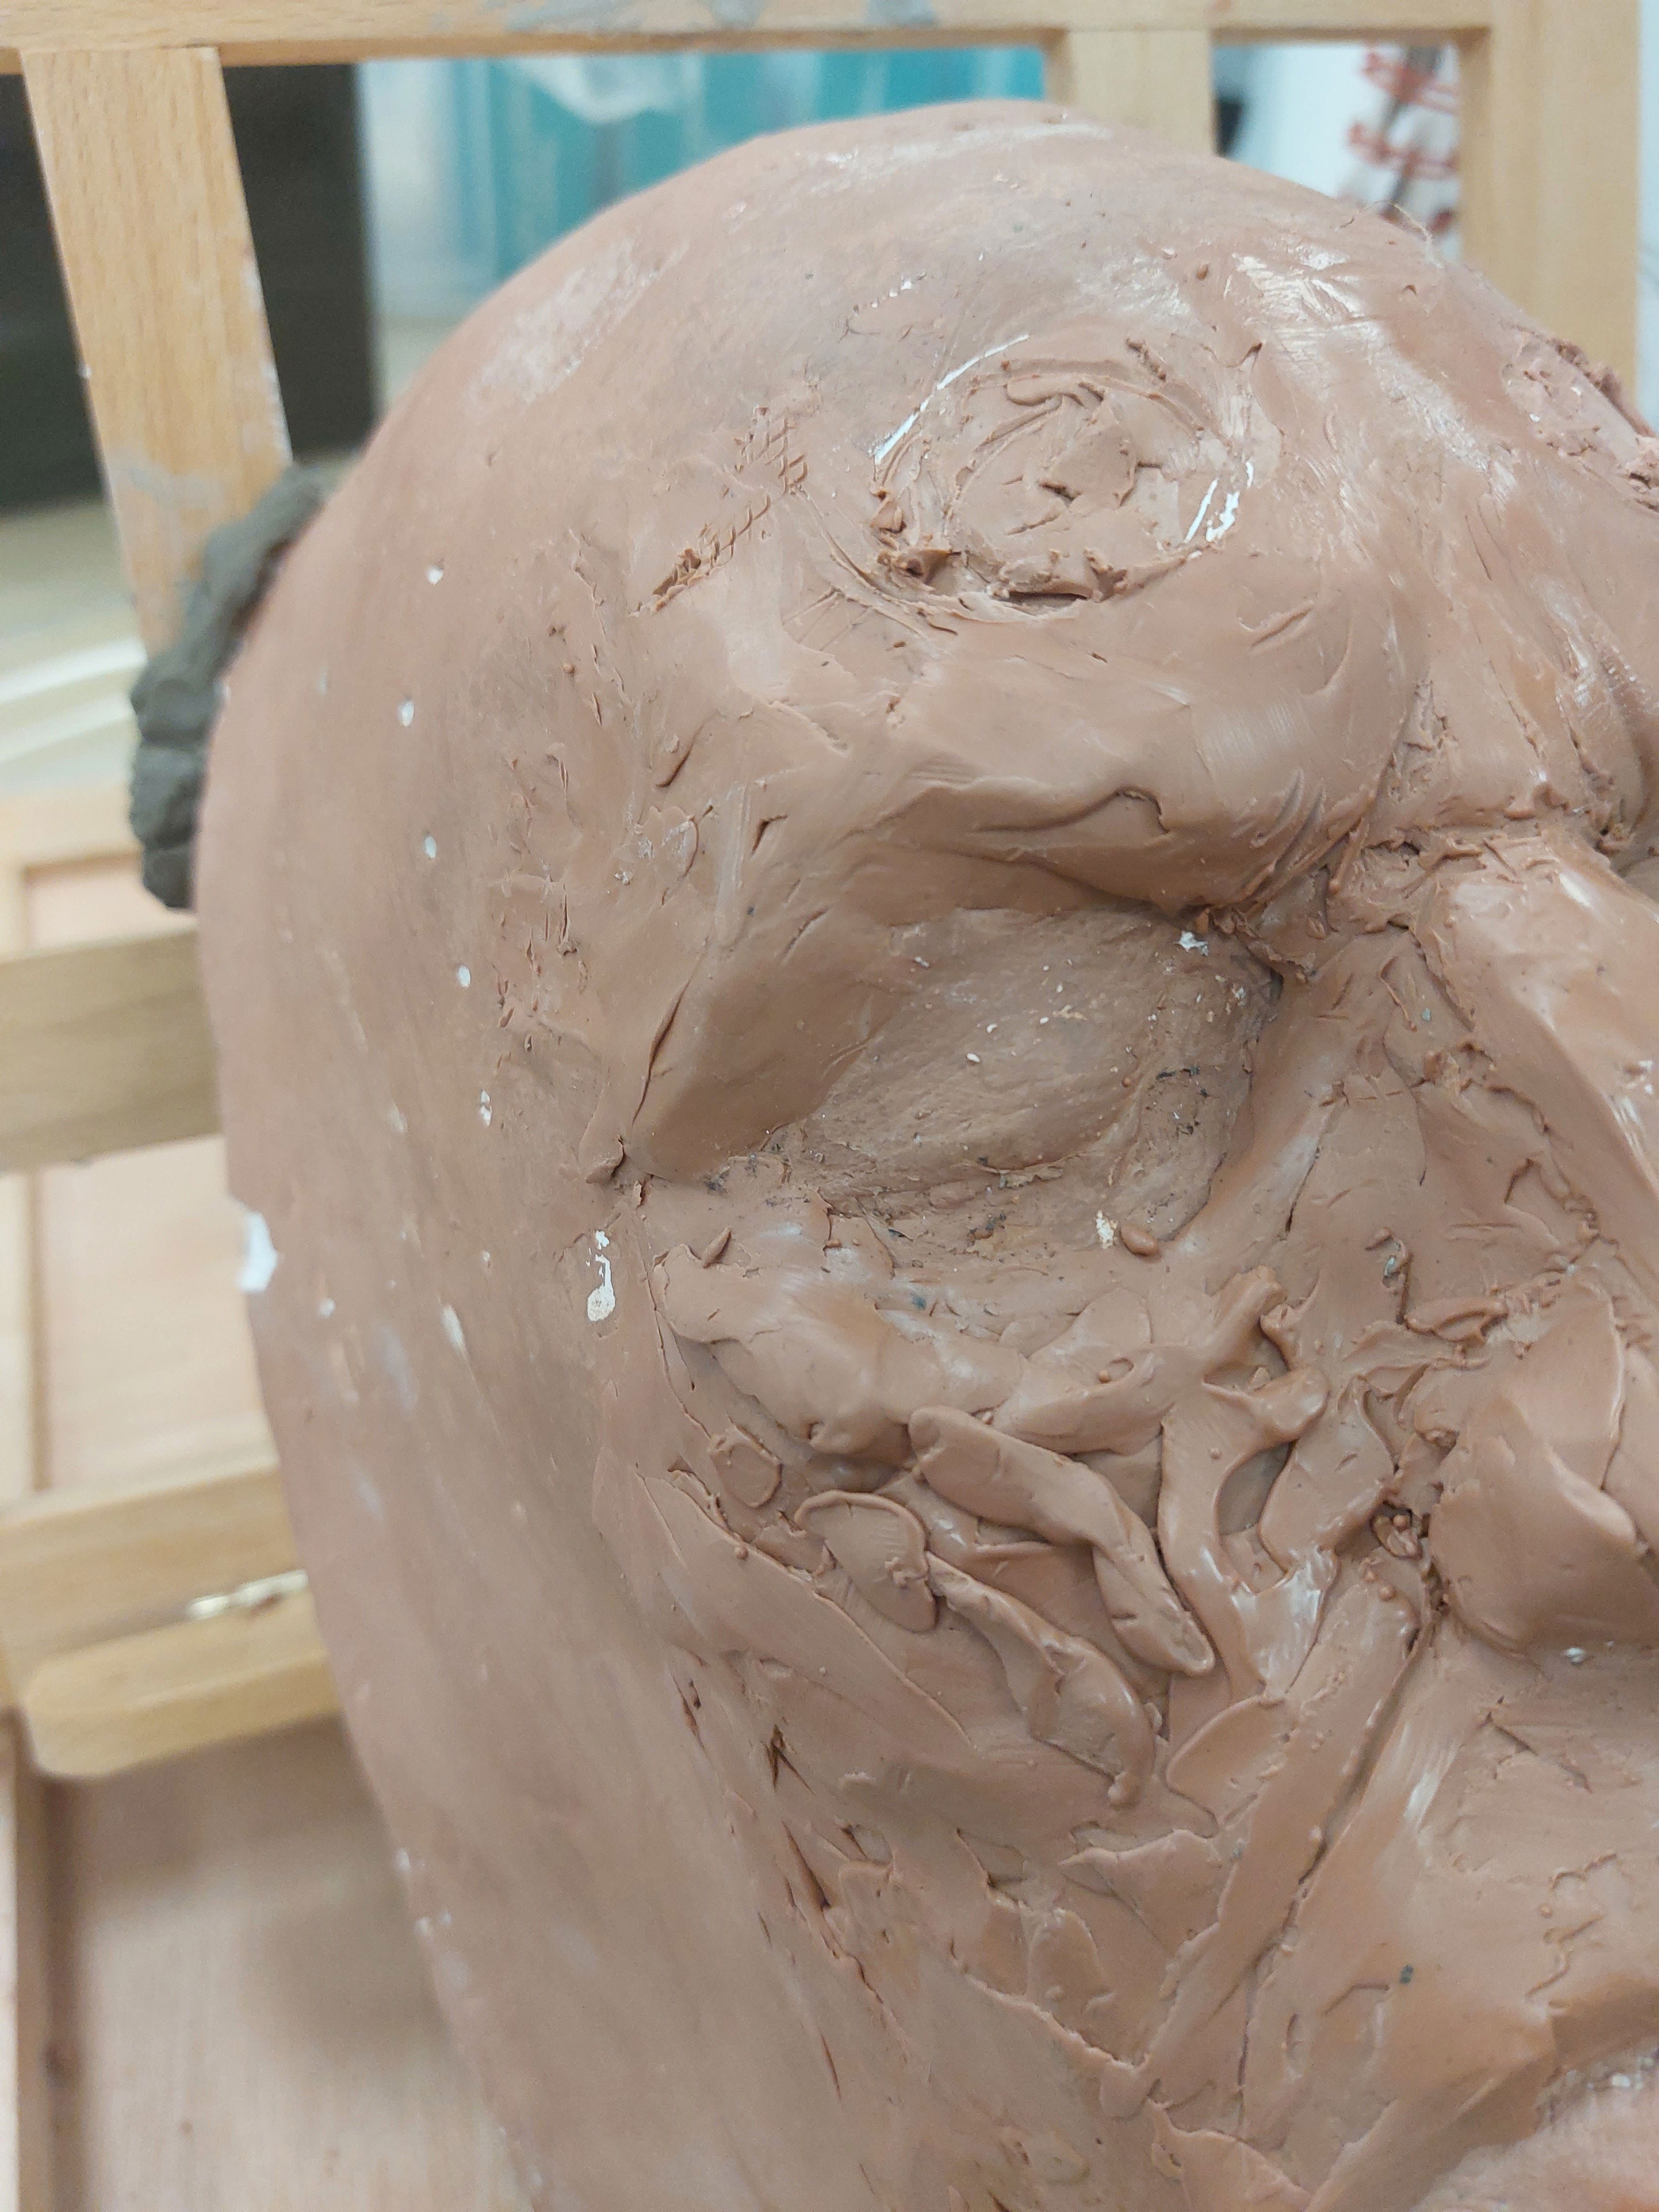
Figure 5: Sculpt Progress up-close, (Keites-Gorman, 2023)
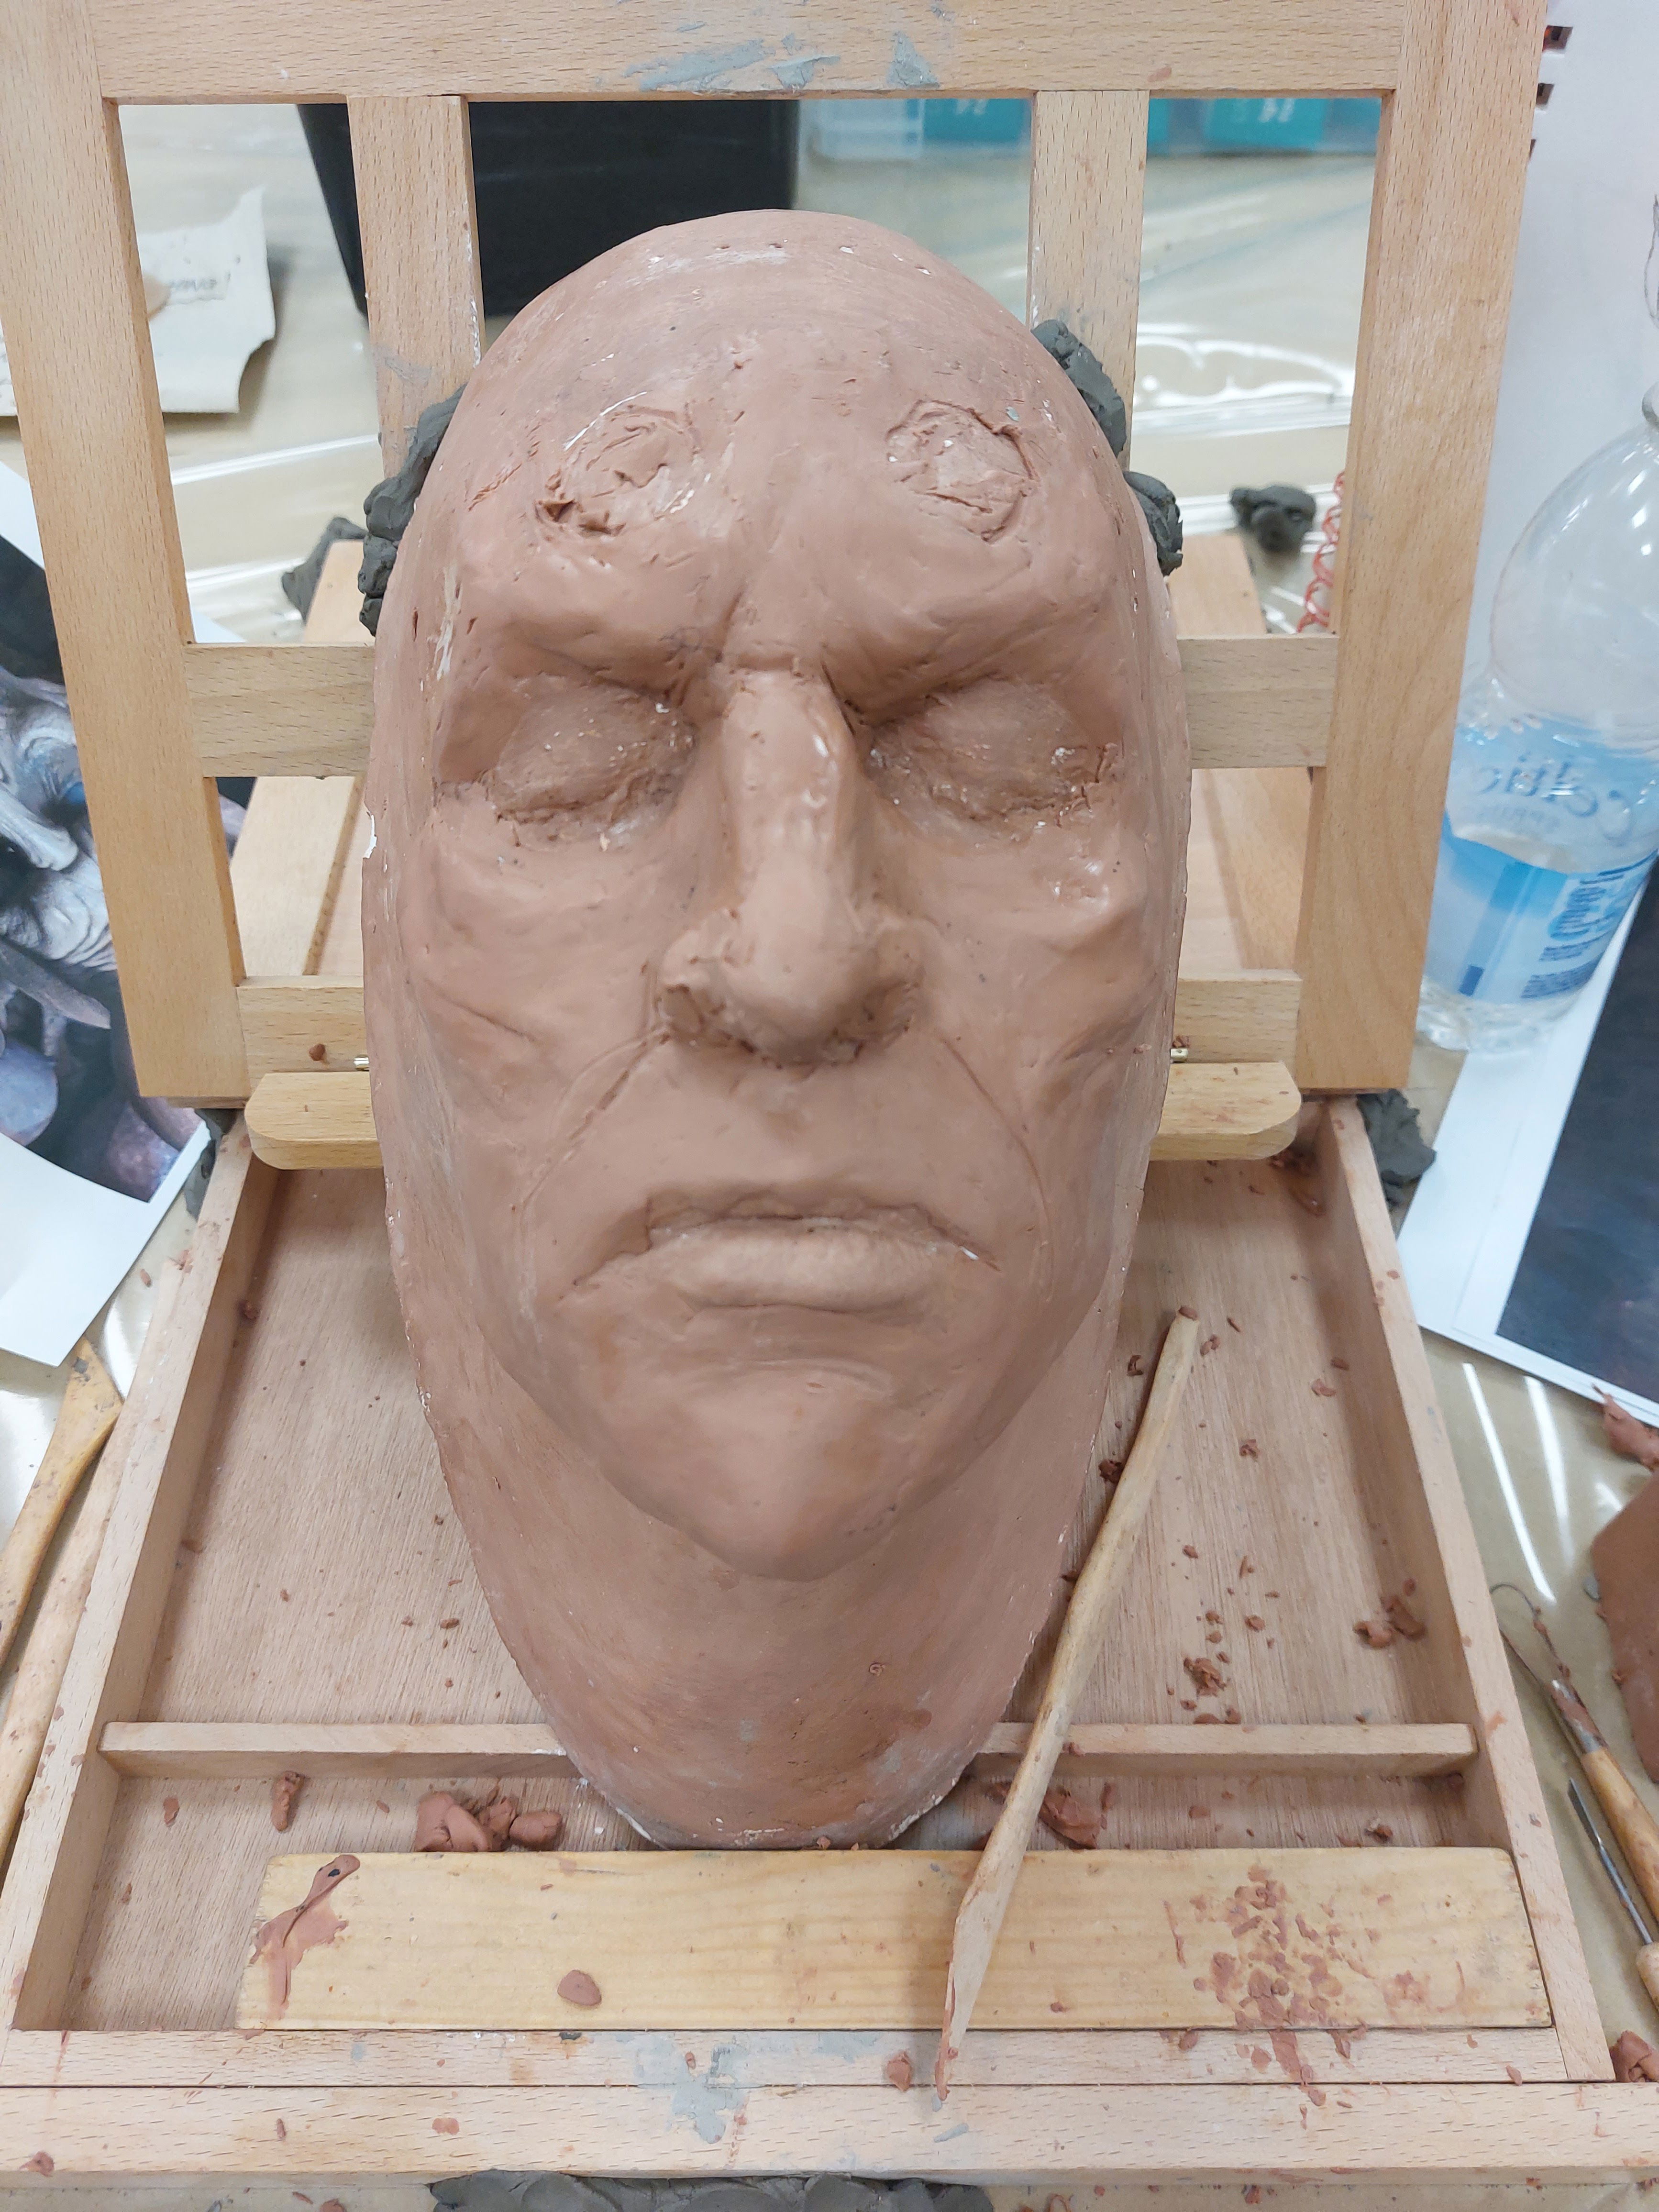
Figure 6: Sculpt smooth (Keites-Gorman, 2023)
My reference images for sculpting
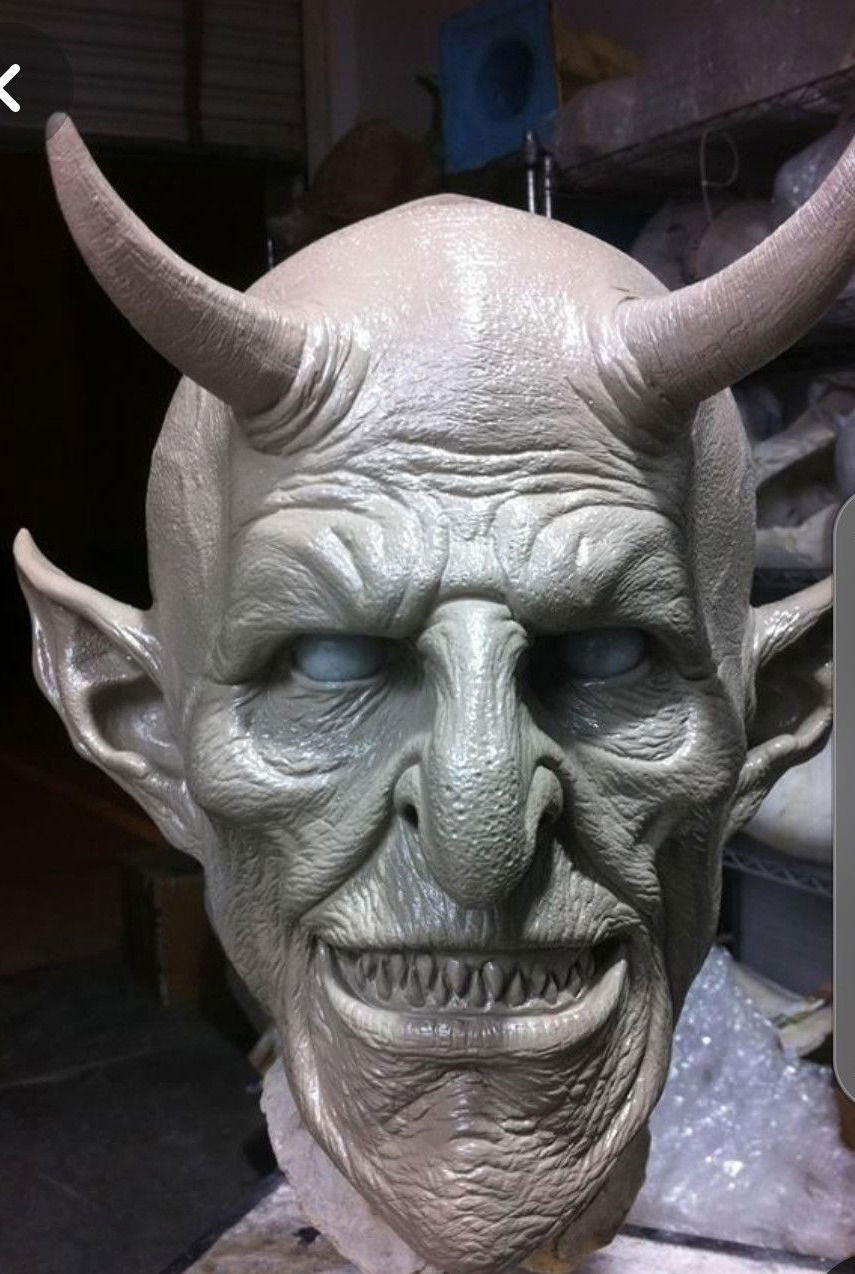
Figure 7: Goblin Sculpt (Love, 2023)

Figure 8: Goblin Reference (Keites-Gorman, 2023)
After finally getting the sculpt smooth, I began exaggerating the features such as cheekbones, brow bone, and nose. Adding sharp lines and angles gave it a menacing look, which was my intention. My tutor advised me to perfect the face before adding the horns to the sculpt.
Originally, I planned to add one pair of horns, but I liked the idea of adding two small horns on top of the forehead as well. Placing the bigger horns proved to be more difficult than expected, involving a lot of trial and error. I realized that the horns looked better higher up on the head, pointing upwards.
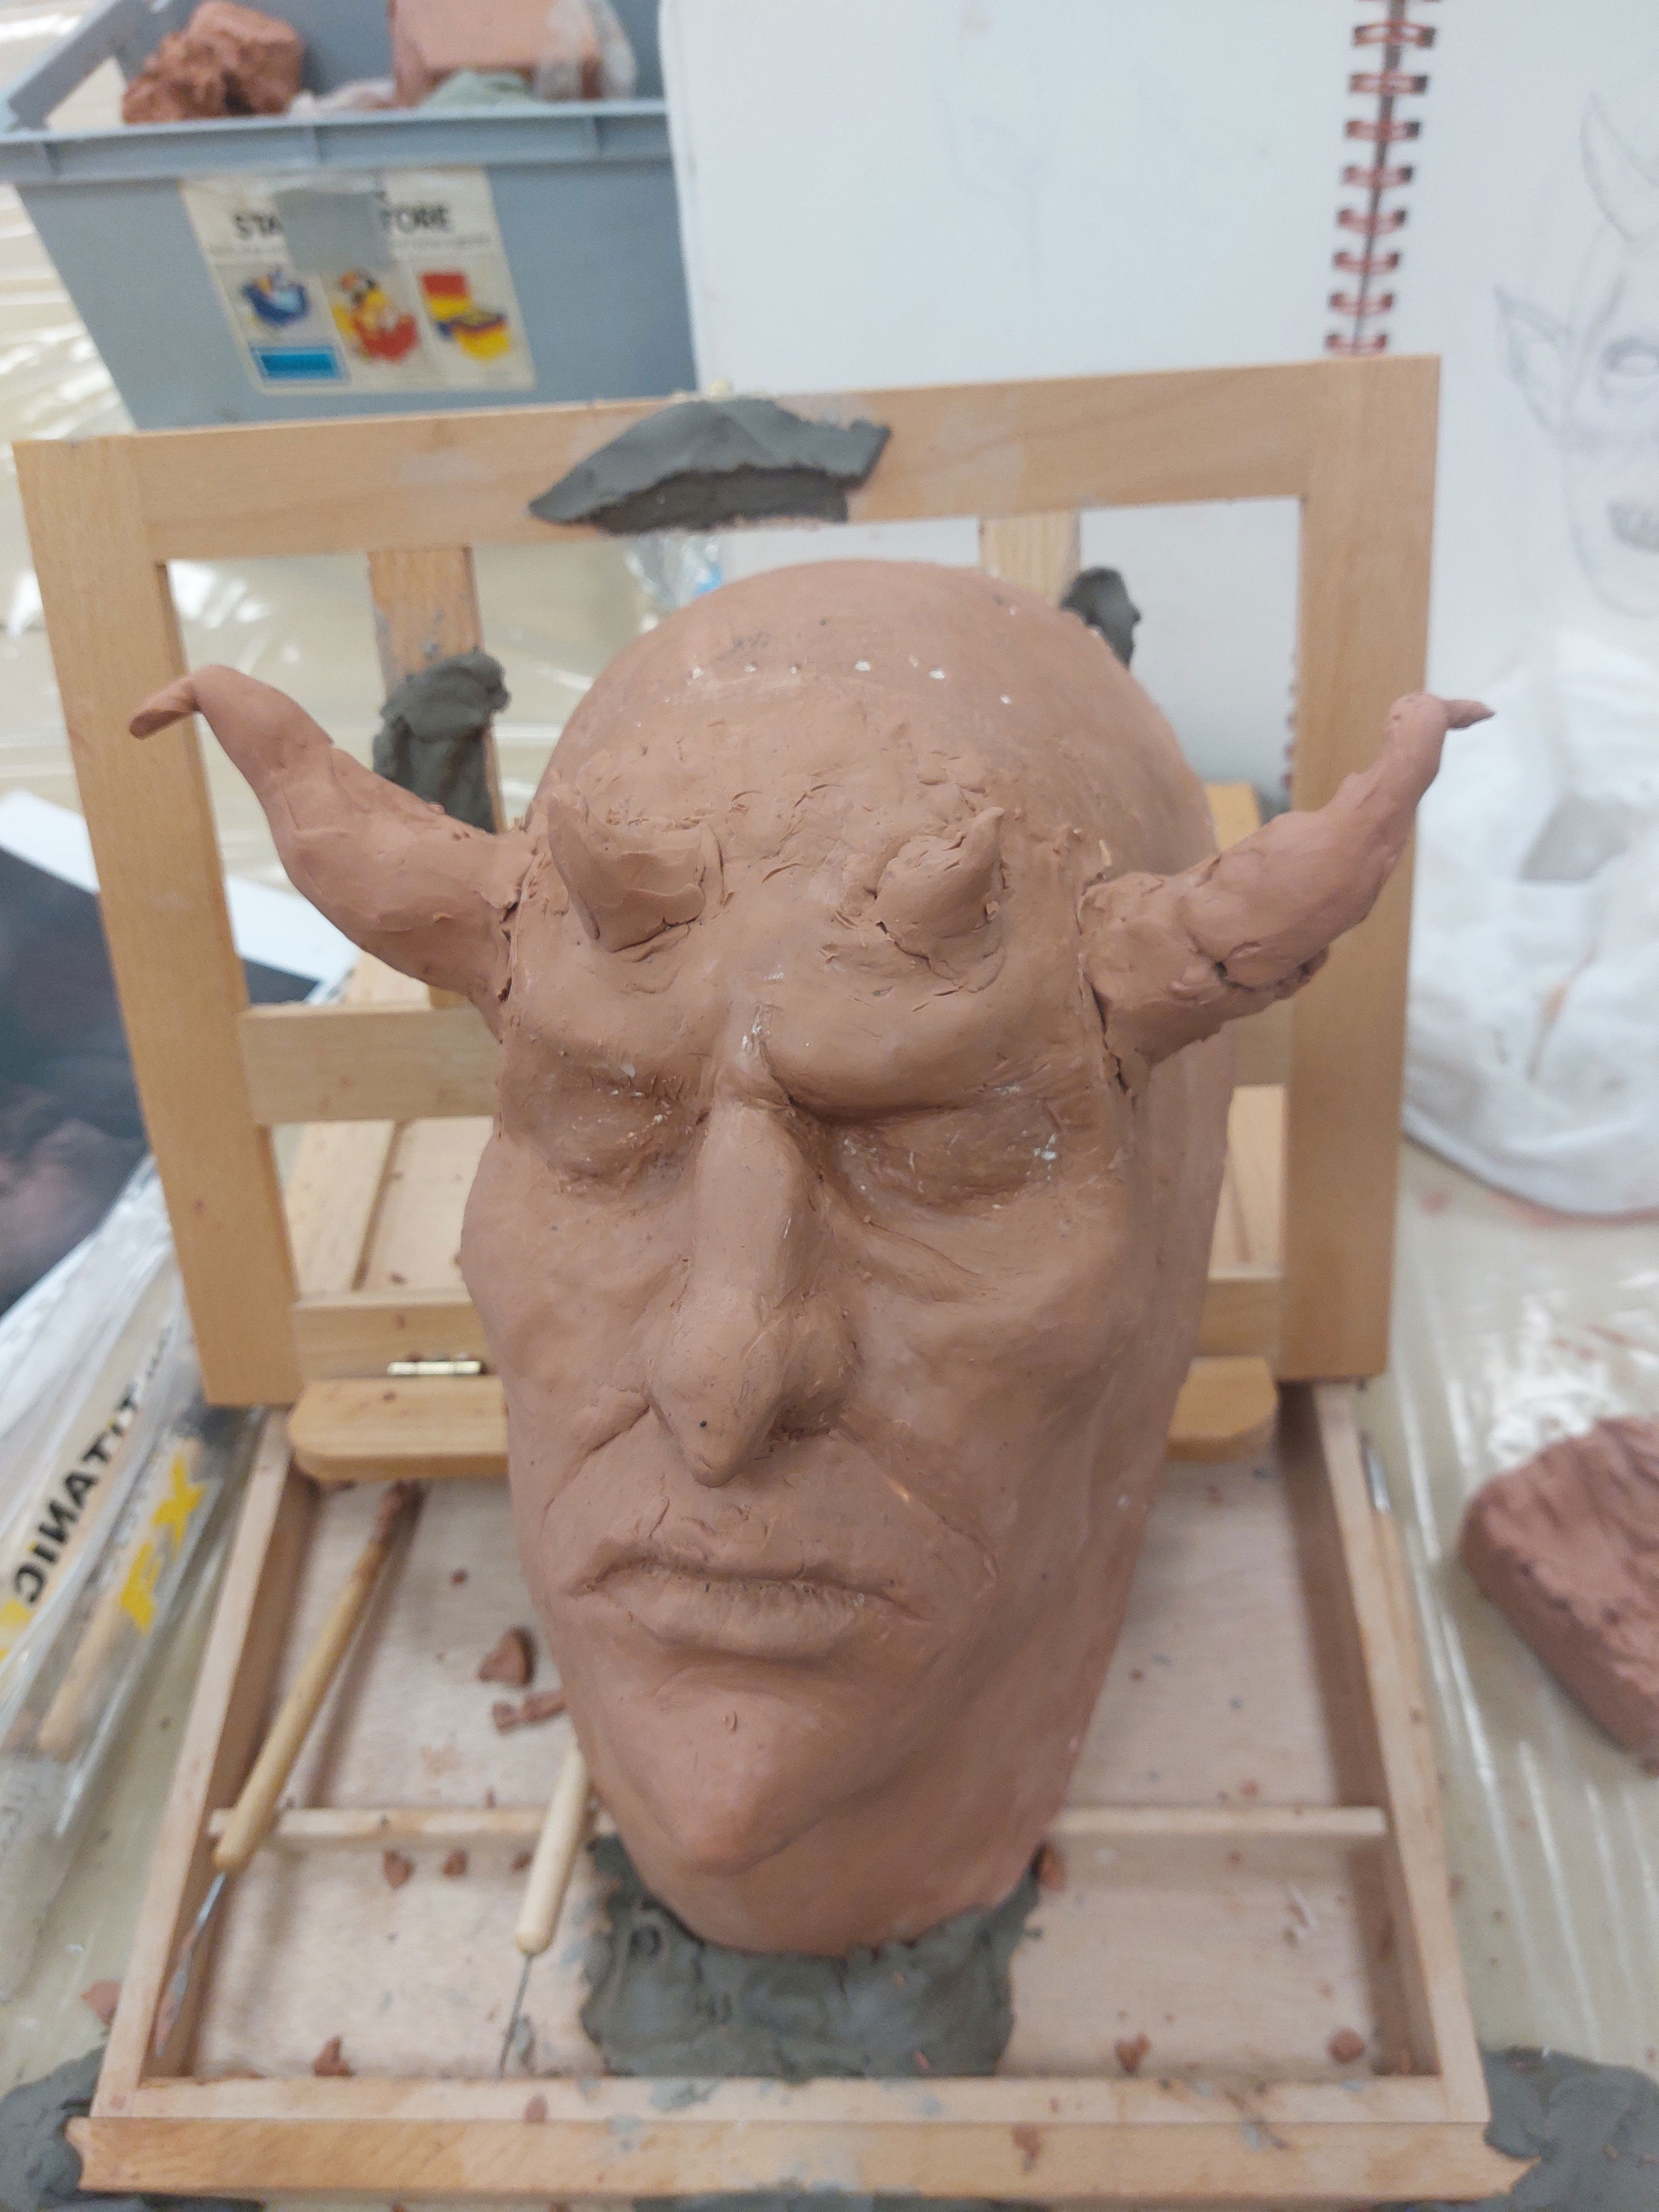
Figure 9: Horns (Keites-Gorman, 2023)
The sculpt was finally coming together. Even though I was slow in the process and got too much in my head, I started to like the resemblance to the design I envisioned. I really liked the angles and sharpness created, as well as the contrast between the high cheeks and the hollow.

Figure 10: final stage sculpt (Keites-Gorman, 2023)
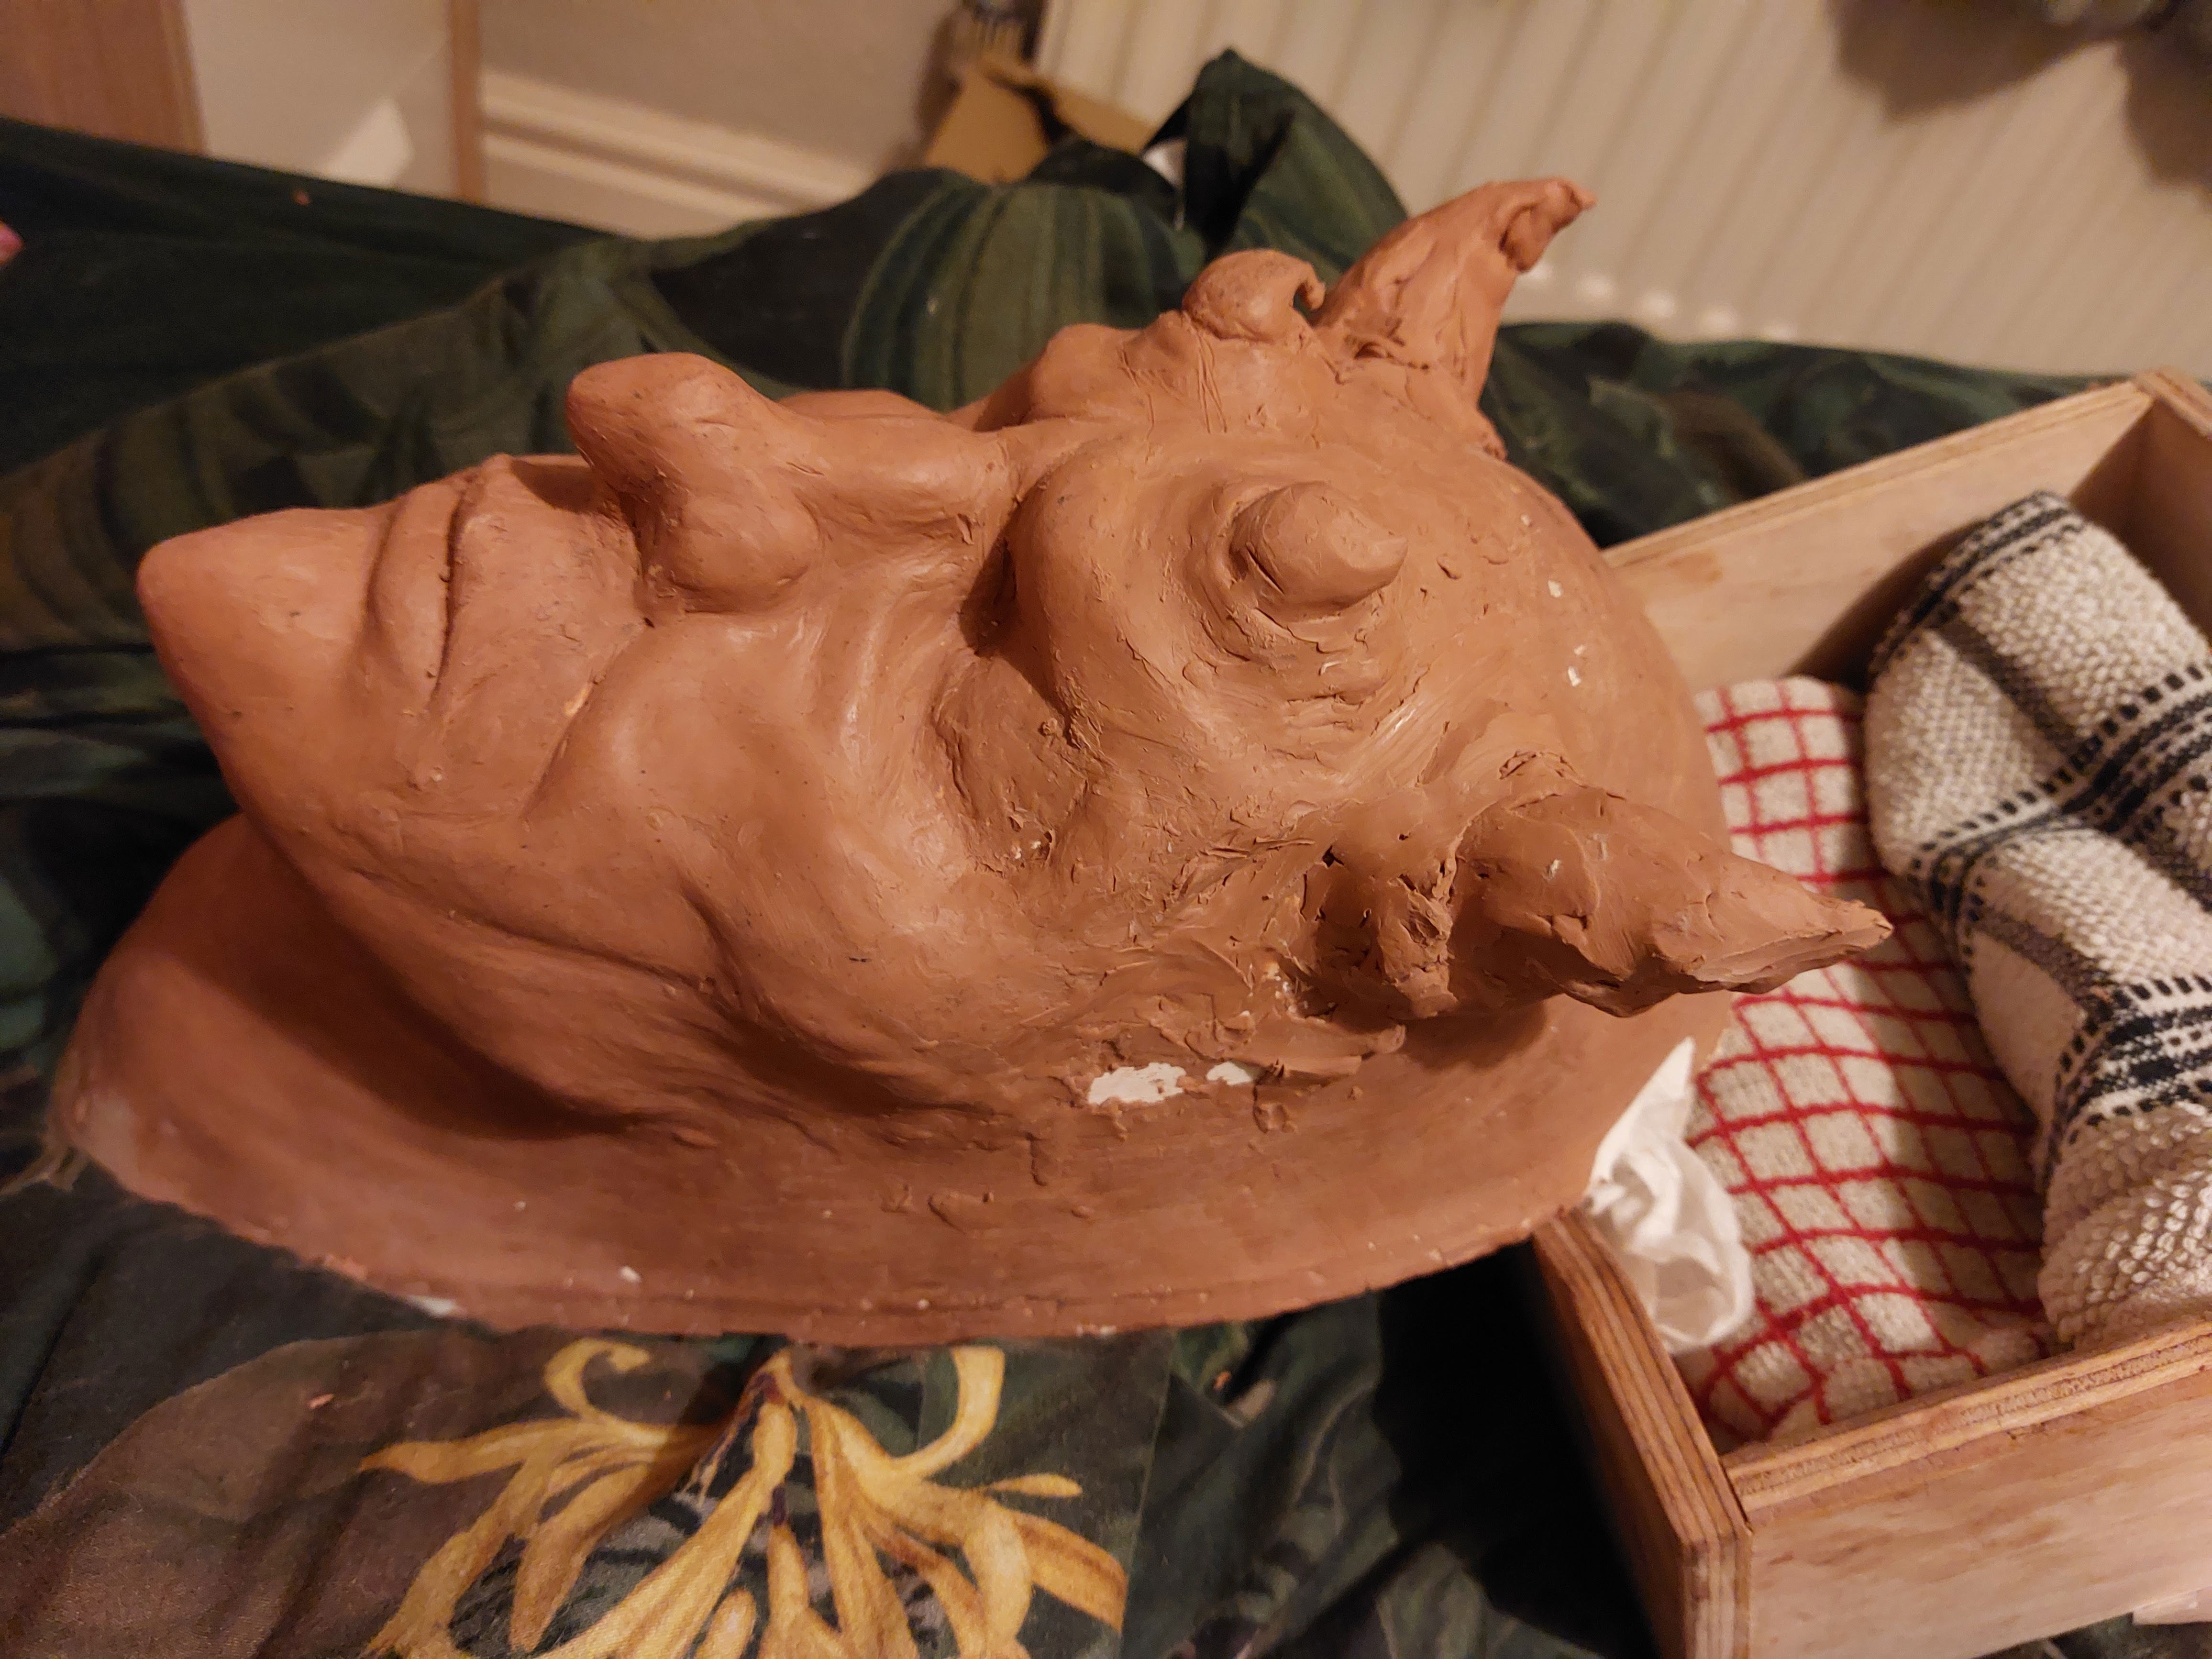
Figure 11: Side profile (Keites-Gorman, 2023)
I was finally happy with my sculpture. However, I was behind by a week. In retrospect, I should have invested more time in sculpting, especially because it was a large sculpture that took longer than I had anticipated. I also had to sculpt the ears. Even though I made multiple sketches for the ears, I kept them simple and just made them pointy. I had to build up one ear cast with plaster, which made one ear less accurate in shape and harder to sculpt evenly. I planned to go back and refine the ears later, but they were not a priority at the time.
Reflecting back, sculpting is not my strongest area and I did challenge myself with this sculpt. I had a very tricky start with not being patient and not smoothing the clay enough. I need to work more in layers almost, rather than getting too far ahead of myself. Looking back, I wish I had more texture, as I did get lost slightly; the wrinkles and smile lines I really liked. I look forward to sculpting more and improving my skills.
Reference list
Bray, S. (2014). Sculpting prosthetics: skin textures. [Video] Available at: https://www.youtube.com/watch?v=1IAc2hDCHlQ. (Acessed 26th November).
Debreceni, T. (2013) Special makeup effects for stage and screen by Todd Debreceni Film. [Book] Available at: https://rack.sbhealthsource.org/public/596794652_special_makeup_effects_for_stage_by_todd_debreceni.html.
Figure List
Figure 1: Bray, S. (2014). Sculpting prosthetics: skin textures. [Video] Available at:(904) Sculpting Prosthetics: Skin Textures - YouTube (Accessed 26th November).
Figure 2: Keites-Gorman, E. (2023). Loop Tools. [Own Work]. York College, UK.
Figure 3: Keites-Gorman, E. (2023). Brush tool. [Own Work]. York College, UK.
Figure 4: Keites-Gorman, E. (2023). Sculpting Progress. [Own Work]. York College, UK.
Figure 5: Keites-Gorman, E. (2023). Sculpting Process up-close. [Own Work]. York College, UK.
Figure 6: Keites-Gorman, E. (2023). Sculpt Smooth. [Own Work]. York College, UK.
Figure 7: Love, C. (2023) 'Goblin Sculpt,' Pinterest. Available at: https://www.pinterest.co.uk/pin/596023331959250236/ (Accessed: September 14, 2023).
Figure 8: Keites-Gorman, E. (2023) 'Creature,' Pinterest. Available at: https://www.pinterest.co.uk/pin/596023331960964623/ (Accessed: September 11, 2023).
Figure 9: Keites-Gorman, E. (2023). Horns. [Own Work]. York College, UK.
Figure 10: Keites-Gorman, E. (2023). Final stage sculpt. [Own Work]. York College, UK.
Figure 11: Keites-Gorman, E. (2023). Side Profile. [Own Work]. York College, UK.