6. Negative Moulds
16th April 2024
After completing the necessary steps for preparing the negatives, I could move on to the exciting process of using polyurethane. I enjoy working with this material because it's unbreakable, but I definitely don't enjoy shaking all the tins. When I was working on the negatives, I had to shake a lot of tins and it was quite a workout.
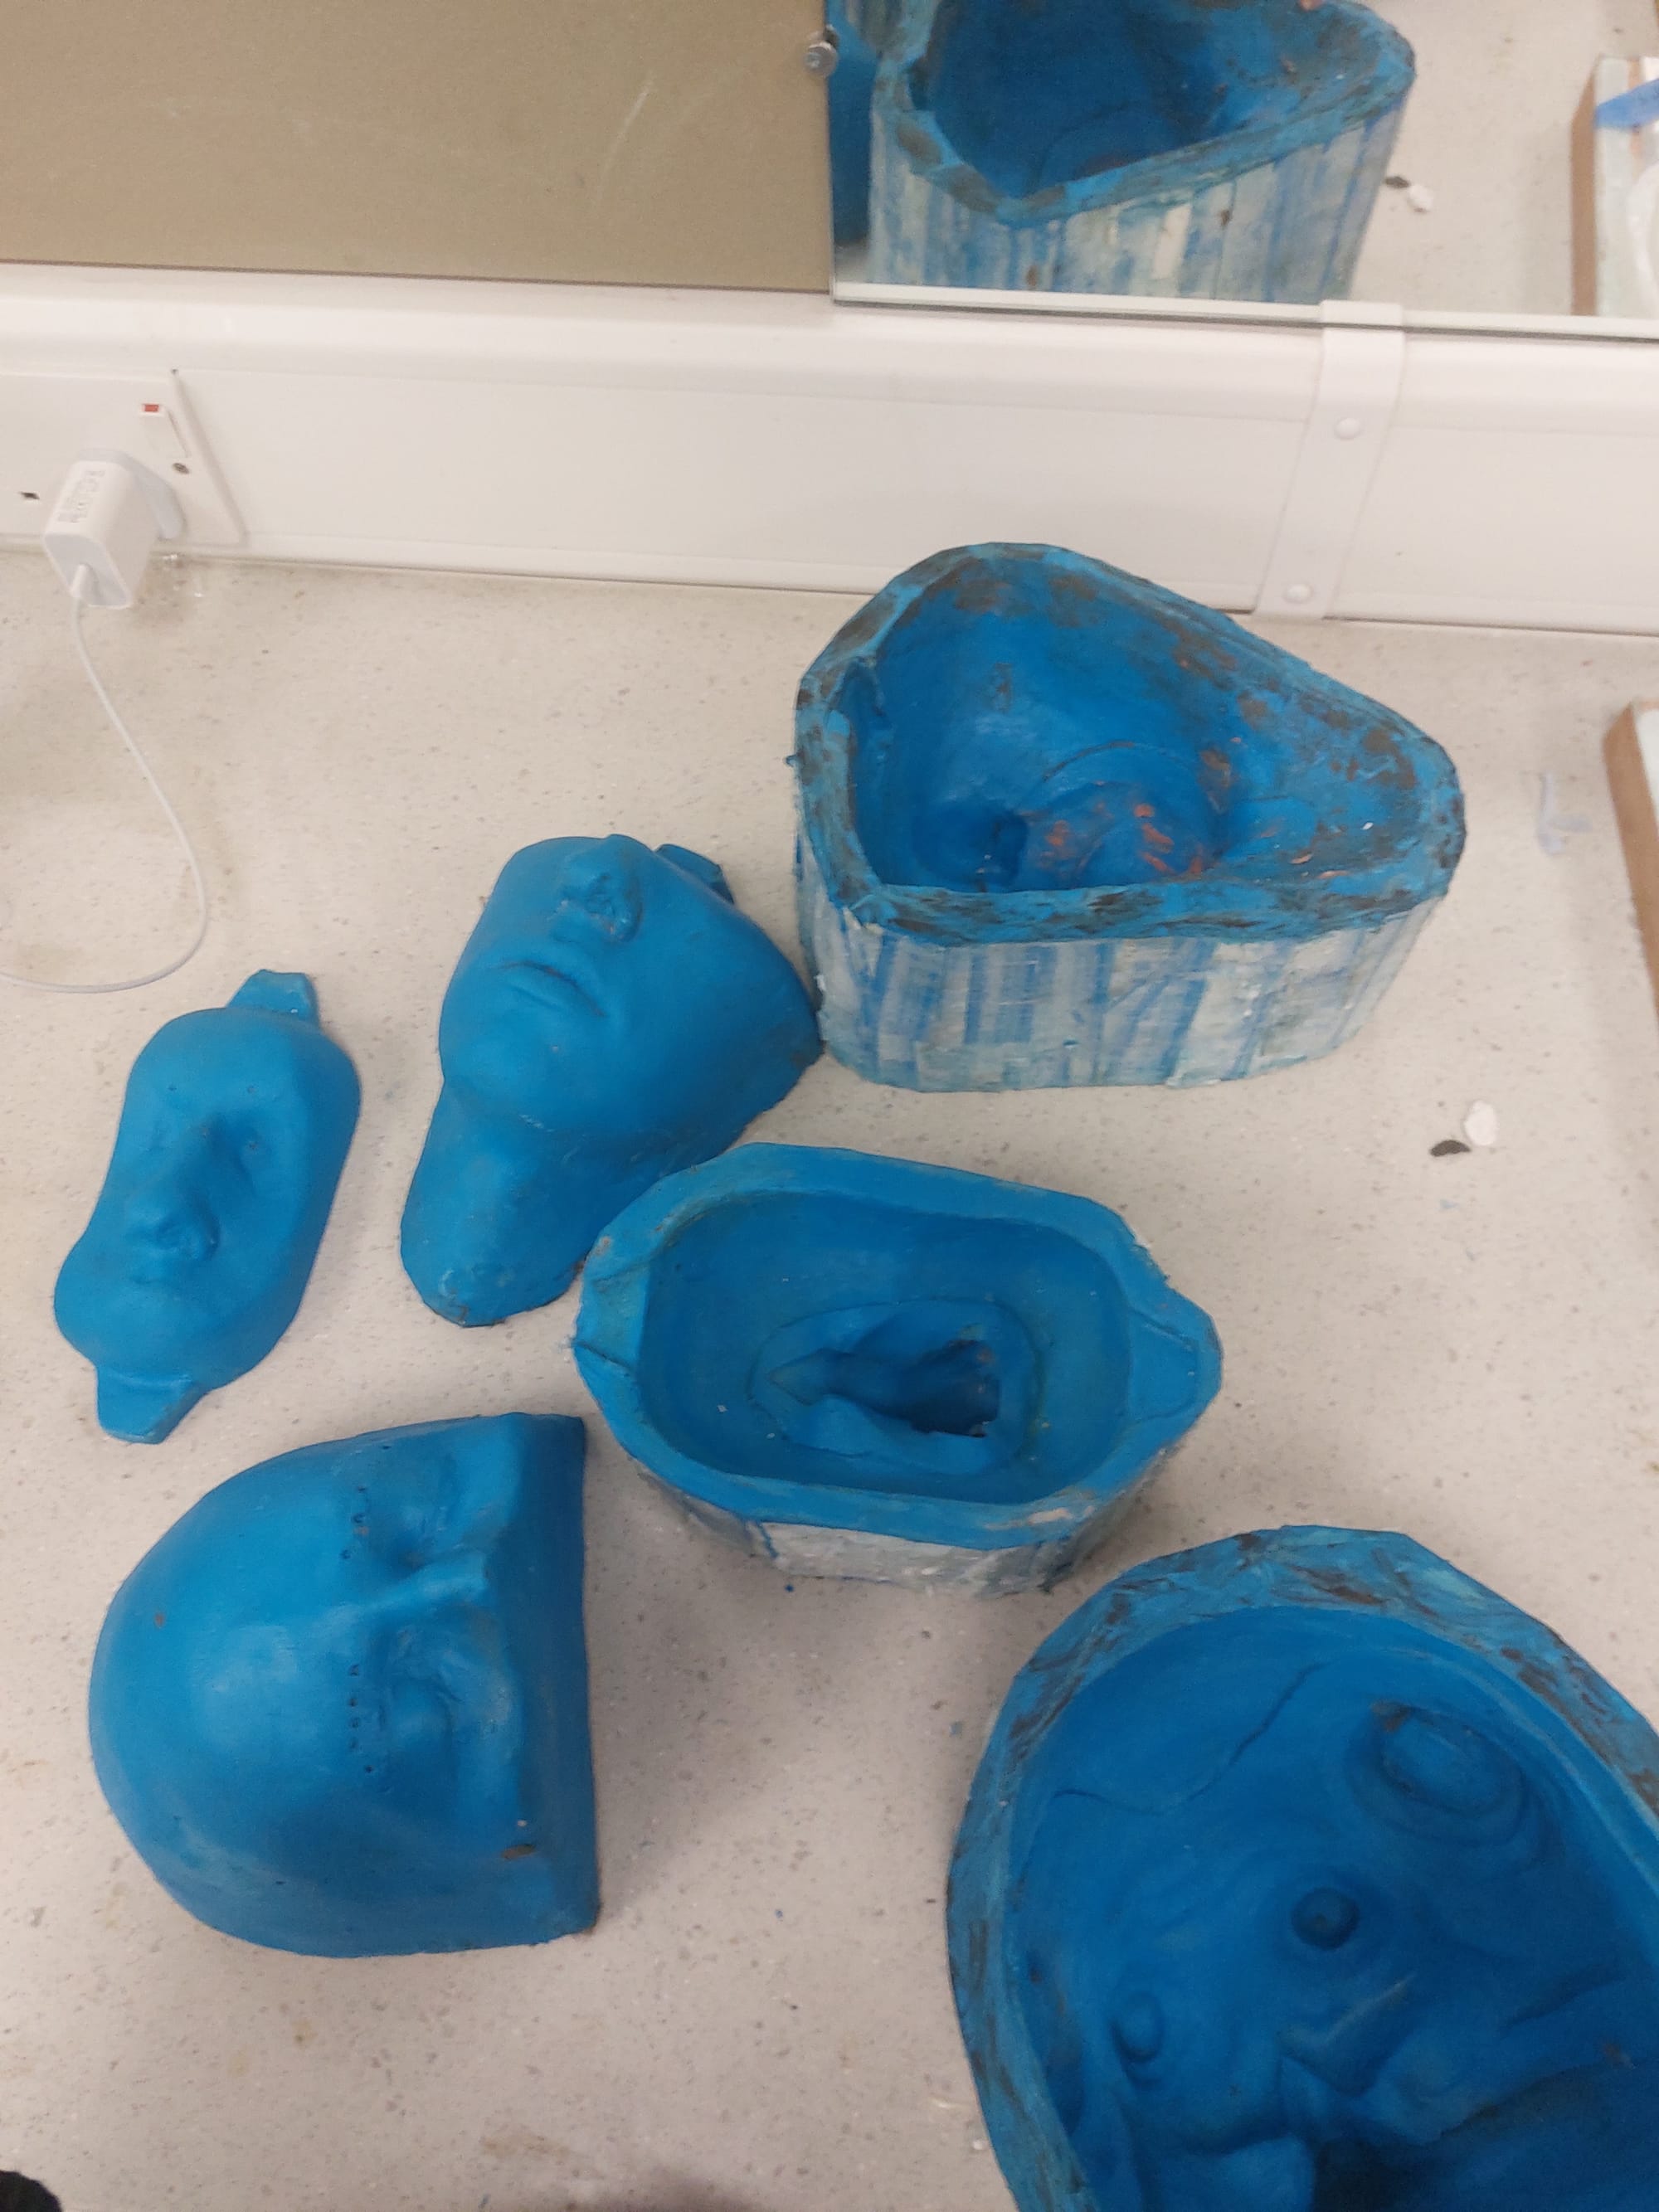
These are all the positives prepped and had a good layer of Vaseline, a very good layer because we want these to be able to come apart again.
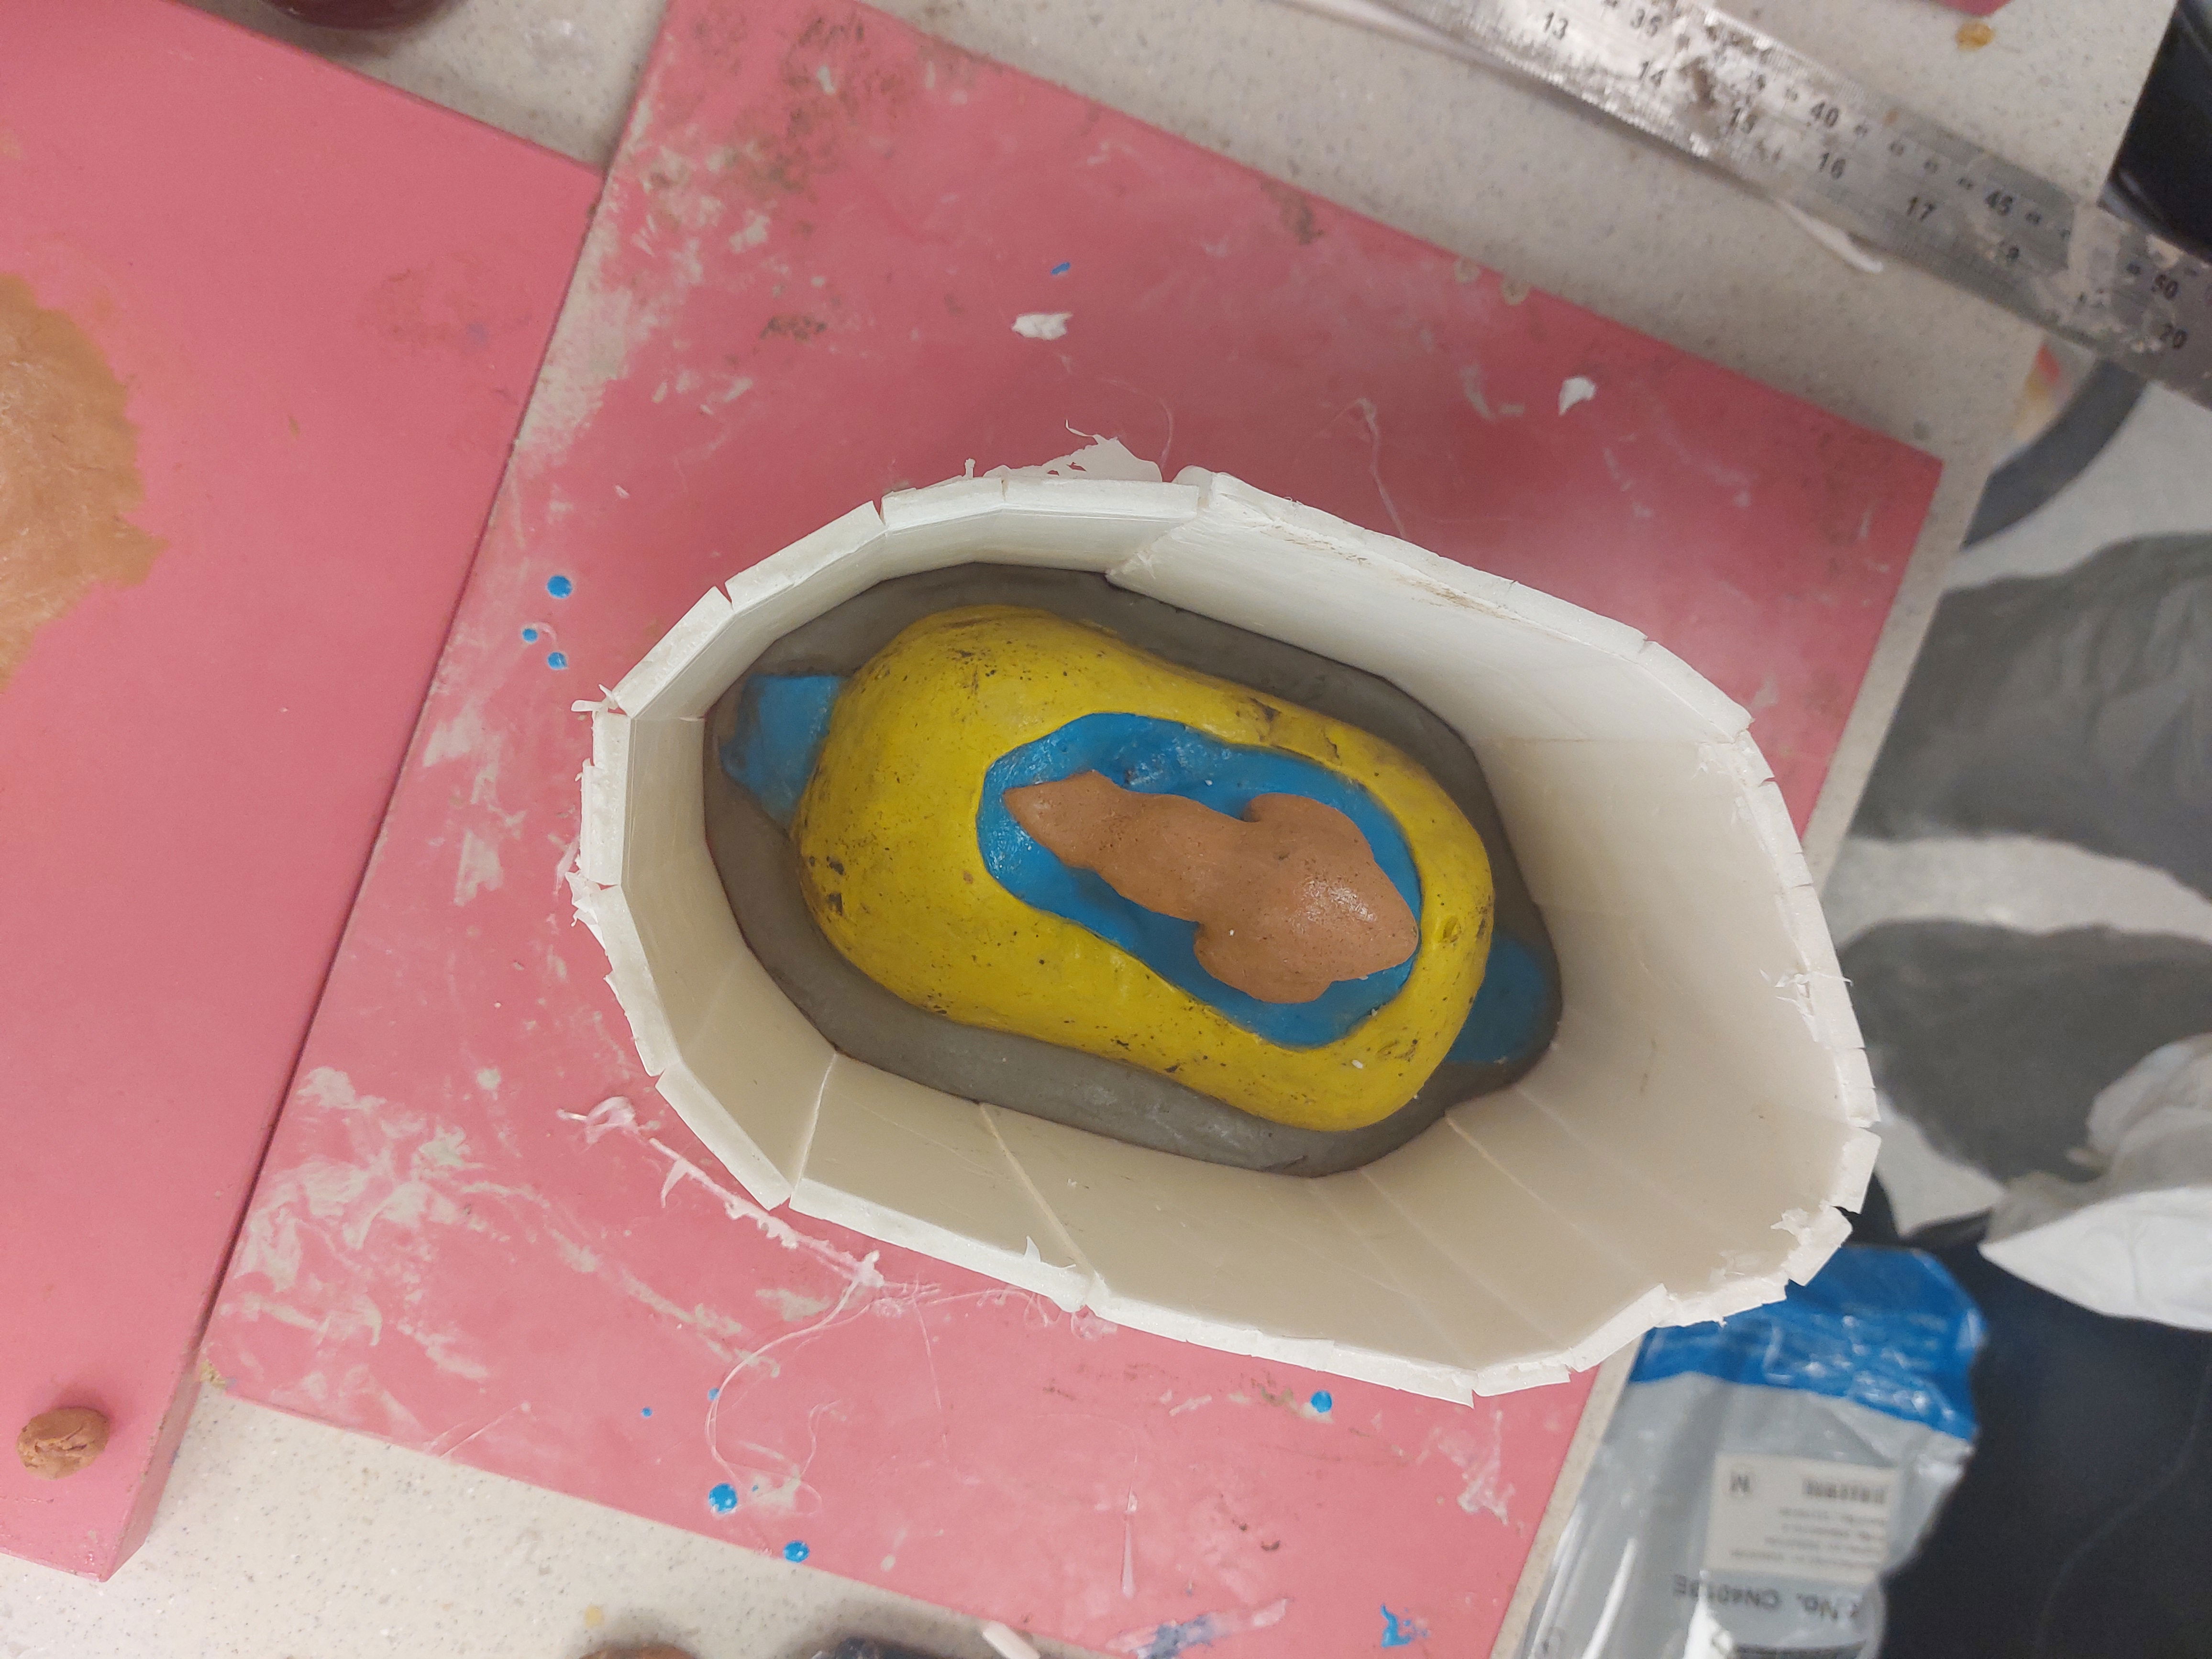
Figure 1: Nose positive core (Keites-Gorman, 2024)
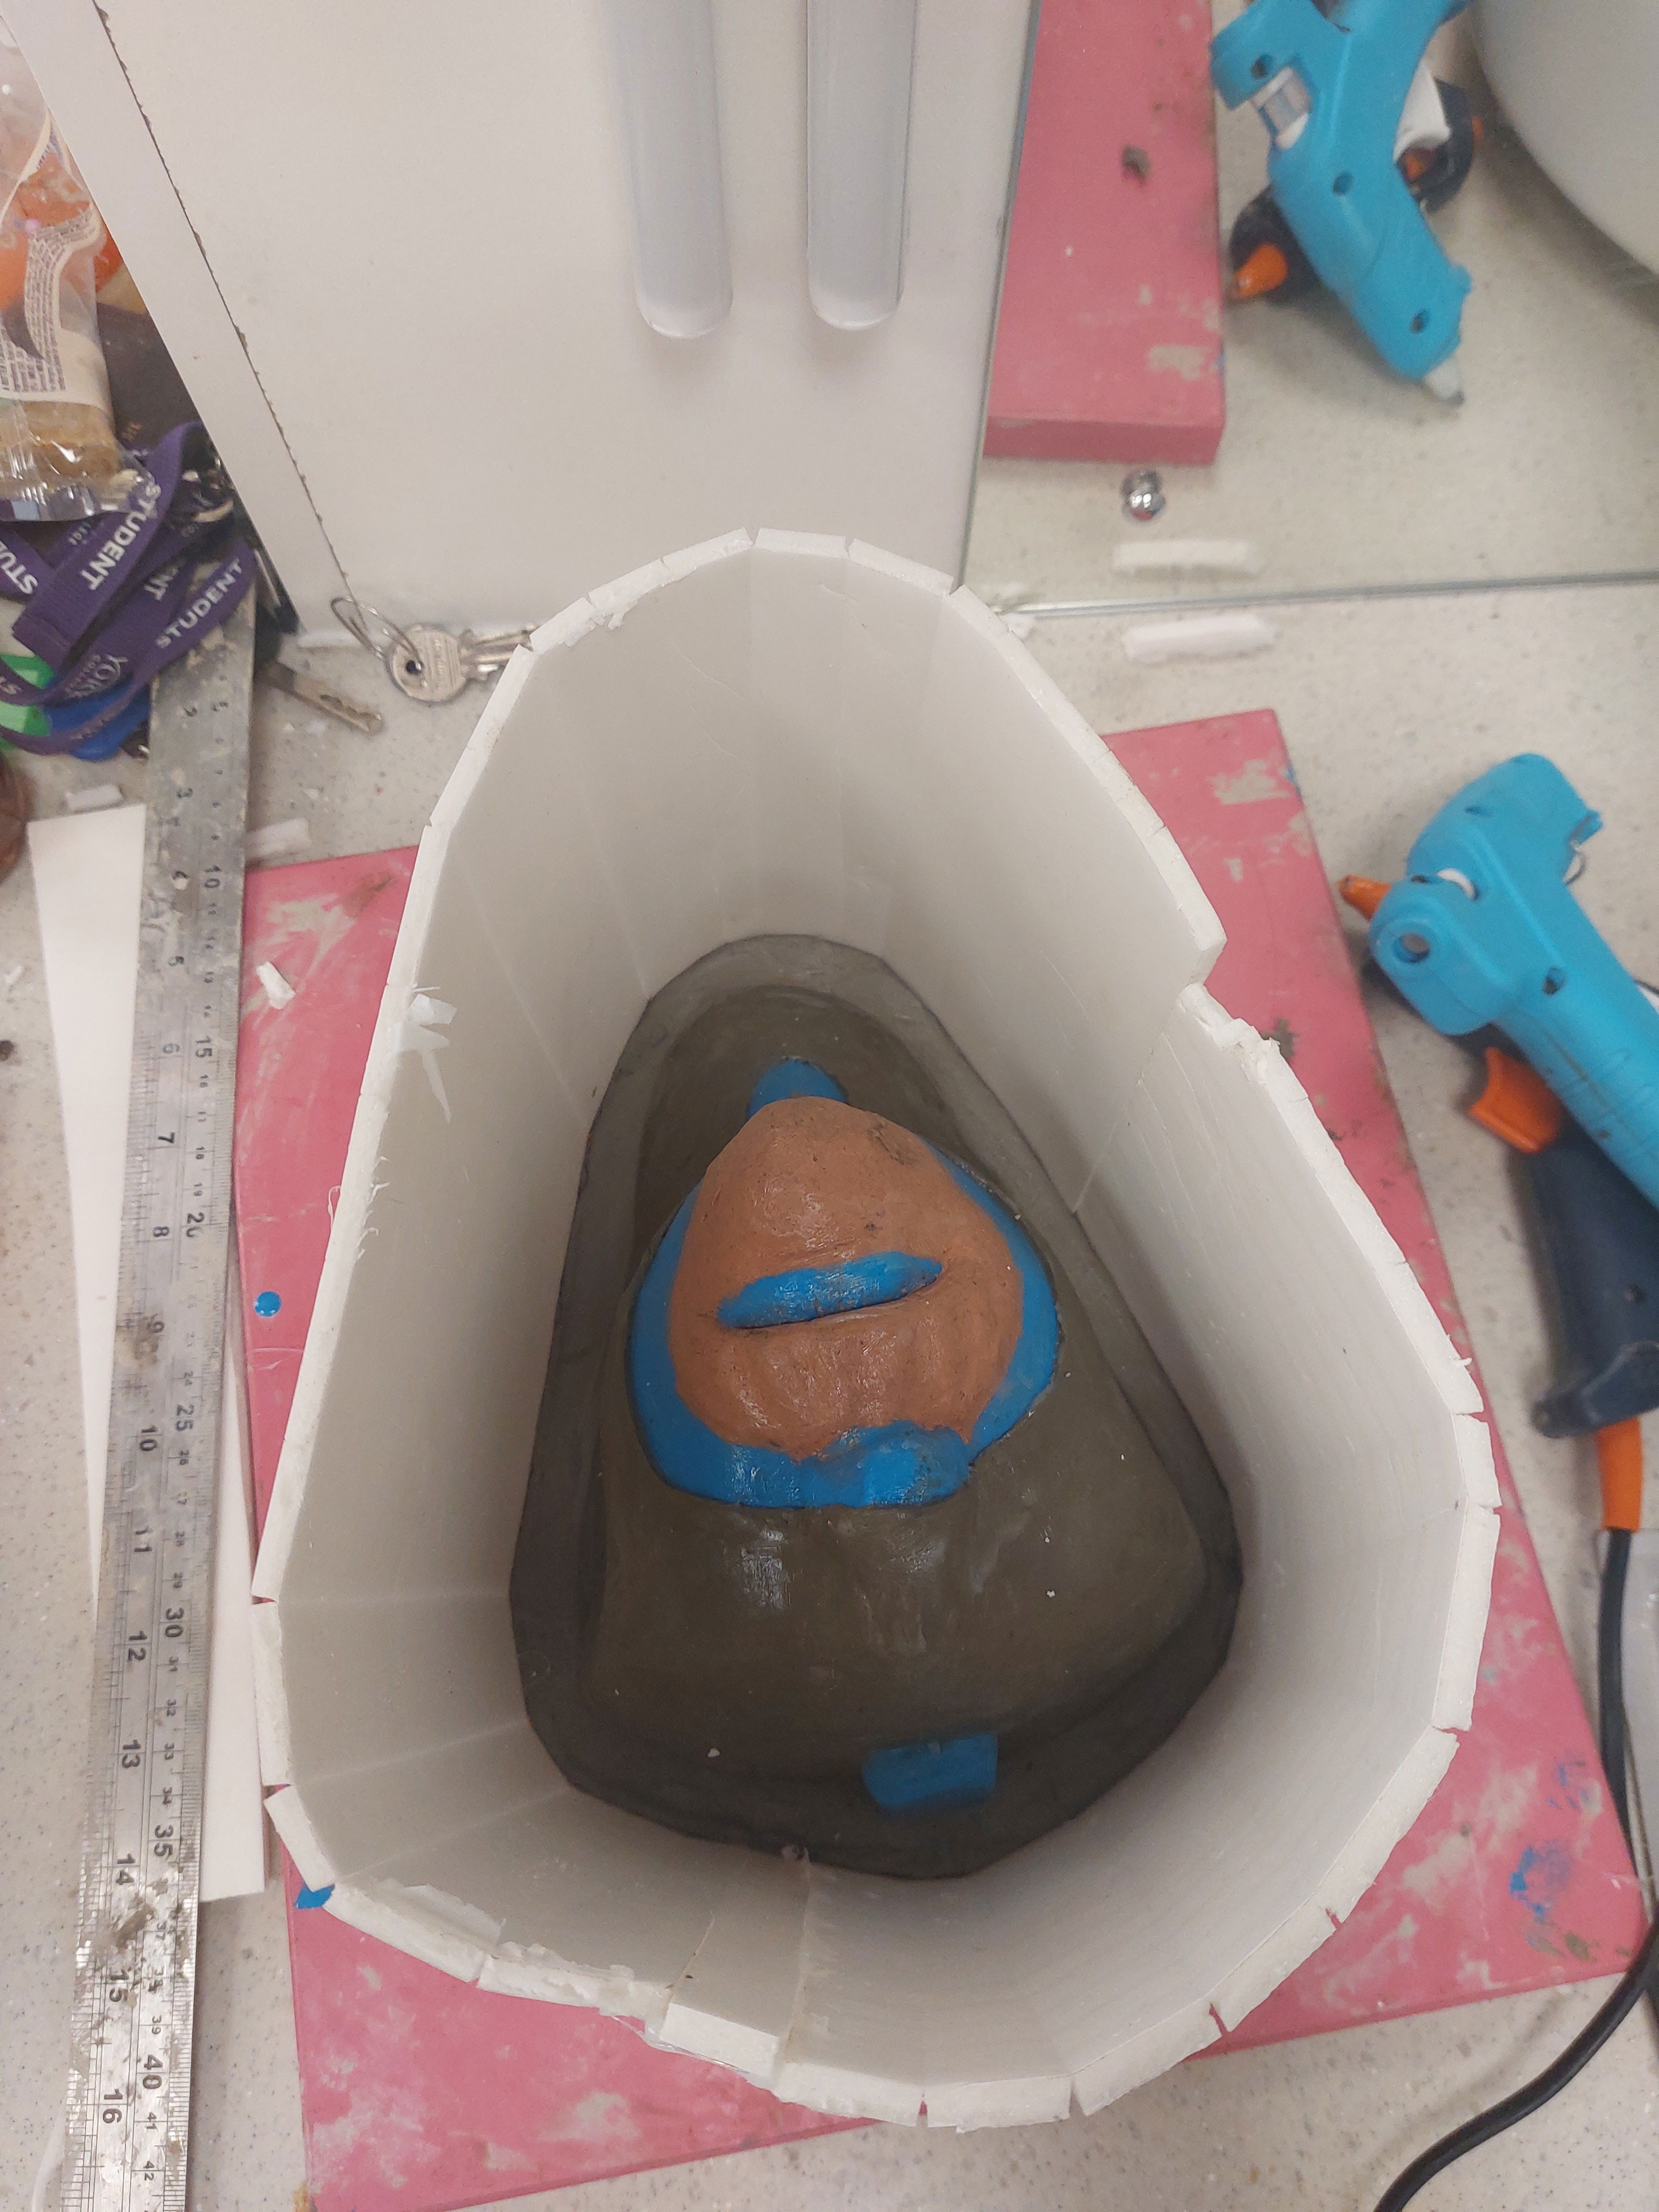
Figure 2: Chin positive core (Keites-Gorman, 2024)
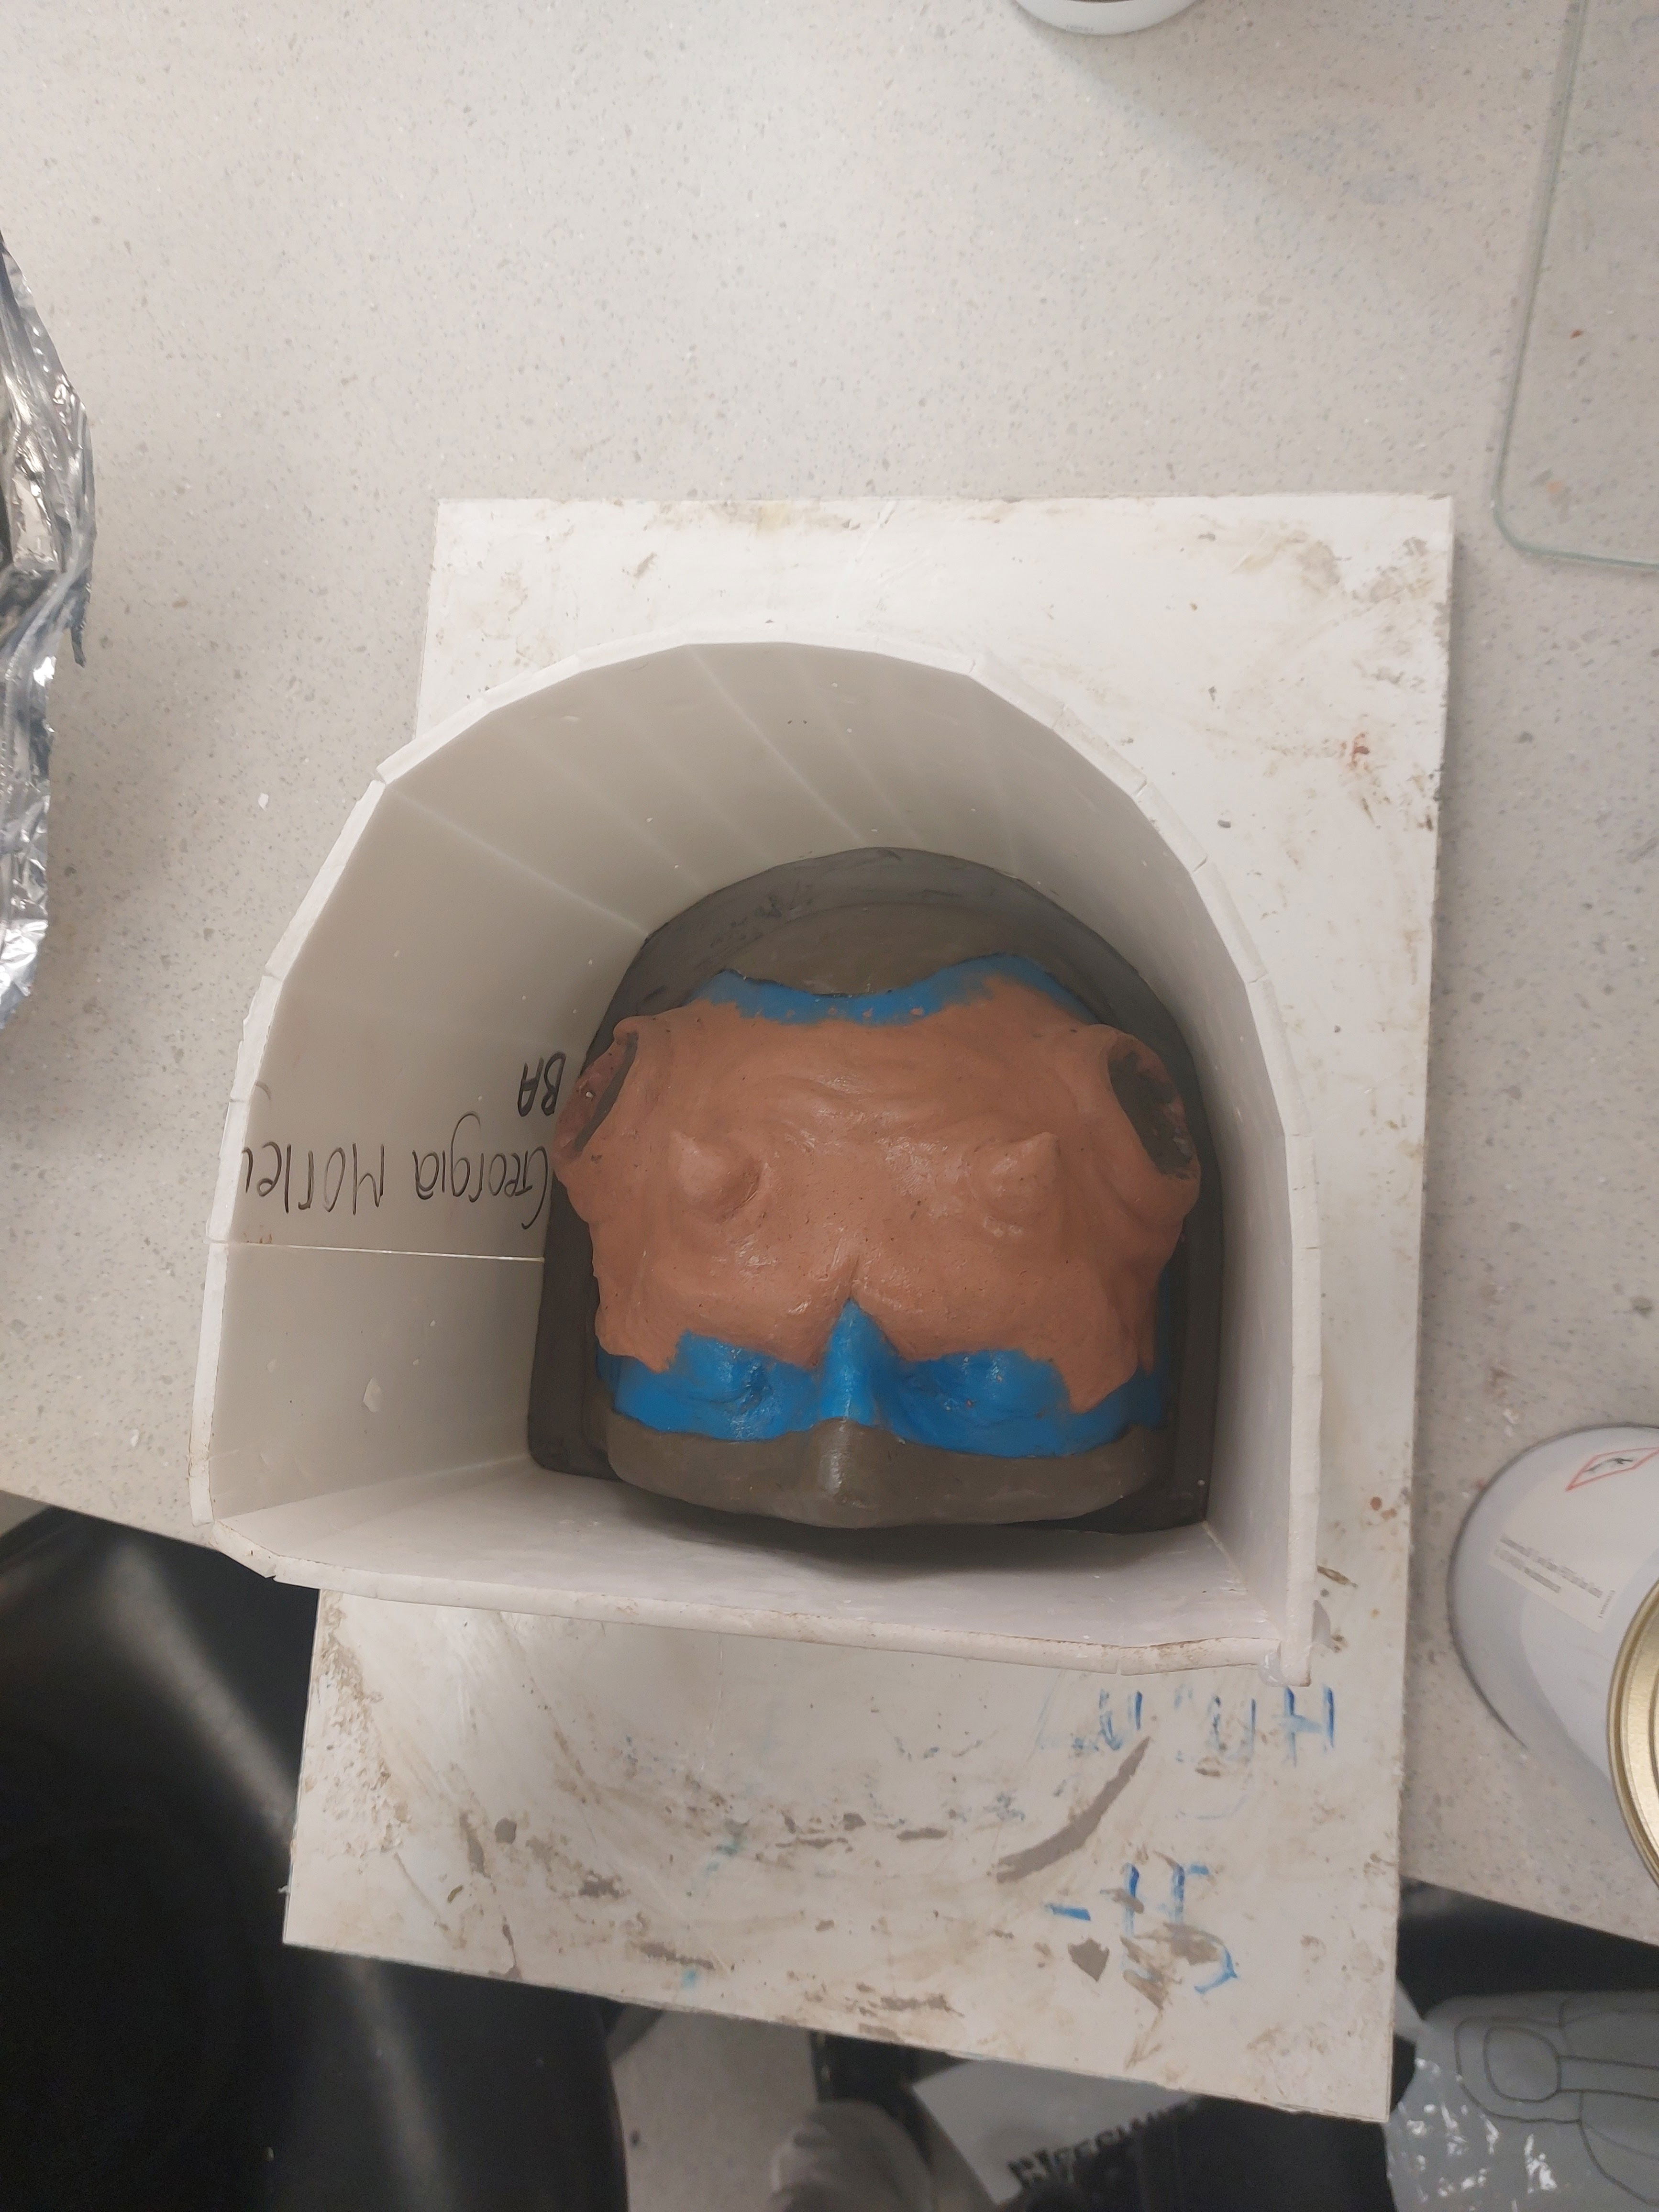
Figure 3: Forehead positive core (Keites-Gorman, 2024)
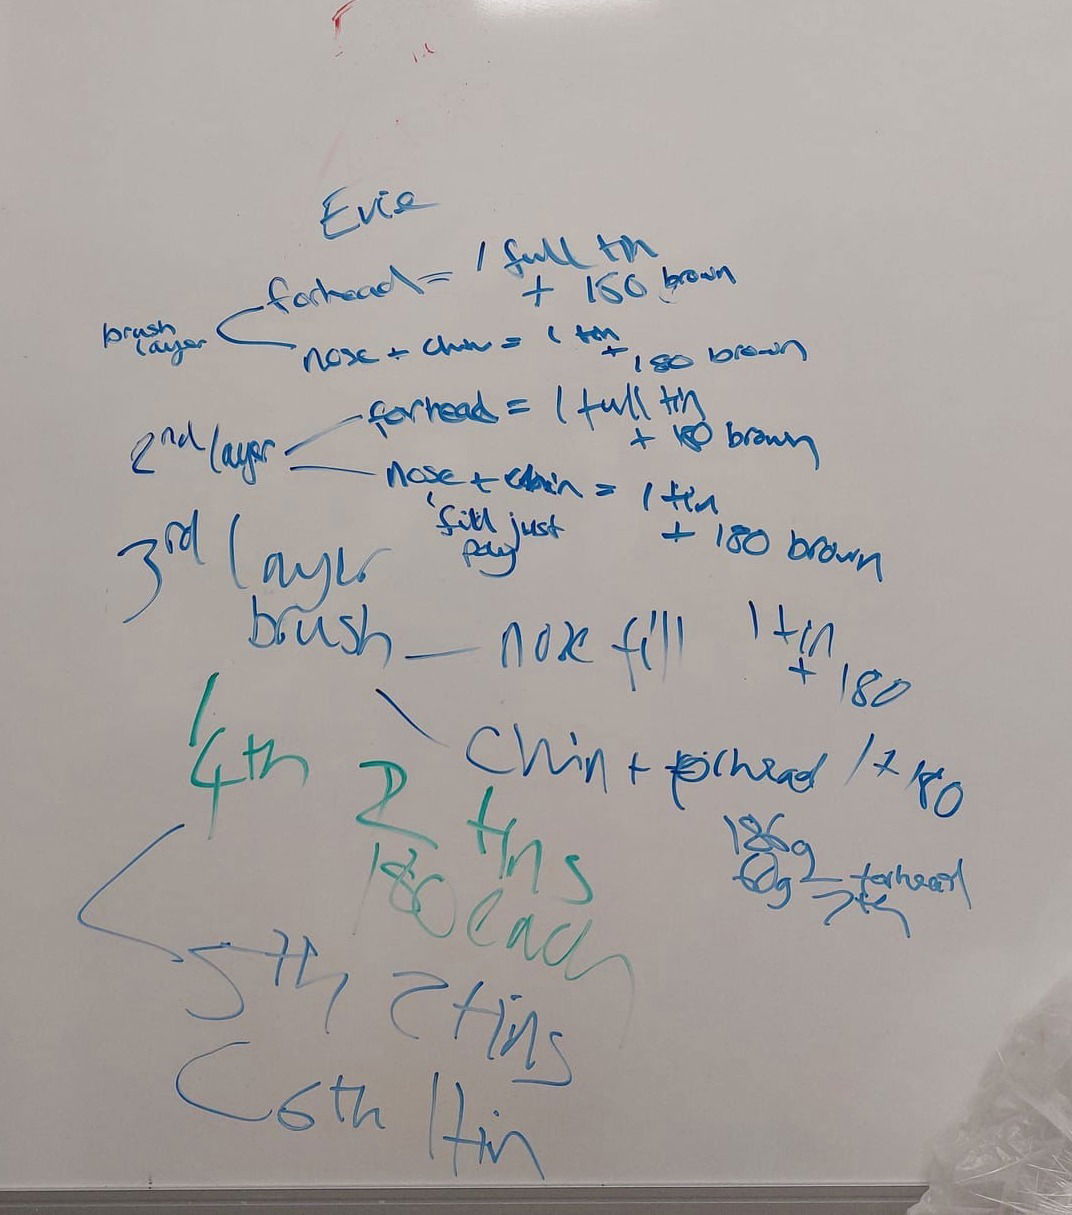
Figure 4: Measurements (Keites-Gorman, 2024)
(Also as a little note, I like that you can see my handwriting gets worse as my arms get more and more tired shaking tins)
Figure 4: Measurements (Keites-Gorman, 2024)
First layer: I used 2 full tins for all three pieces. It was important to gently brush this layer on to pick up the details and cover all areas. I also mixed 180g of isocyanate with each tin as the catalyst so it could set.
Second layer: The second layer was the same, but it was more of a pour this time since I had already done the brush layer. The measurements were exactly the same as the first layer.
Third layer: By the third layer, I had filled the nose piece with one tin and 180g of isocyanate. I then split a tin between the chin and forehead.
Fourth layer: 2 tins were needed, each having 180g of isocyanate.
Unfortunately, it wasn't quite enough to fill as these were quite big molds.
Fifth layer: Again, another 2 tins and 180g isocyanate. Not much else to say but my arms were tired at this point from shaking tins. Sixth layer: Finally, I used 1 more tin and 180g isocyanate, and it was done!
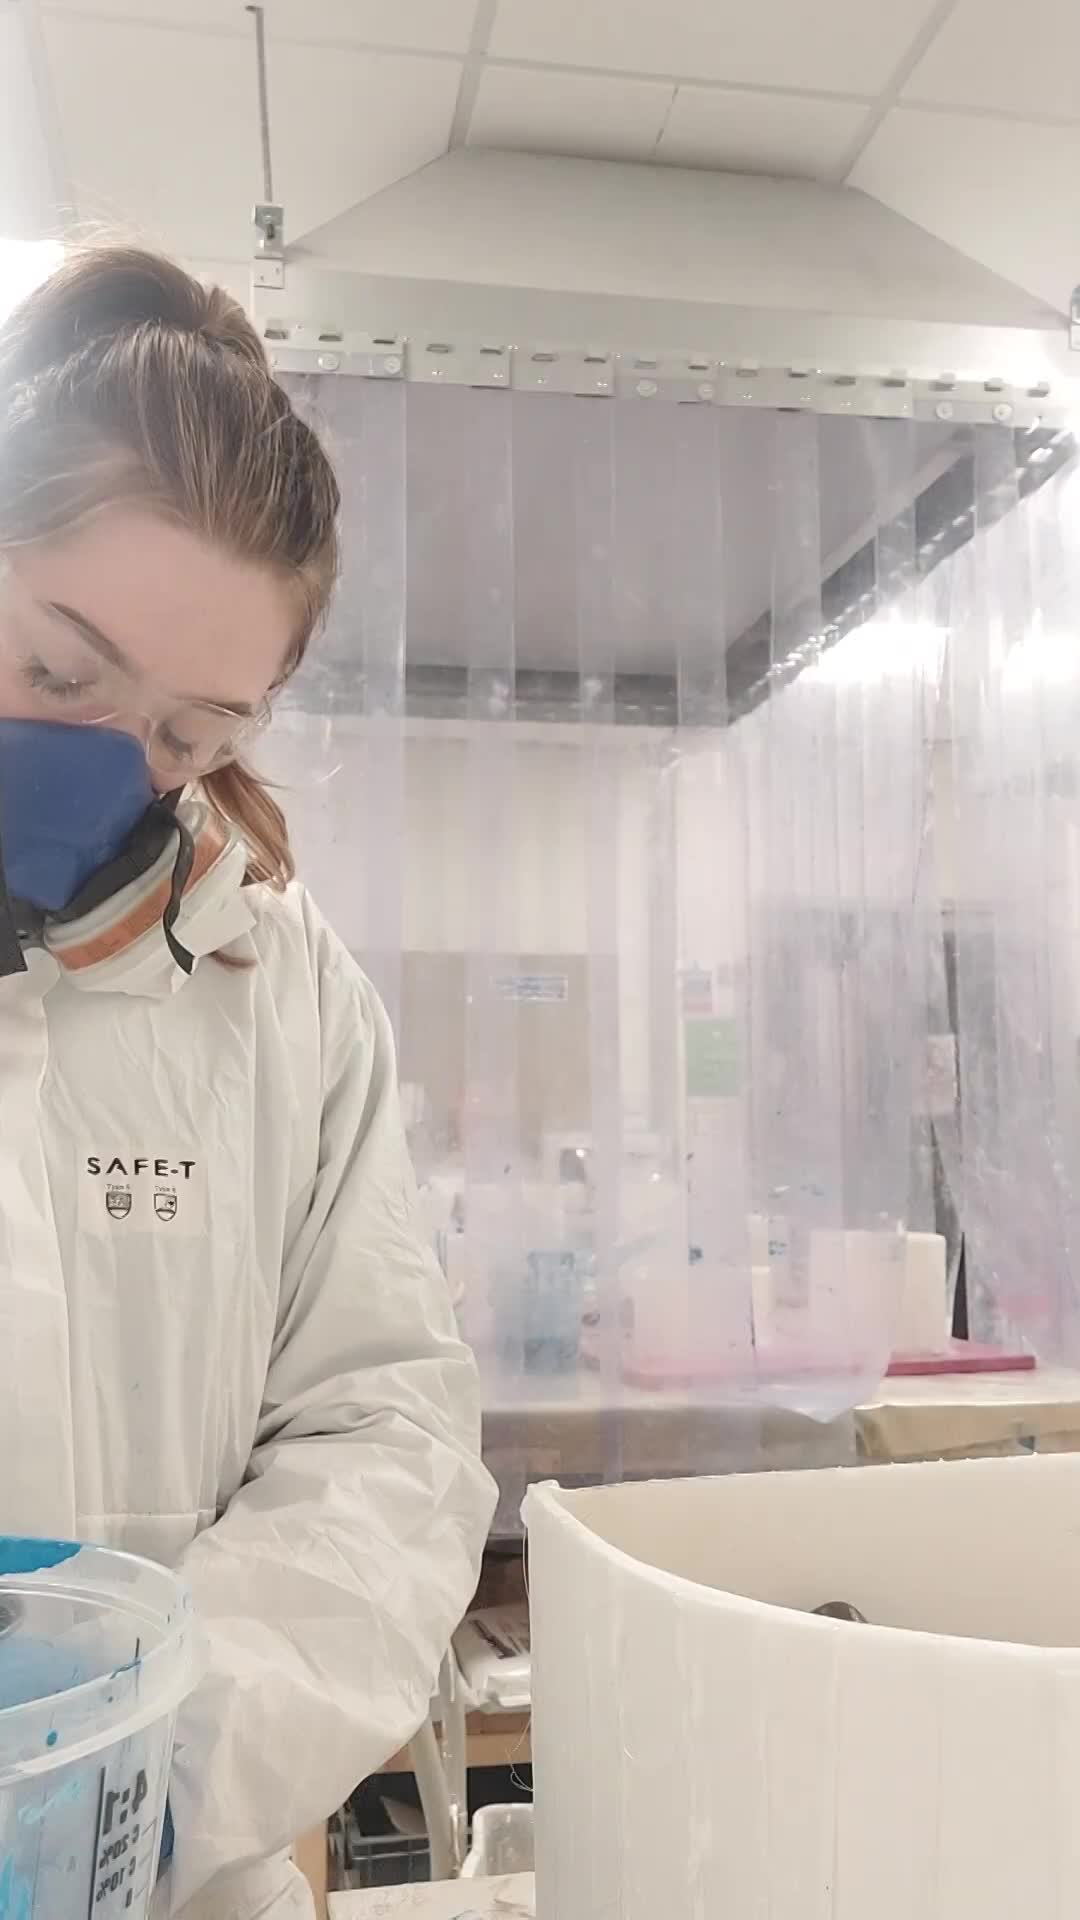
Figure 5: time-lapse Negatives (Keites-Gorman, 2024)
This is a video of me filling the forehead piece. I did not get the best camera angle but hopefully, you get an idea of what I was doing.
It was quite an exhausting process to work through in just one day, but I knew I needed to do it so I could finally start running pieces, as time was catching up with me. I ended up using 11 tins that day, and my arms were definitely hurting. As you can see in this video, I'm quite messy, especially with this stuff. As much as I am prepared, I would like to be a little more careful with how messy I can get, as this stuff does stain. But don't worry I did clean this up, as much as I can be messy I will always clean up the mess I make.
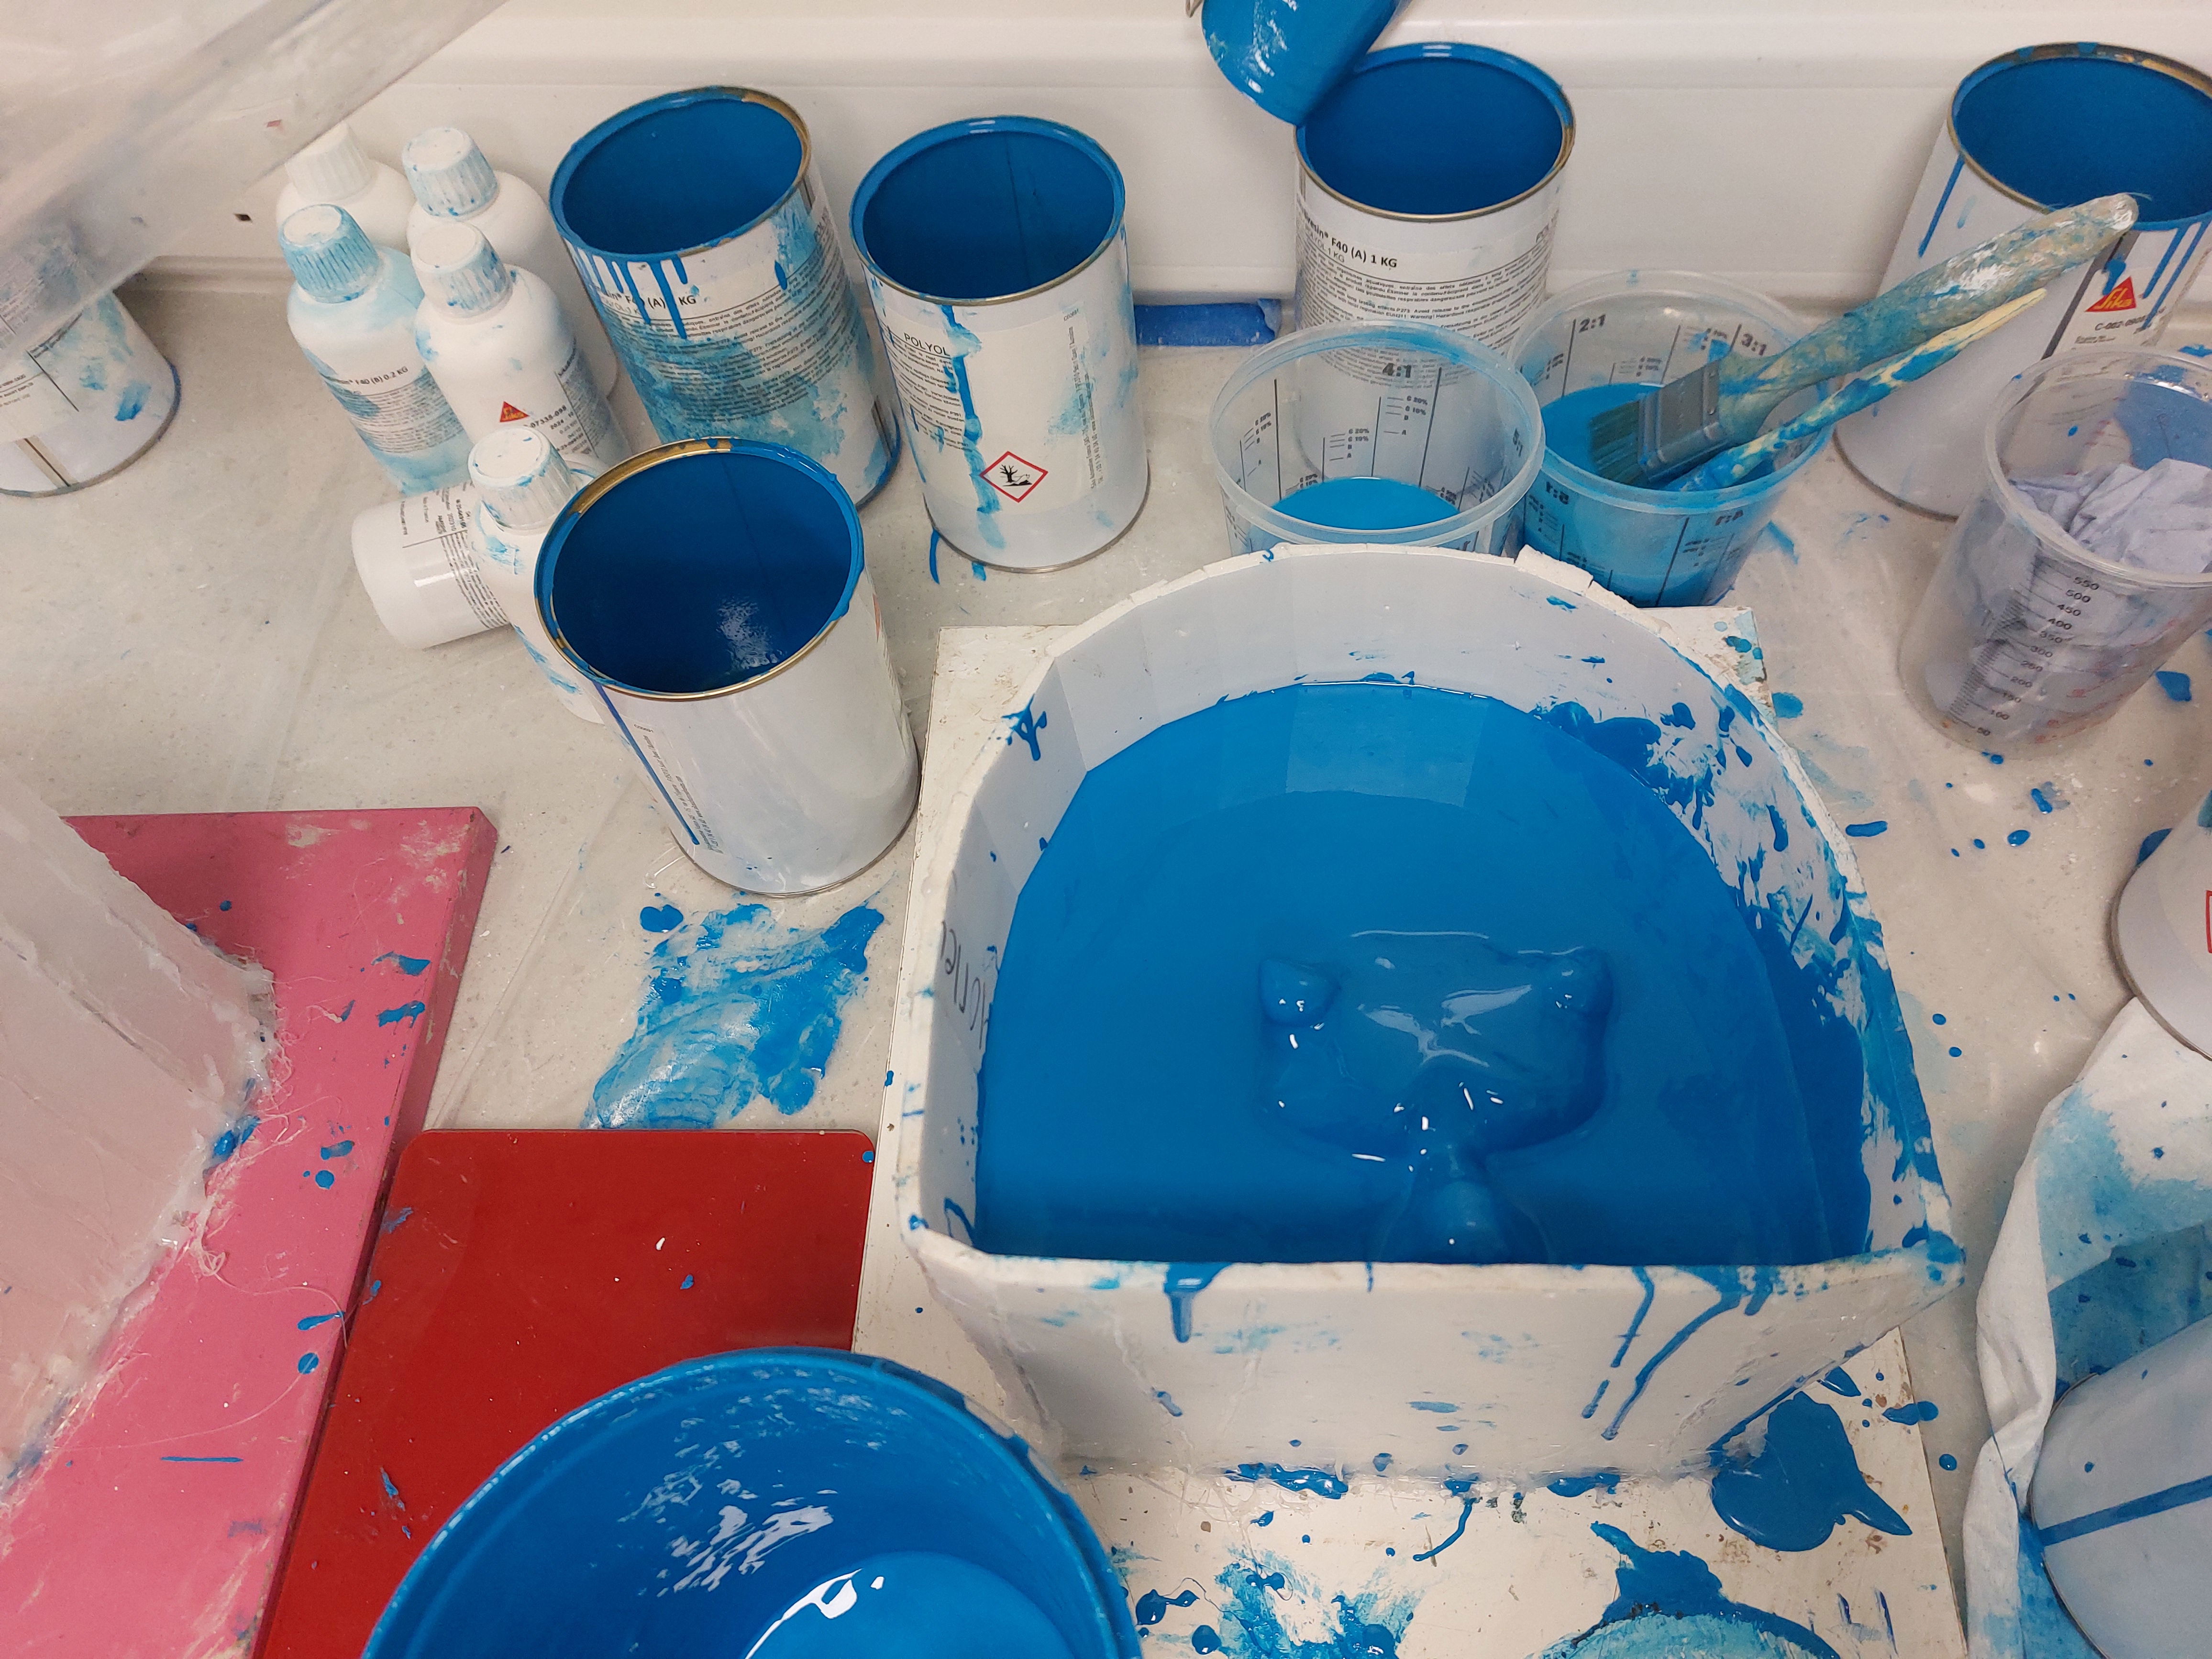
Figure 6: Work Station (Keites-Gorman, 2024)
Figure list
Figure 1: Keites-Gorman, E. (2024). Nose positive core. [Own Work]. York College, UK.
Figure 2: Keites-Gorman, E. (2024). Chin positive core. [Own Work]. York College, UK.
Figure 3: Keites-Gorman, E. (2024). Forehead positive core. [Own Work]. York College, UK.
Figure 4: Keites-Gorman, E. (2024). Measurements. [Own Work]. York College, UK.
Figure 5: Keites-Gorman, E. (2024). Time-lapse Negatives. [Own Work]. York College, UK.
Figure 6: Keites-Gorman, E. (2024).Work Station. [Own Work]. York College, UK.