4. Cleaning Up, Correcting, Master Moulds

10th October
Why do we clean up a face cast ?
It's crucial to clean up a face cast because most casts come out with imperfections, bumps, and chips. We are bound to create air bubbles out of models comfort (Stuart, 2014). We need a smooth surface for sculpting without removing important details. This step makes our work easier and improves the surface for creating a better master mould in the next step.
Process of cleaning up
The nose is normally an area that needs a few chips with a mallet and sculptor to make sure the nostrils and nice and flat. Any bumps and creases from the bold cap were also removed. I also drilled small holes in the brows and around the hairline. This is important in knowing we’re the brows and hair line is as the purple paint will eventually be rubbed off and it ensures those feature will always be mapped out. We did this process in our first year and so I was comfortable with this process, the nose is always a tricky one as I do not want to chip off too much and it does require some awkward angles. Overall I am pleased with this step of casting.
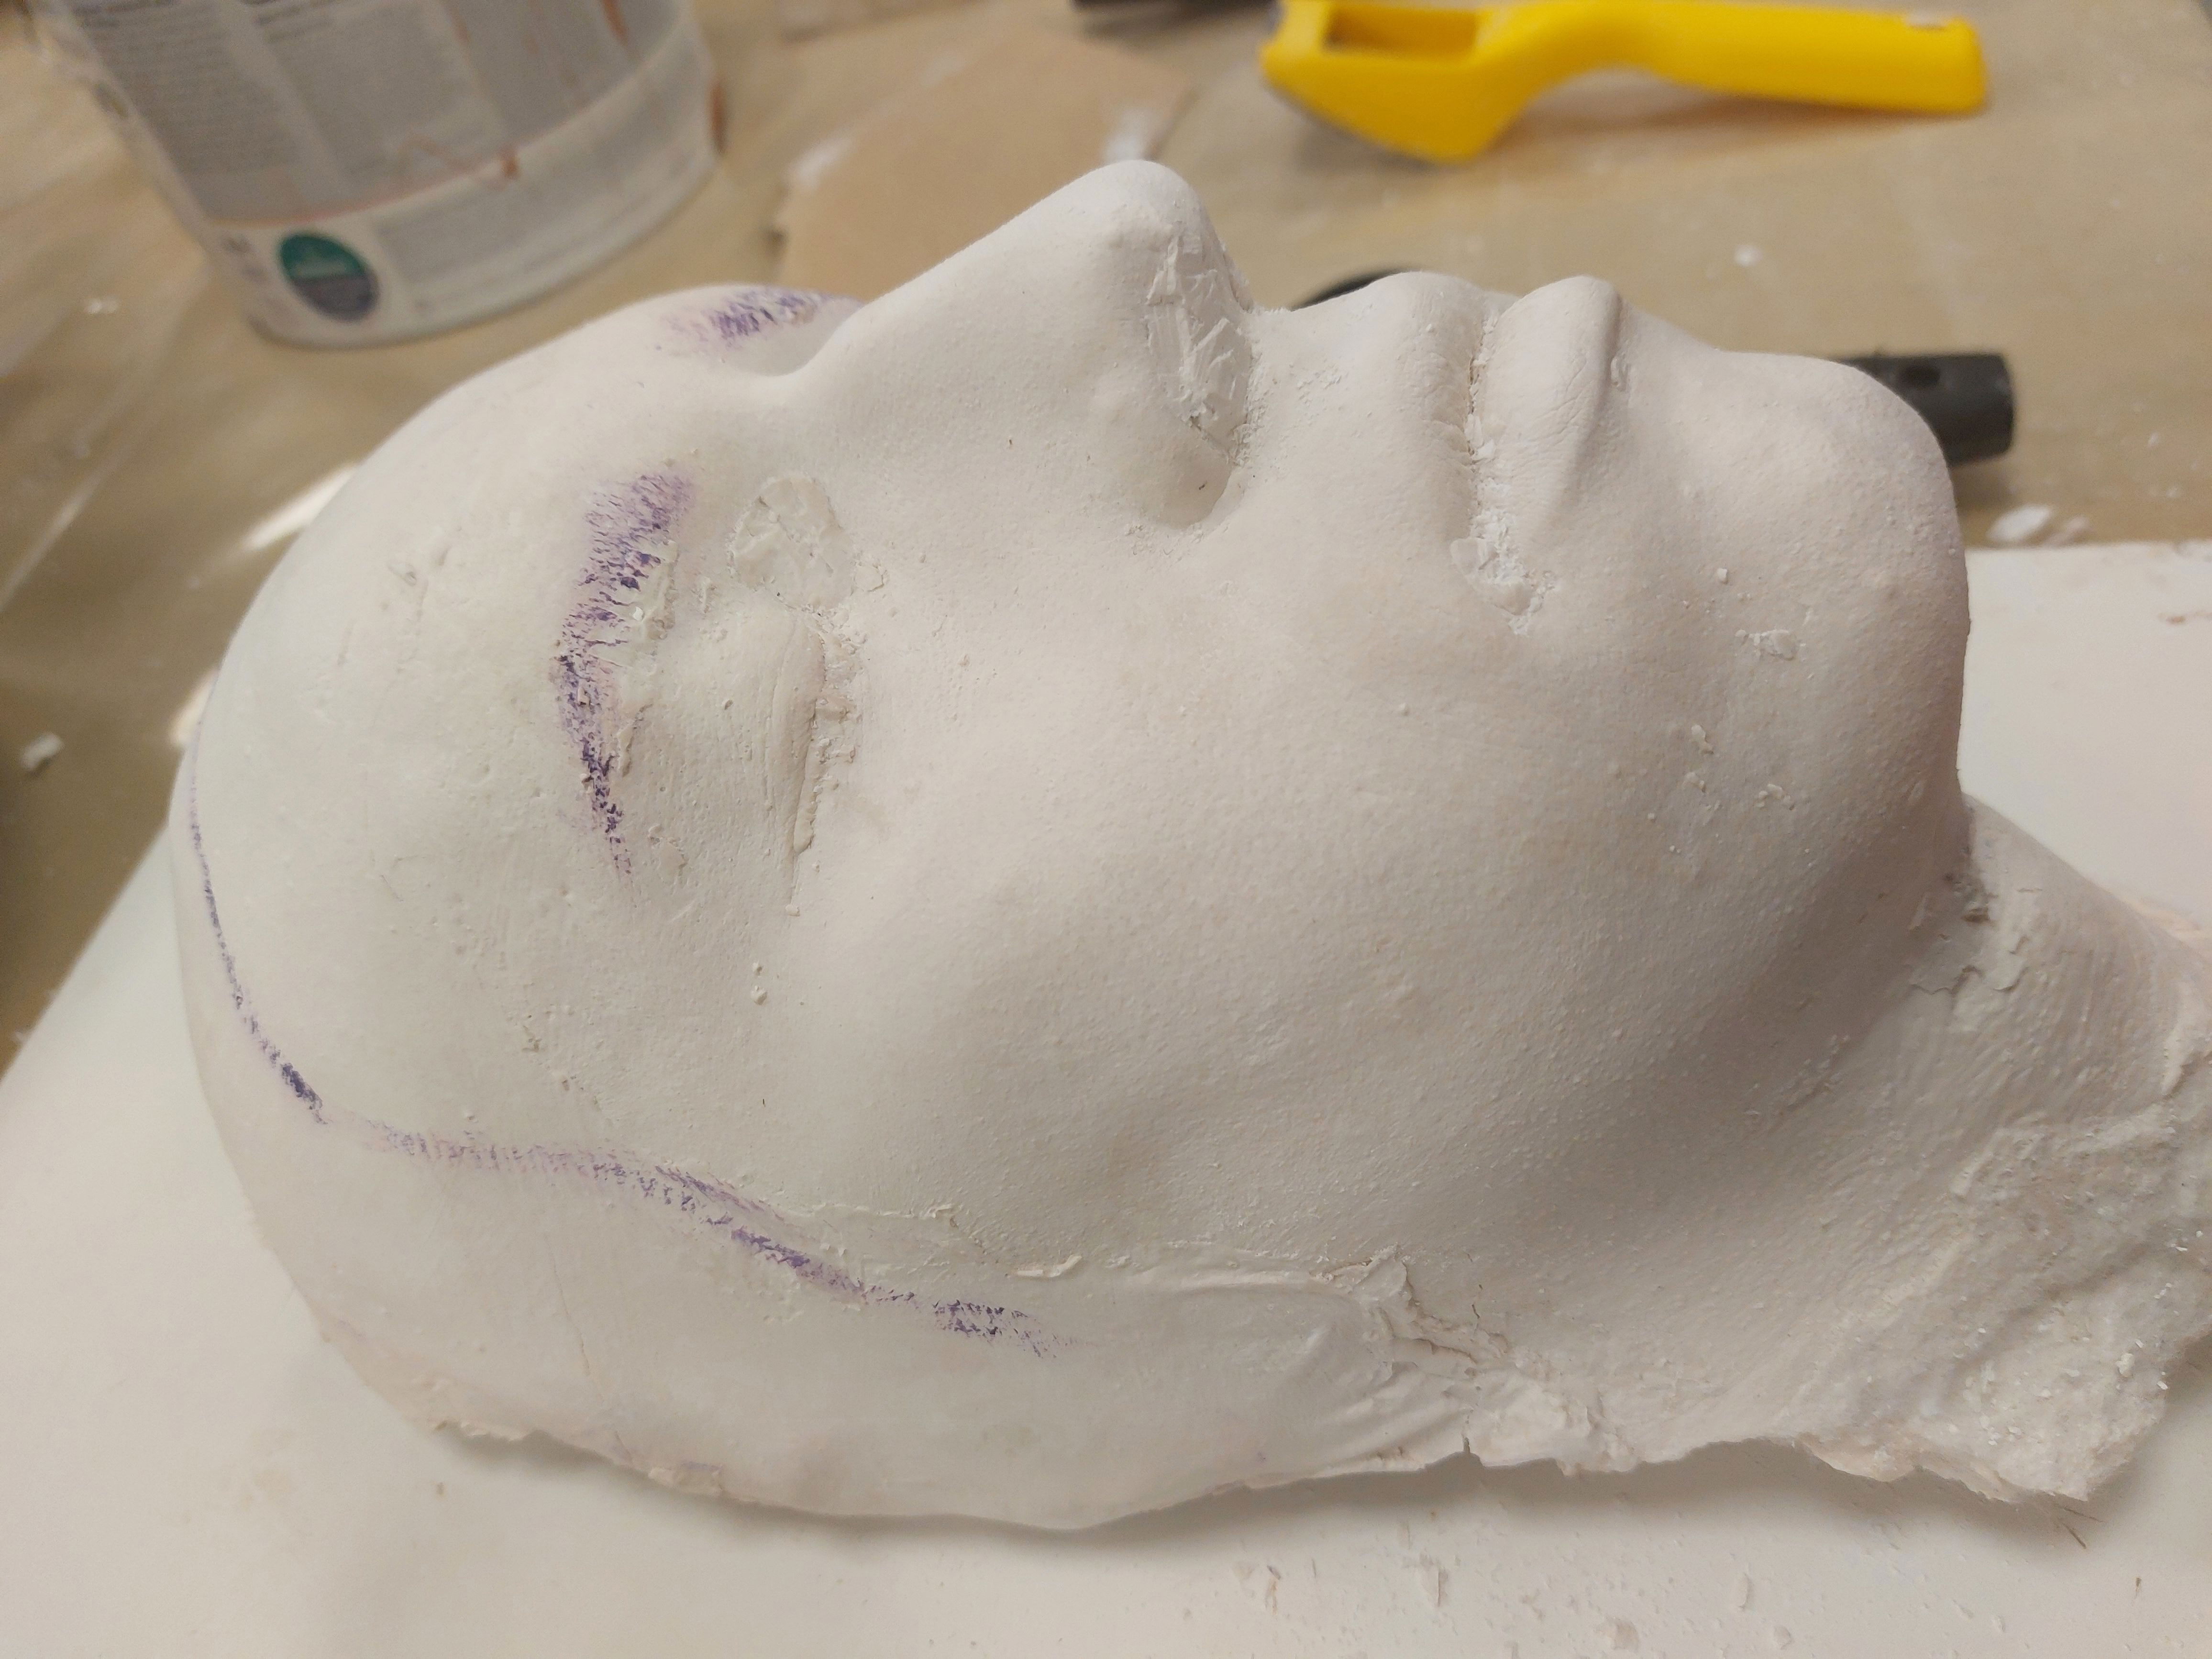
Figure 1: Side Profile Cast (Keites-Gorman, 2024)
Correcting the core
After the face cast has been sanded, smoothed and drilled. It is time to correct, a new concept for us this year. It is a tedious process, but one that is very much needed, and works for the long run. Each step of this process has a ripple affect, so it’s in the best intention to make each step as perfect as can be which all helps with the end result.

Figure 2: Buff clay correction (Keites-Gorman, 2023)
Why do we correct?
We want to clean up the face cast to create the best version of it, from which we will then make a master Mold. The master mold will be filled with plaster to create a new cast that is smooth and without any bumps. This will provide a more desired surface for sculpting.
Tools needed
- Buff clay
- Clay tools
- Rubber kidneys/or metal
- Water and Sponge
- Board
The process of correcting
I slowly added clay around the base, filling in any cracks or bumps. I also extended the clay around the neck as my sculpture needed the lower chin to be sculpted. After enough clay is on, it’s time to smooth. Combinations of tools help with this; the rubber kidneys are great at connecting the plaster and the clay, making the transition seem seamless. Rubber tips help with smoothing the edges of the cast, ensuring nice, neat lines. This process has to be repeated many times before it comes together, and it can be the most frustrating part, as it’s definitely harder than it looks. Soaking a sponge in water is also great to keep the clay nice and moist, and it also helps to smooth it out. The smoother, the better.
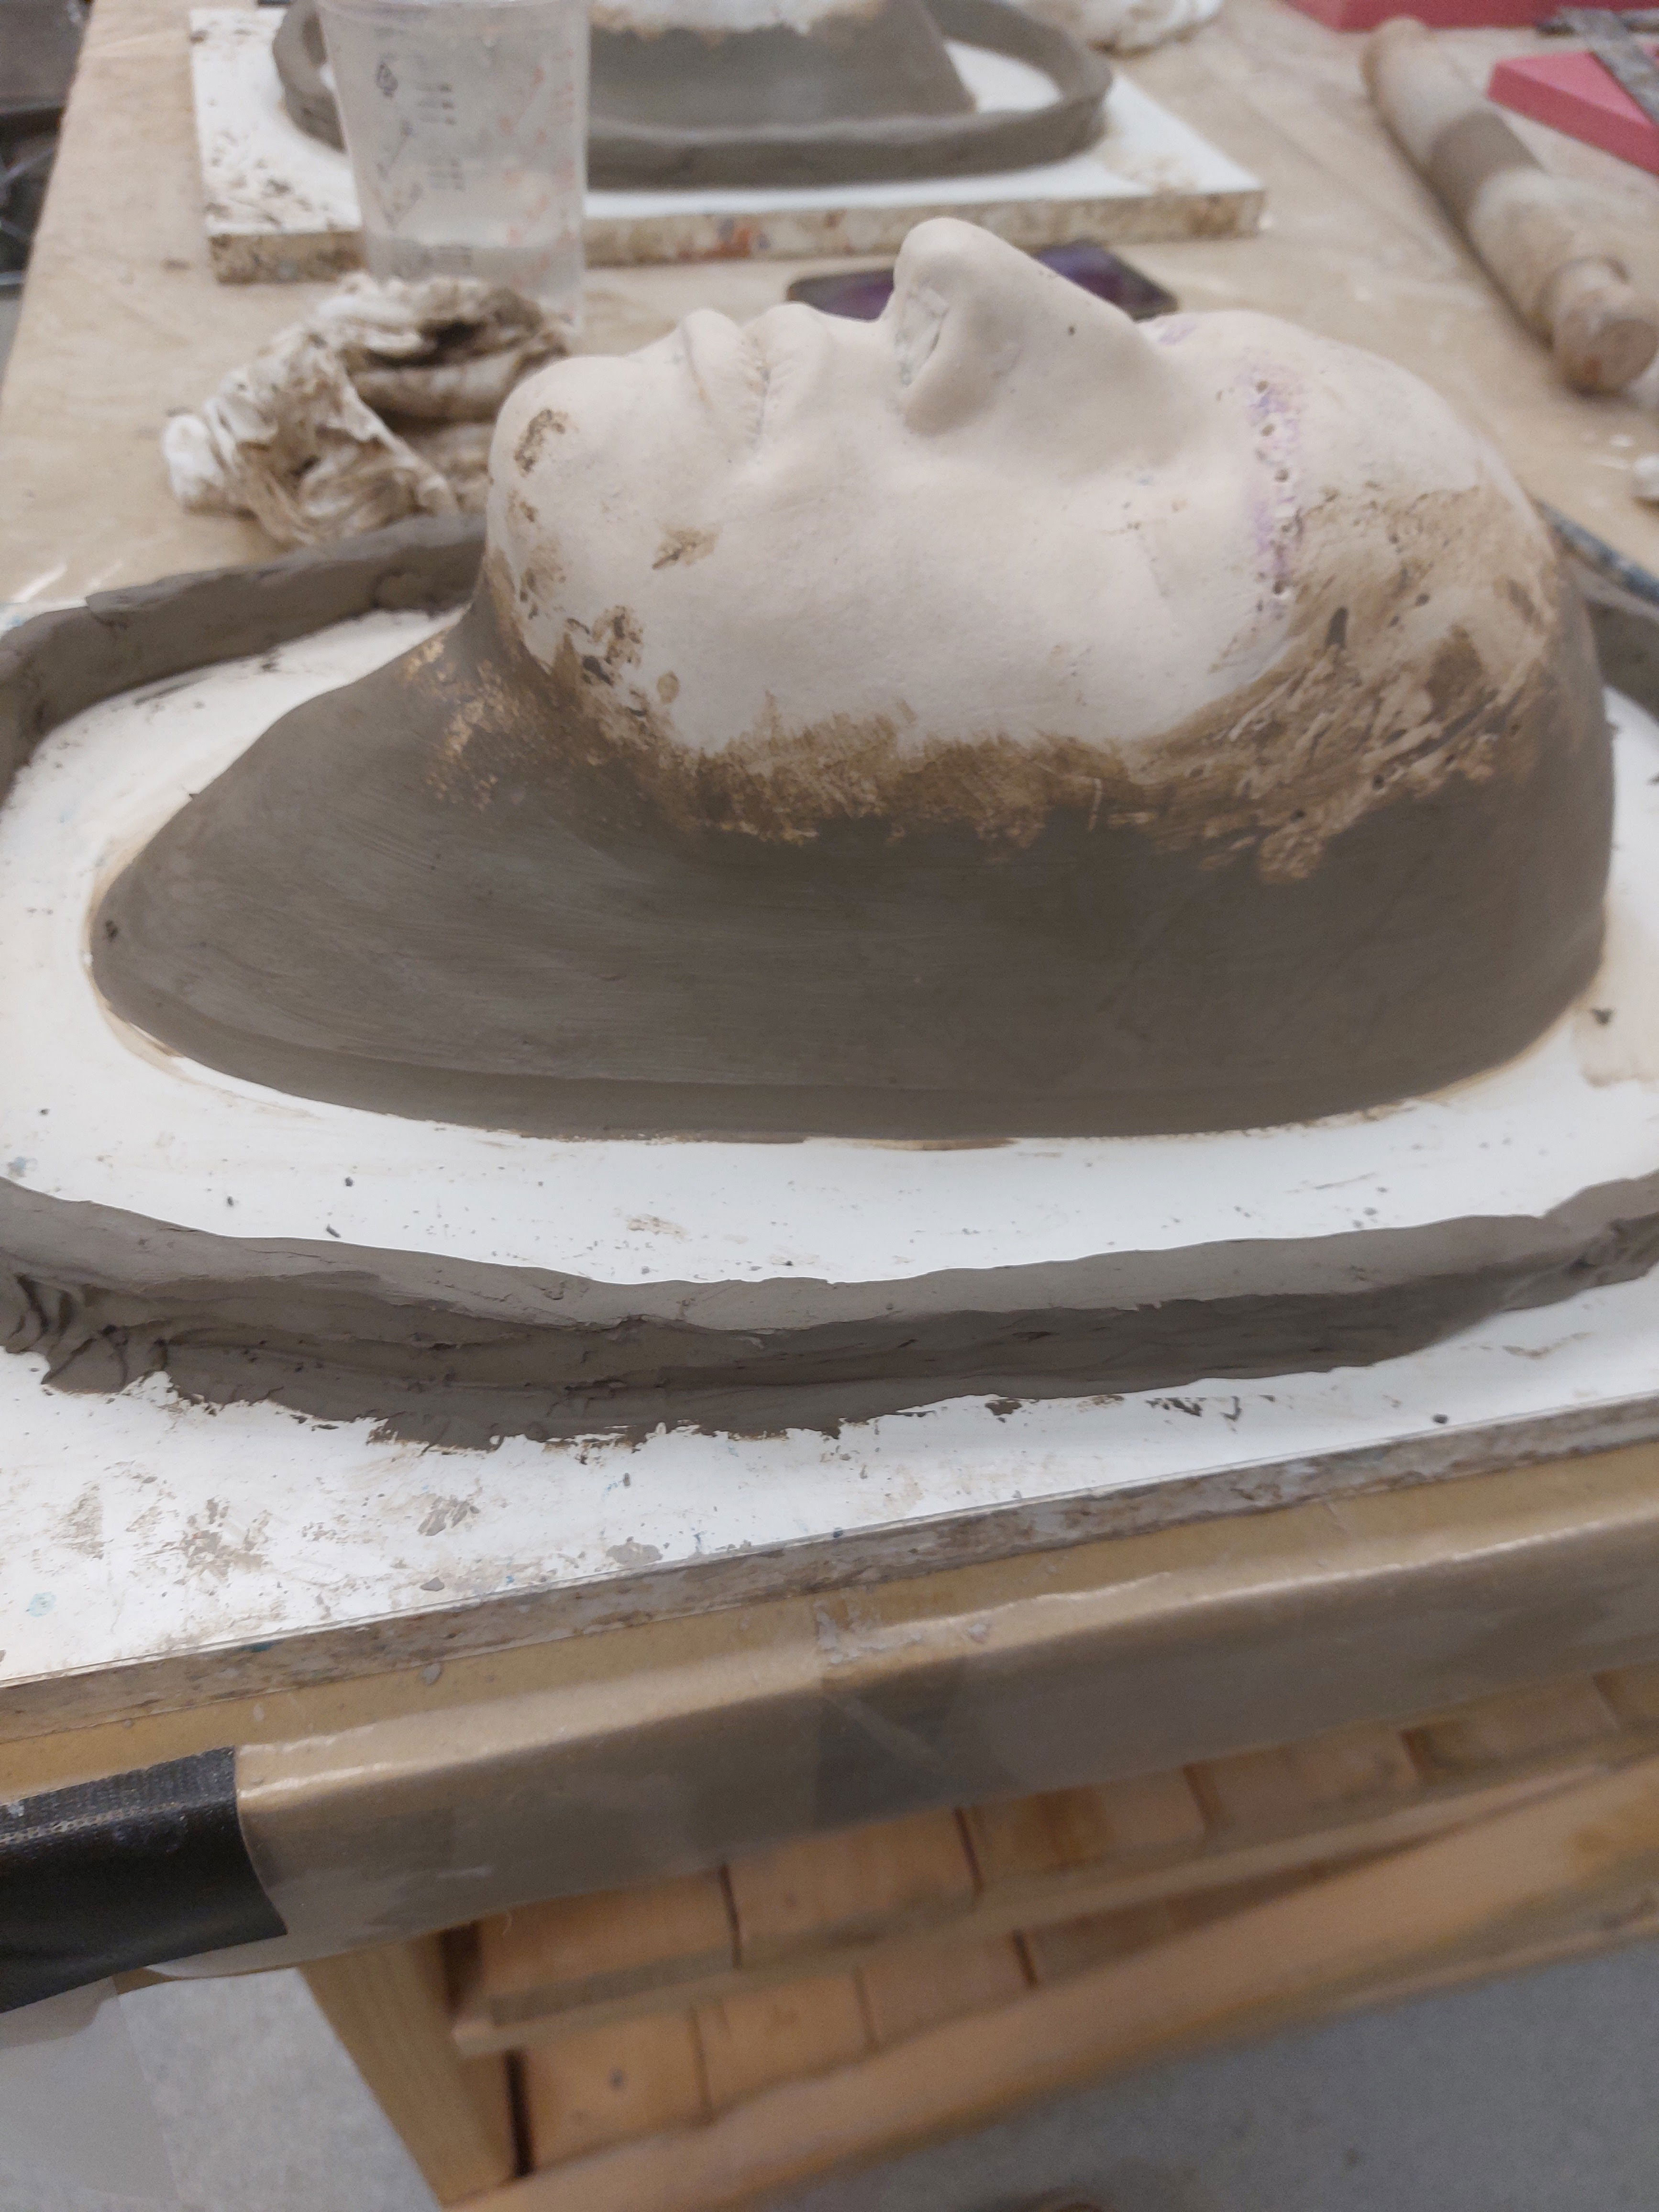
Figure 3: Walls (Keites-Gorman, 2023)
Evaluation
I believe I did a good job for my first attempt at sculpting. It did take me a while, but I hope to become faster with practice. I'm more comfortable with the tools and techniques now, which should help me create smoother clay surfaces. Looking back, I realize that the finish could have been neater. I did well in blending the clay with the plaster mold, but the edges of the cast could be smoother, which I could achieve with a sculpting rubber tool. I also should have changed the water in the sponge more frequently, as doing so would have minimized mess and improved the smoothness of the clay.
Walls and keys
So the next step was the walls and keys. We need the clay wall so the silicone does not escape for the next step. And the keys help with being able to get the cast out.
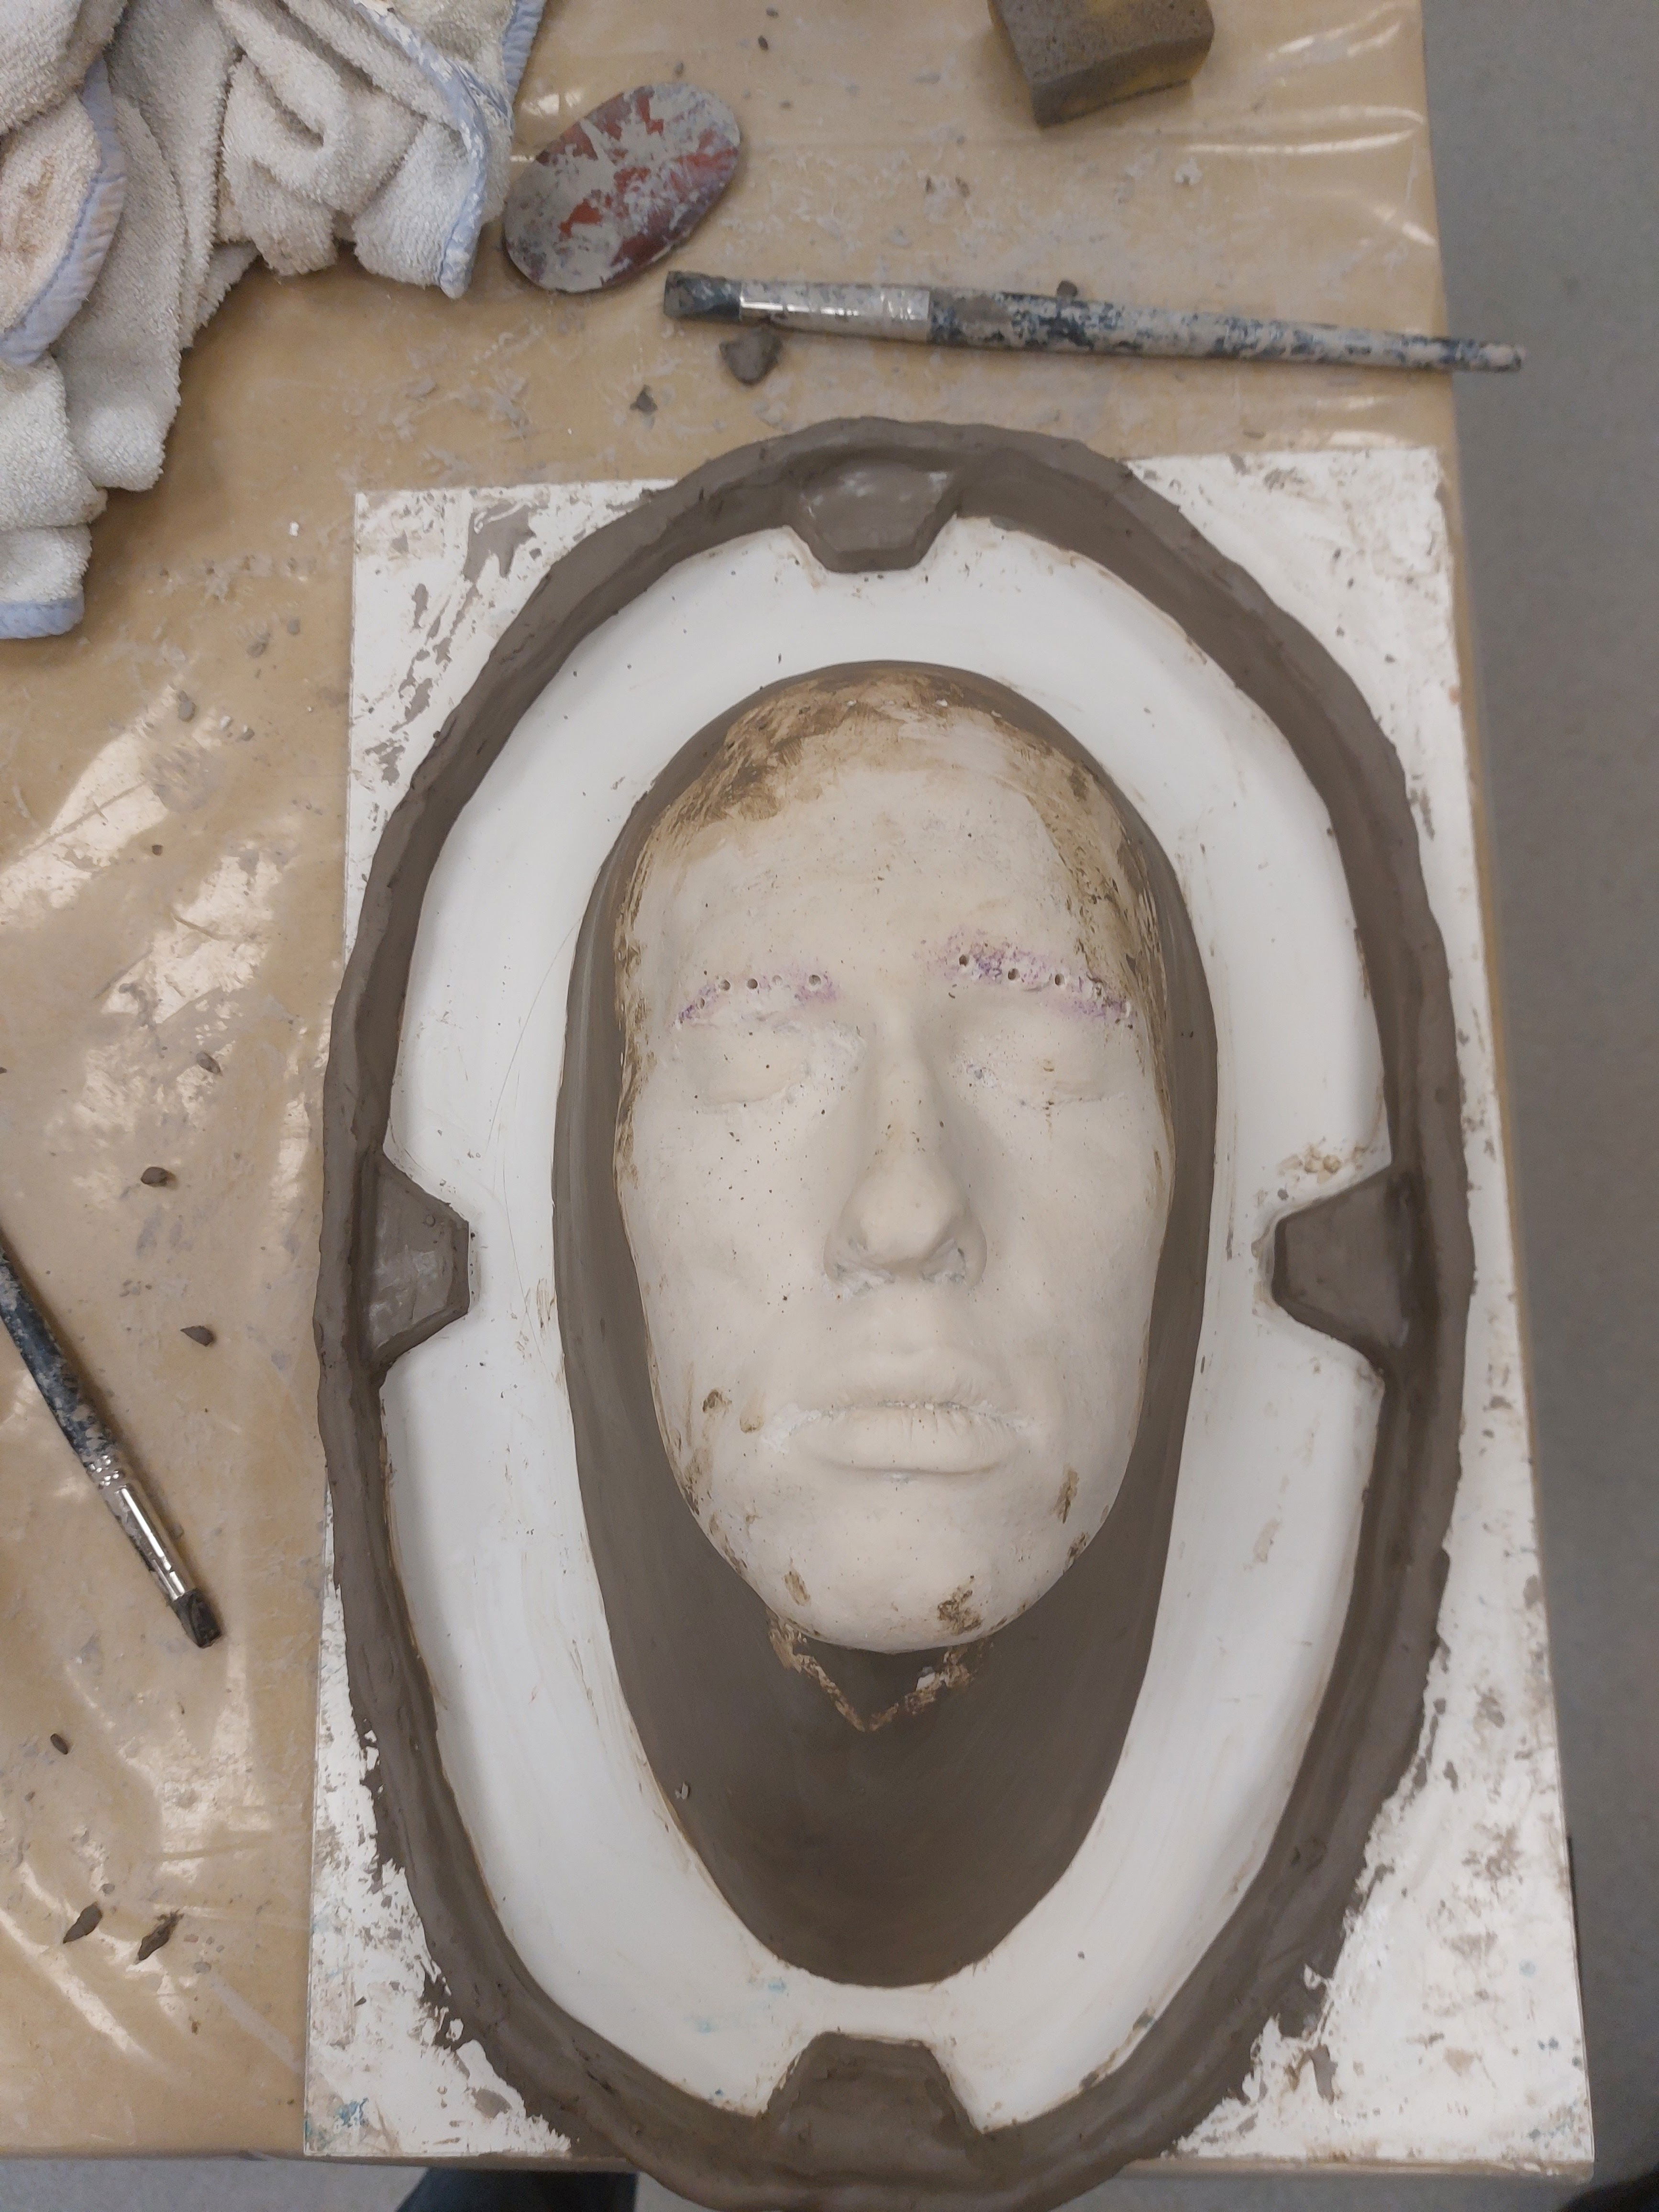
Figure 4: Keys and Wall (Keites-Gorman, 2023)
Process of the wall and keys
I didn't pay much attention to neatness on the outside of the wall, but I made sure the inside had a clean edge. Making the keys was the most challenging part, especially trying to ensure that all four keys were the same thickness and size. We were taught to roll out a large piece of buff clay and cut vertical lines using a metal ruler. Then, we cut the clay into isosceles trapezoid shapes. The important thing was to make them thick enough to avoid fragility. Some of us learned this the hard way when our keys snapped.
Looking back, I realize how important it is to perfect the keys, even though it was a tedious process. Rushing through it made the keys imperfect and not well-connected to the wall. I need to be more careful and patient in the future. Buff clay dries out easily, so I was eager to move on to the next stage with silicone to prevent it from drying out. I had to ensure the clay stayed moist by wrapping it in a damp cloth, clingfilm, and a bin bag. This method worked, and the clay remained moist for the whole week. After doing some final clean-up, I was ready for the next step.
Master mold
So after all that it was to create the master mold! Why do we need master mold in the industry The use of master molds is common in the industry, particularly for long production runs. The original face cast is not typically used; instead, a master mold of the face cast is created to produce multiple copies of the corrected face cast. Plaster is a relatively weak material and if dropped, it can cause significant dents and damage, making it imperative to handle with care. As stated by Stuart Bray, this process is often overlooked in the industry, despite being as important as a surgeon washing their hands. It is an essential step that deserves proper attention even if it is boring (Bray, 2016).
As Thurston James explains in his mold and casting handbook 'will nearly underestimate how much time the procedure will take' (James, 1989) this is so true, especially in the next few blogs, how tedious and small steps you have to make to even make 20% progress. but no the less these steps are important especially like creating a master mold you then have it forever and get a perfect copy of a cast every time. this depends on budgets, time, and access to certain materials.
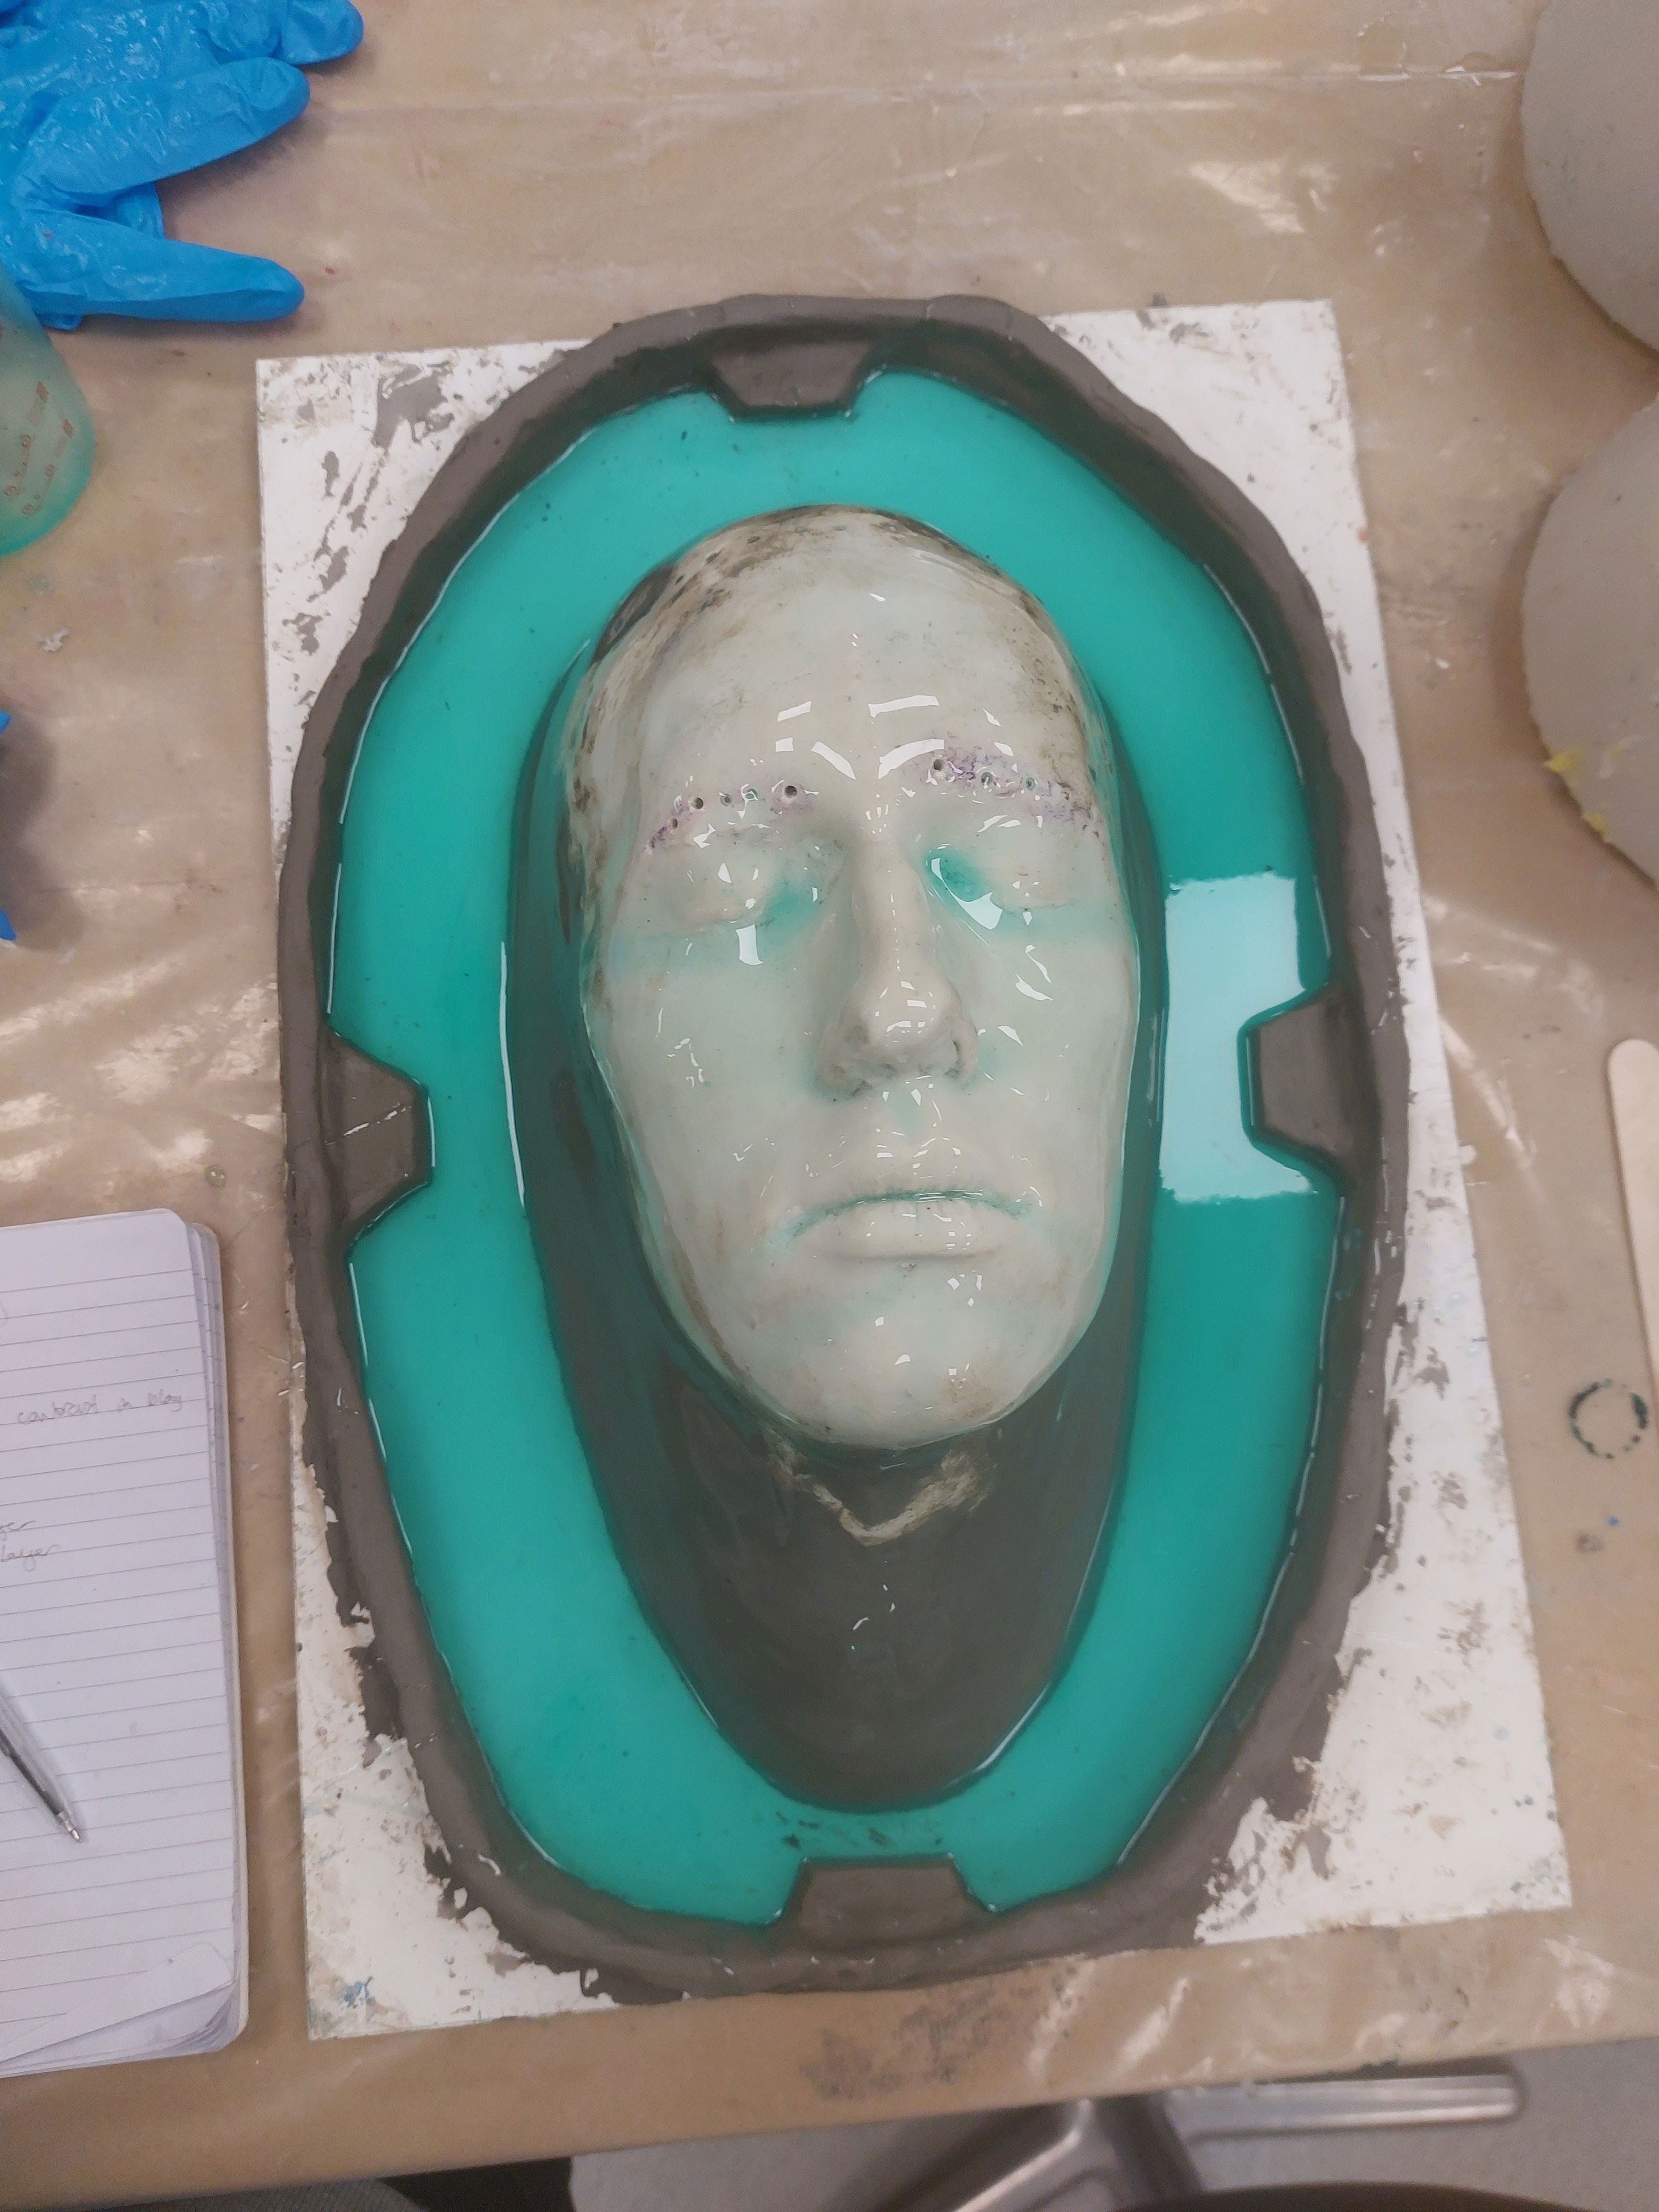
Figure 5: First Layer (Keites-Gorman, 2023)
So the process for this part involves applying five layers of silicone. You should apply the silicone while the buff clay is still damp and not dried out. We used SF20, and for the first layer, I used 120g of each A and B parts. I added green pigment to the mix so I could easily see any spots I had missed. For the second layer, I reduced the amount to 90g each, and for the third layer, it was 80g each.
The next two layers, 4 and 5, consisted of the same measurements as the previous layers, but we added poly fibre, which looks like snow. However, it's important to note that poly fibre is quite toxic. We mixed it into the silicone and applied it onto the face like a paste. A great tip I learned is to use dish soap to smooth the paste out because it can get very sticky. Also, make sure to wear double gloves.
Why do we do this step? Adding the last two layers helps strengthen the silicone. Without them, we would need a lot more layers for it to be strong enough, so this speeds up the process and ensures that none of our previous work goes to waste.
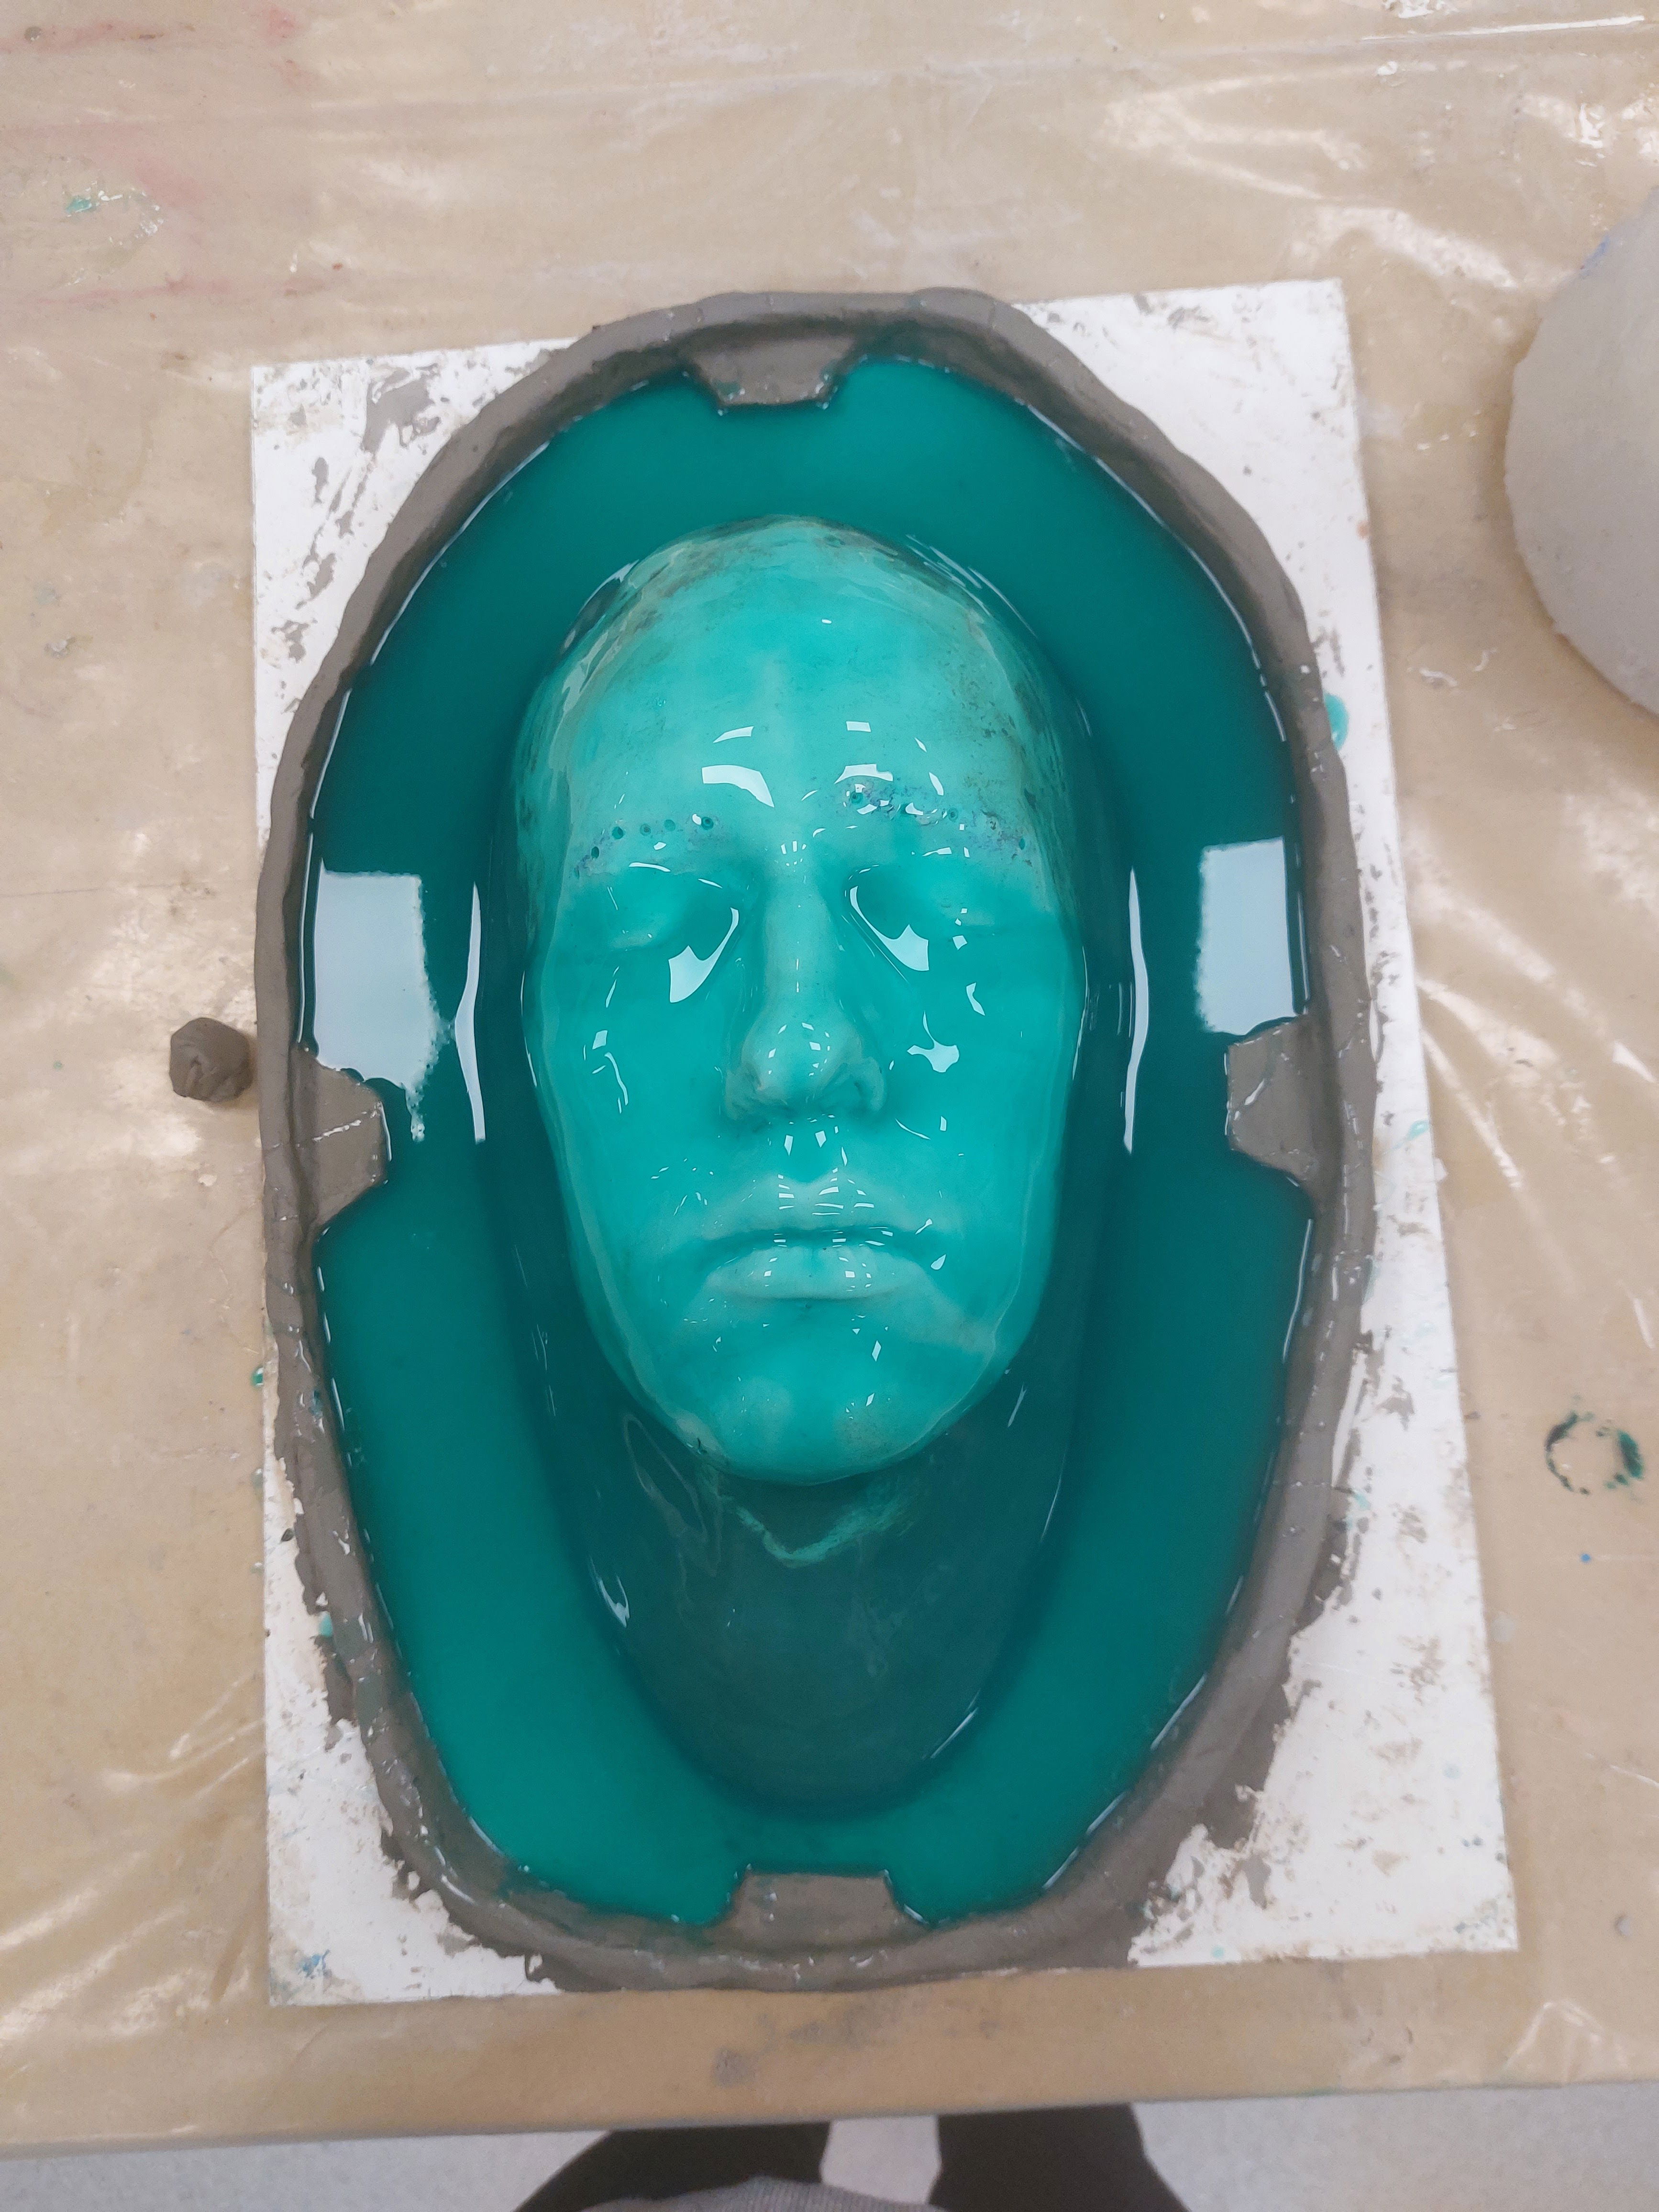
Figure 6: Third layer (Keites-Gorman, 2023)
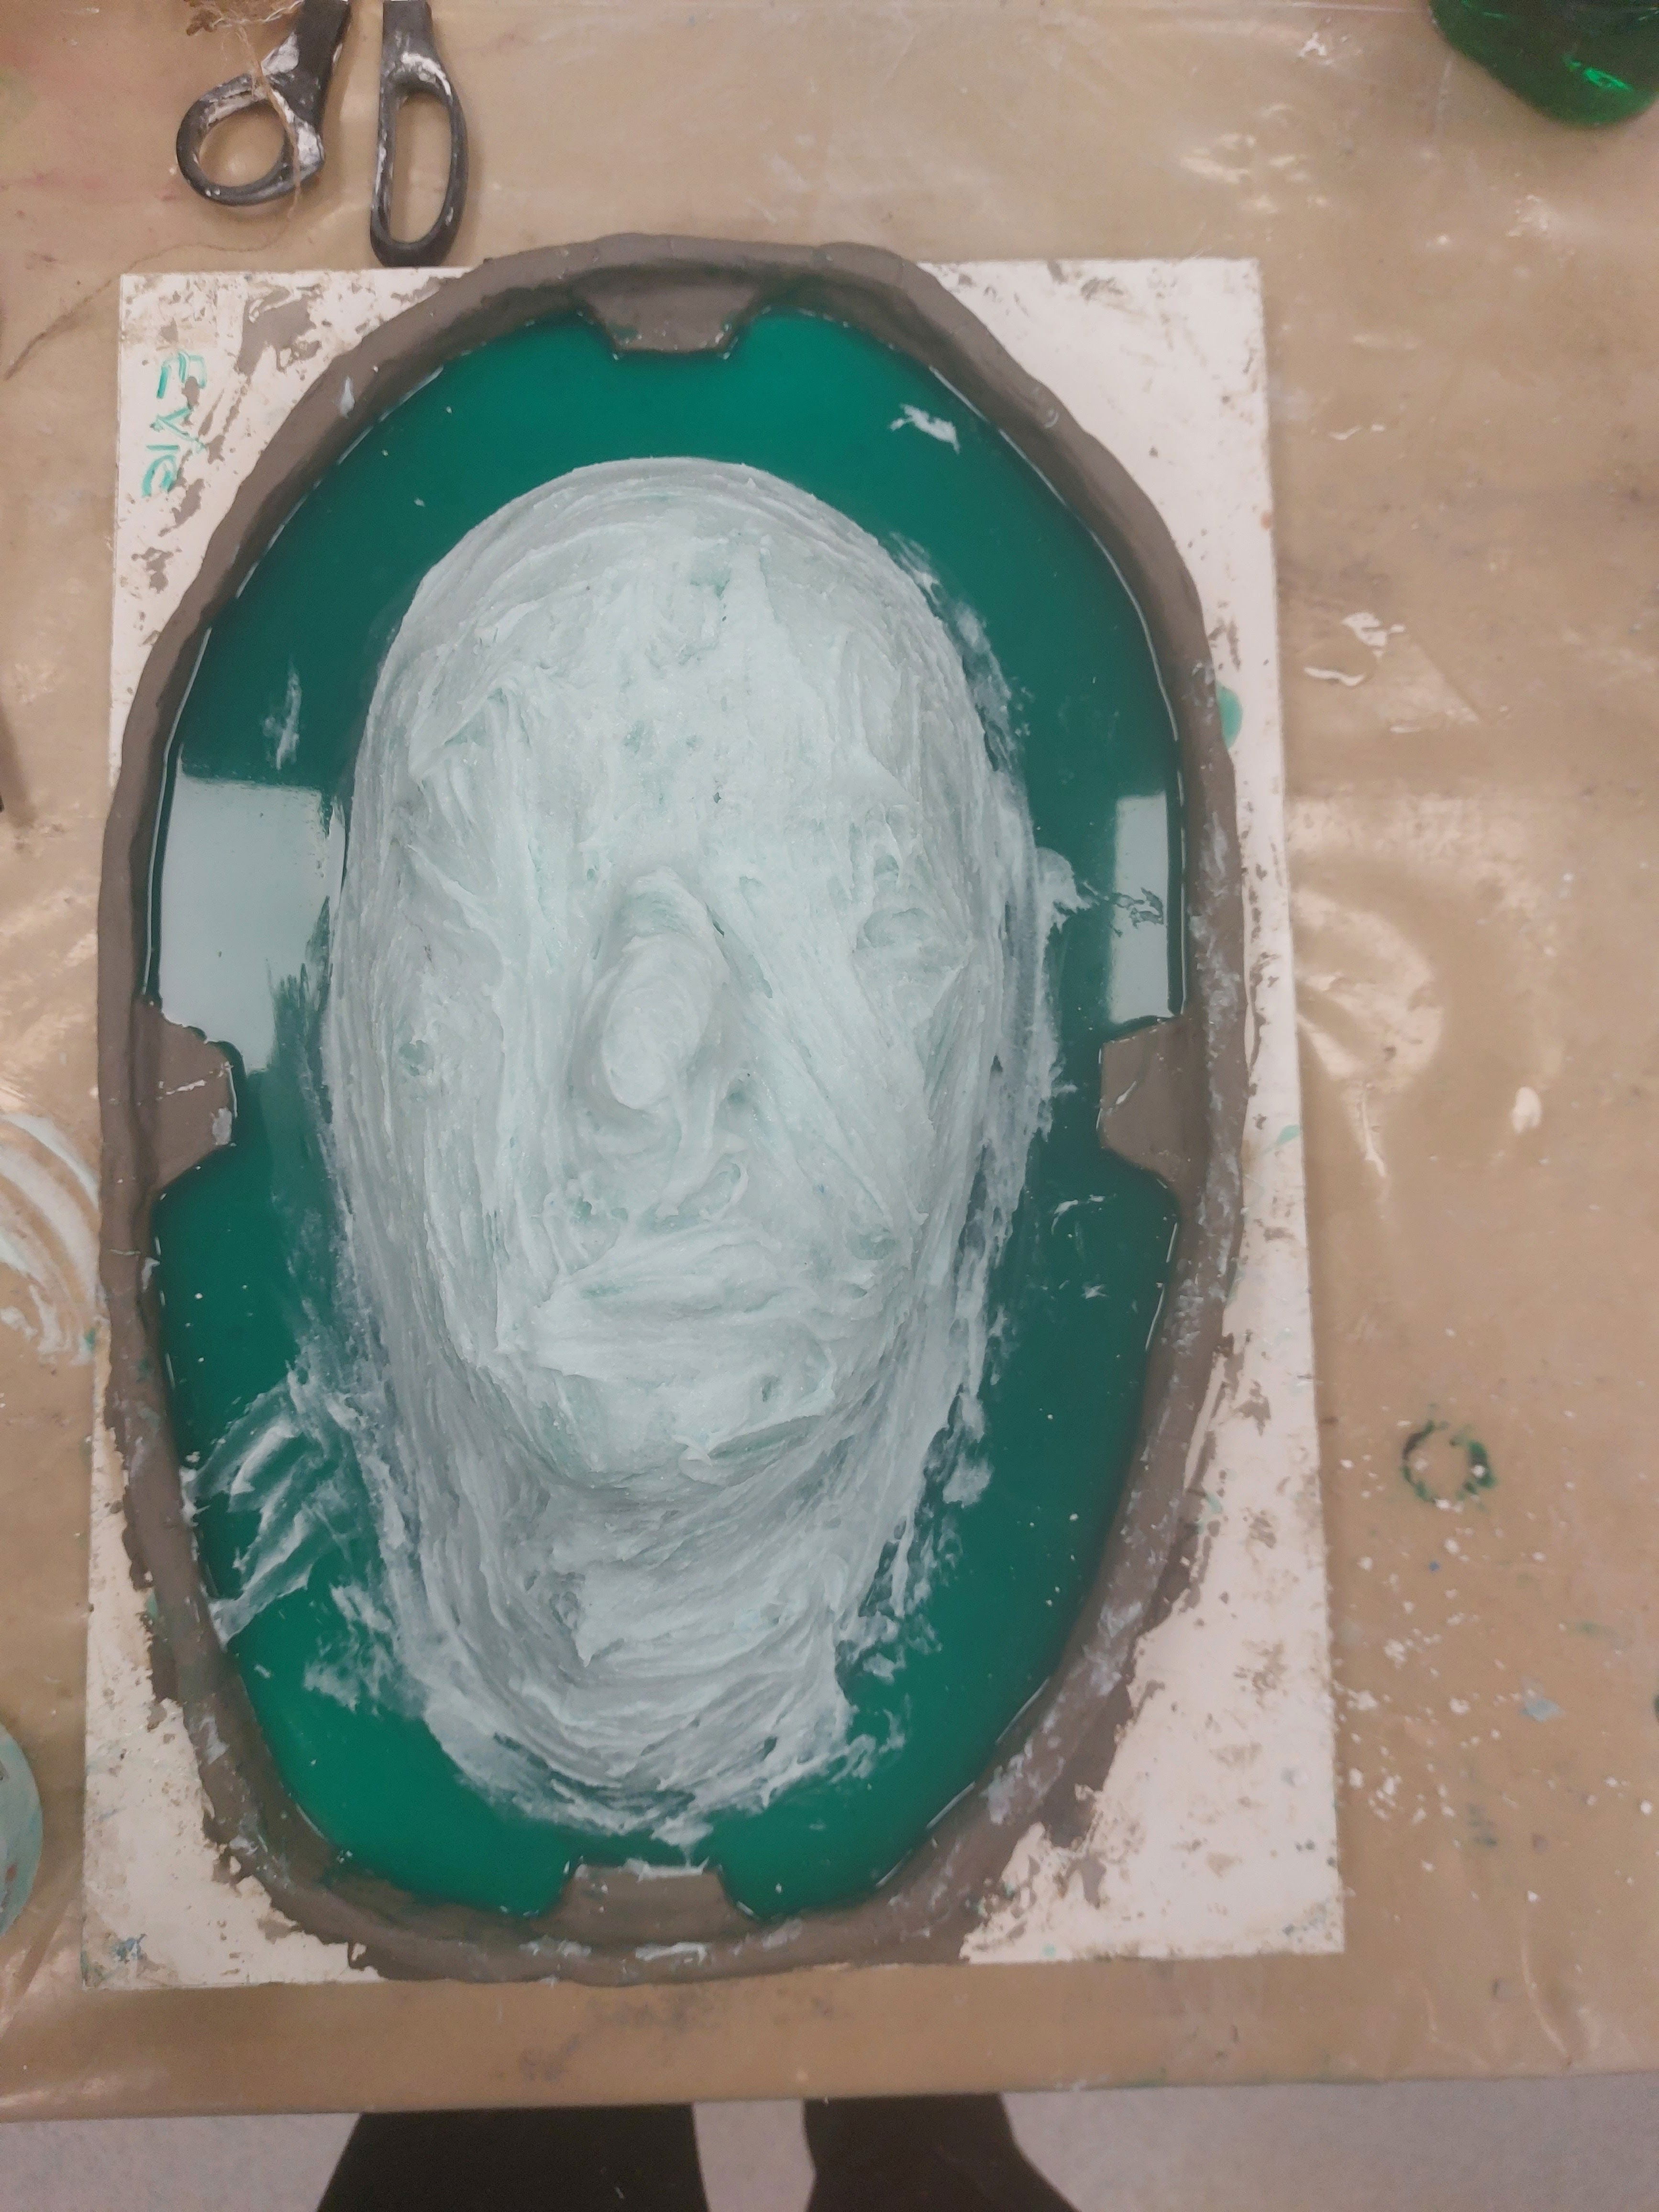
Figure 7: Forth layer (Keites-Gorman, 2023)
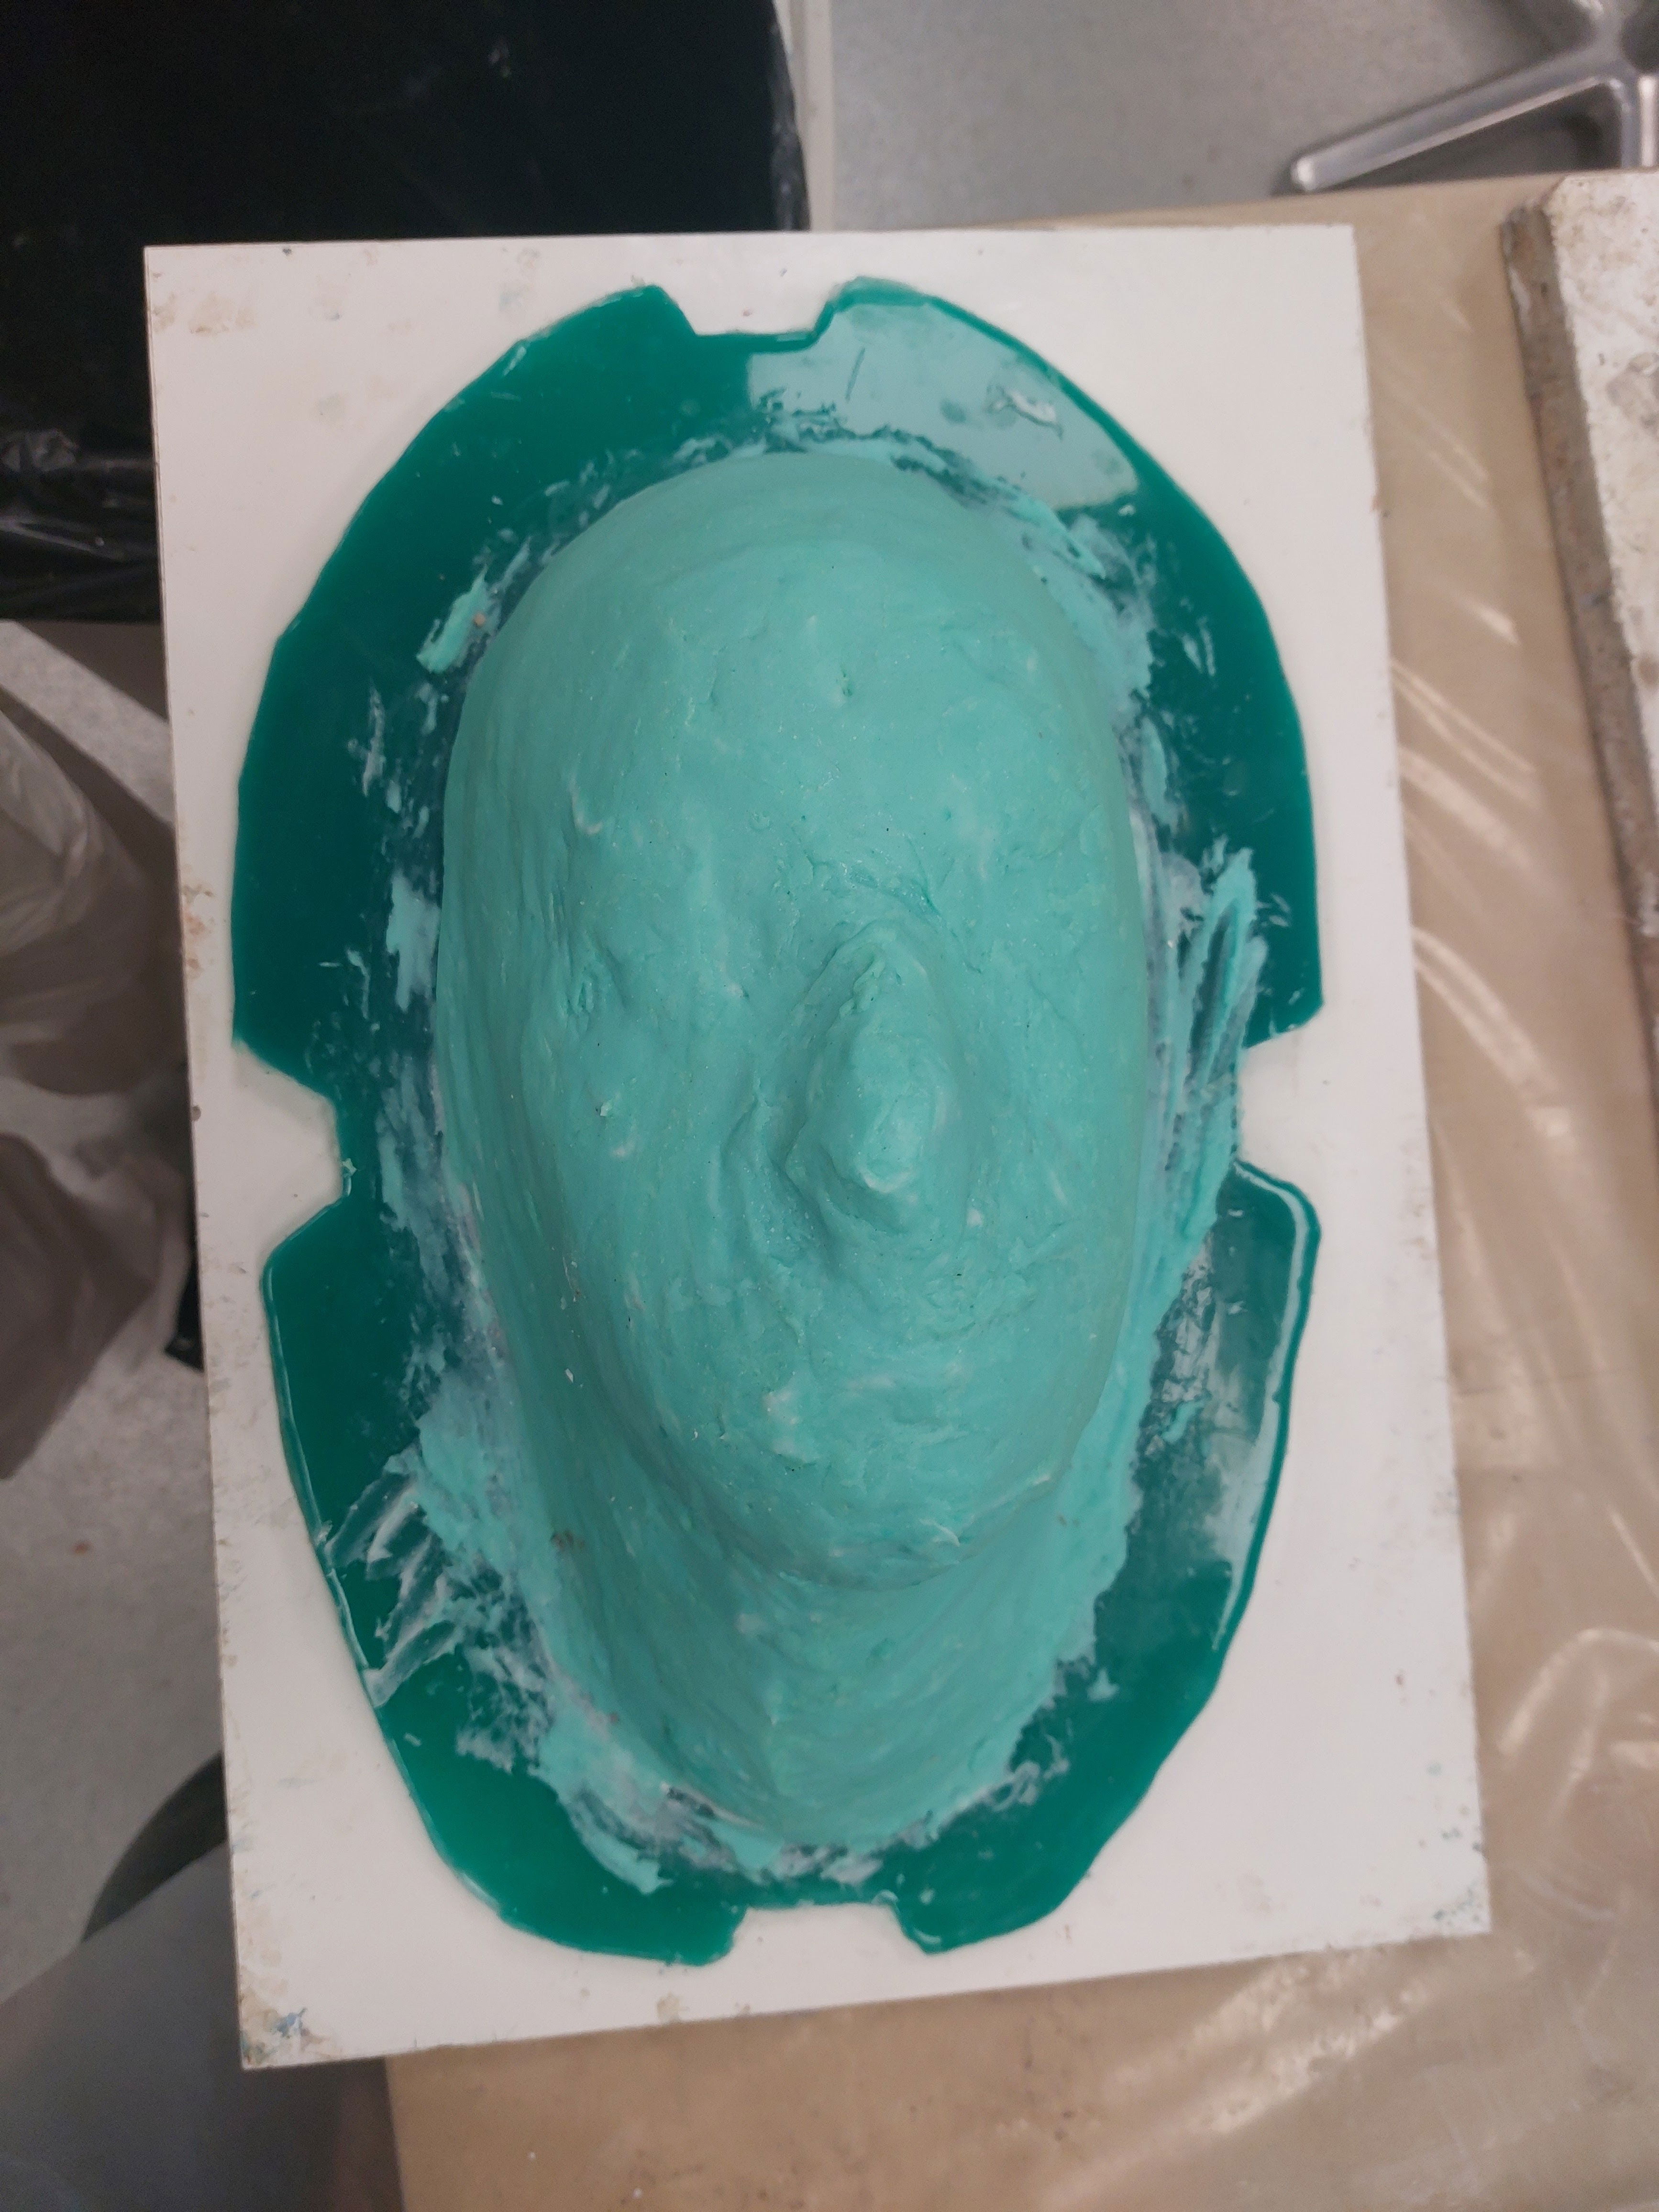
Figure 8: Fifth layer (Keites-Gorman, 2023)
"A skilled mold maker is a master of materials" (Mold Making – Stevie Fx, no date). I think this is very true. Getting used to using polyester resin and fiberglass was definitely tricky as it was a new process for me this year. I am slowly feeling more confident with how each material reacts with each other and how it impacts the final product. "Different mold materials capture different levels of detail and have different requirements. Which material is right depends on what is needed for the particular production" (Mold Making – Stevie Fx, no date).
After removing the clay wall, cleaning the board, and applying a good coat of Polly wax (as you wont get this off if you don't), it was ready.
Next, we applied the Gel coat resin, which is a high-quality isophthalic resin with excellent physical properties, water resistance, and UV light stability. The Gelcoat forms the smooth outer surface of the finished laminate and is therefore applied to the prepared mold first. Pigments can be added at a rate of approximately 10% by weight, depending on the color, and should be mixed with a catalyst.
The fiberglass laminating process is a combination of the polyester resin and a catalyst that activates the resin to create an exothermic chemical reaction and set hard. This mixture should be stippled over the strand mat or chopped fiberglass to create a hard laminating shell or mold. We used 300g of the gel coat and 3% catalyst. It's important not to mix too much resin or add too much catalyst because the substance sets fast. While doing it, I was very mindful that we didn't have much time. We painted each side of the prepared fiberglass sheet with the gel coating and catalyst mixture, soaking it and stippling it onto the mold. This process was repeated to create a fairly thick and covered layer all around.
Safety note: This was all done in a well-ventilated environment with the correct protective gear on. Goggles, double gloves, a respirator, and a suit are very important when doing this step.
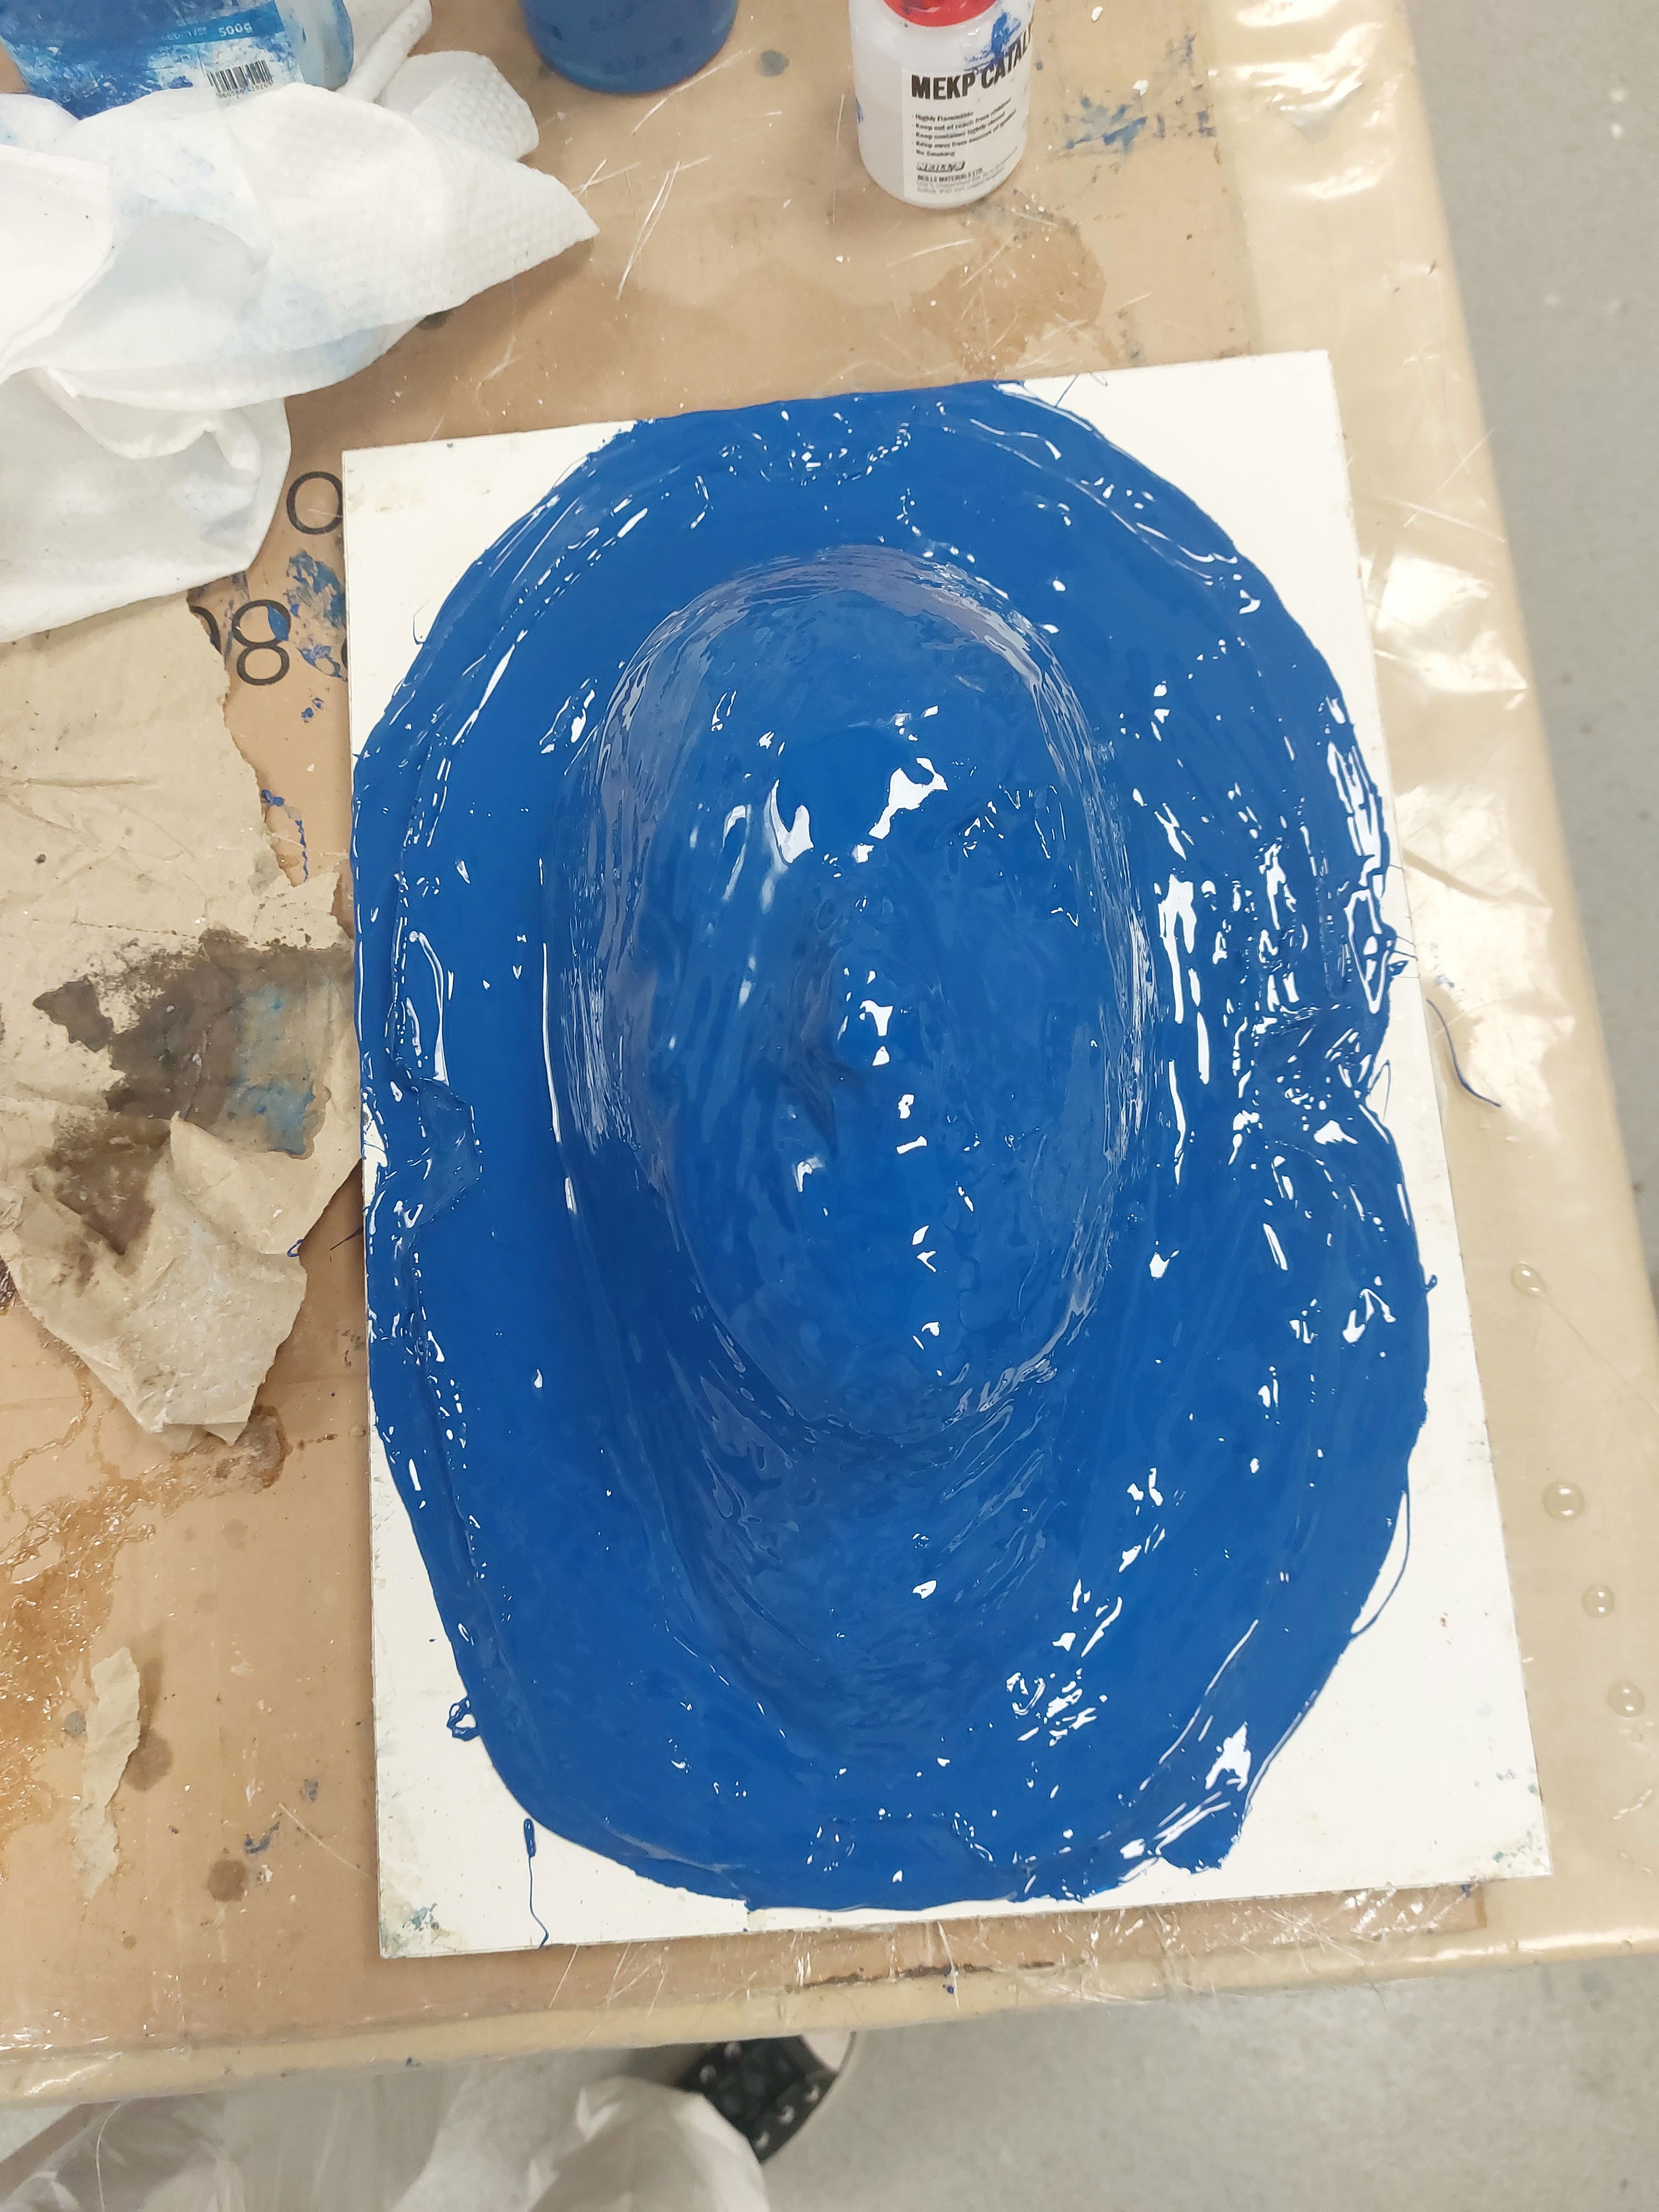
Figure 9: First layer (Keites-Gorman, 2023)
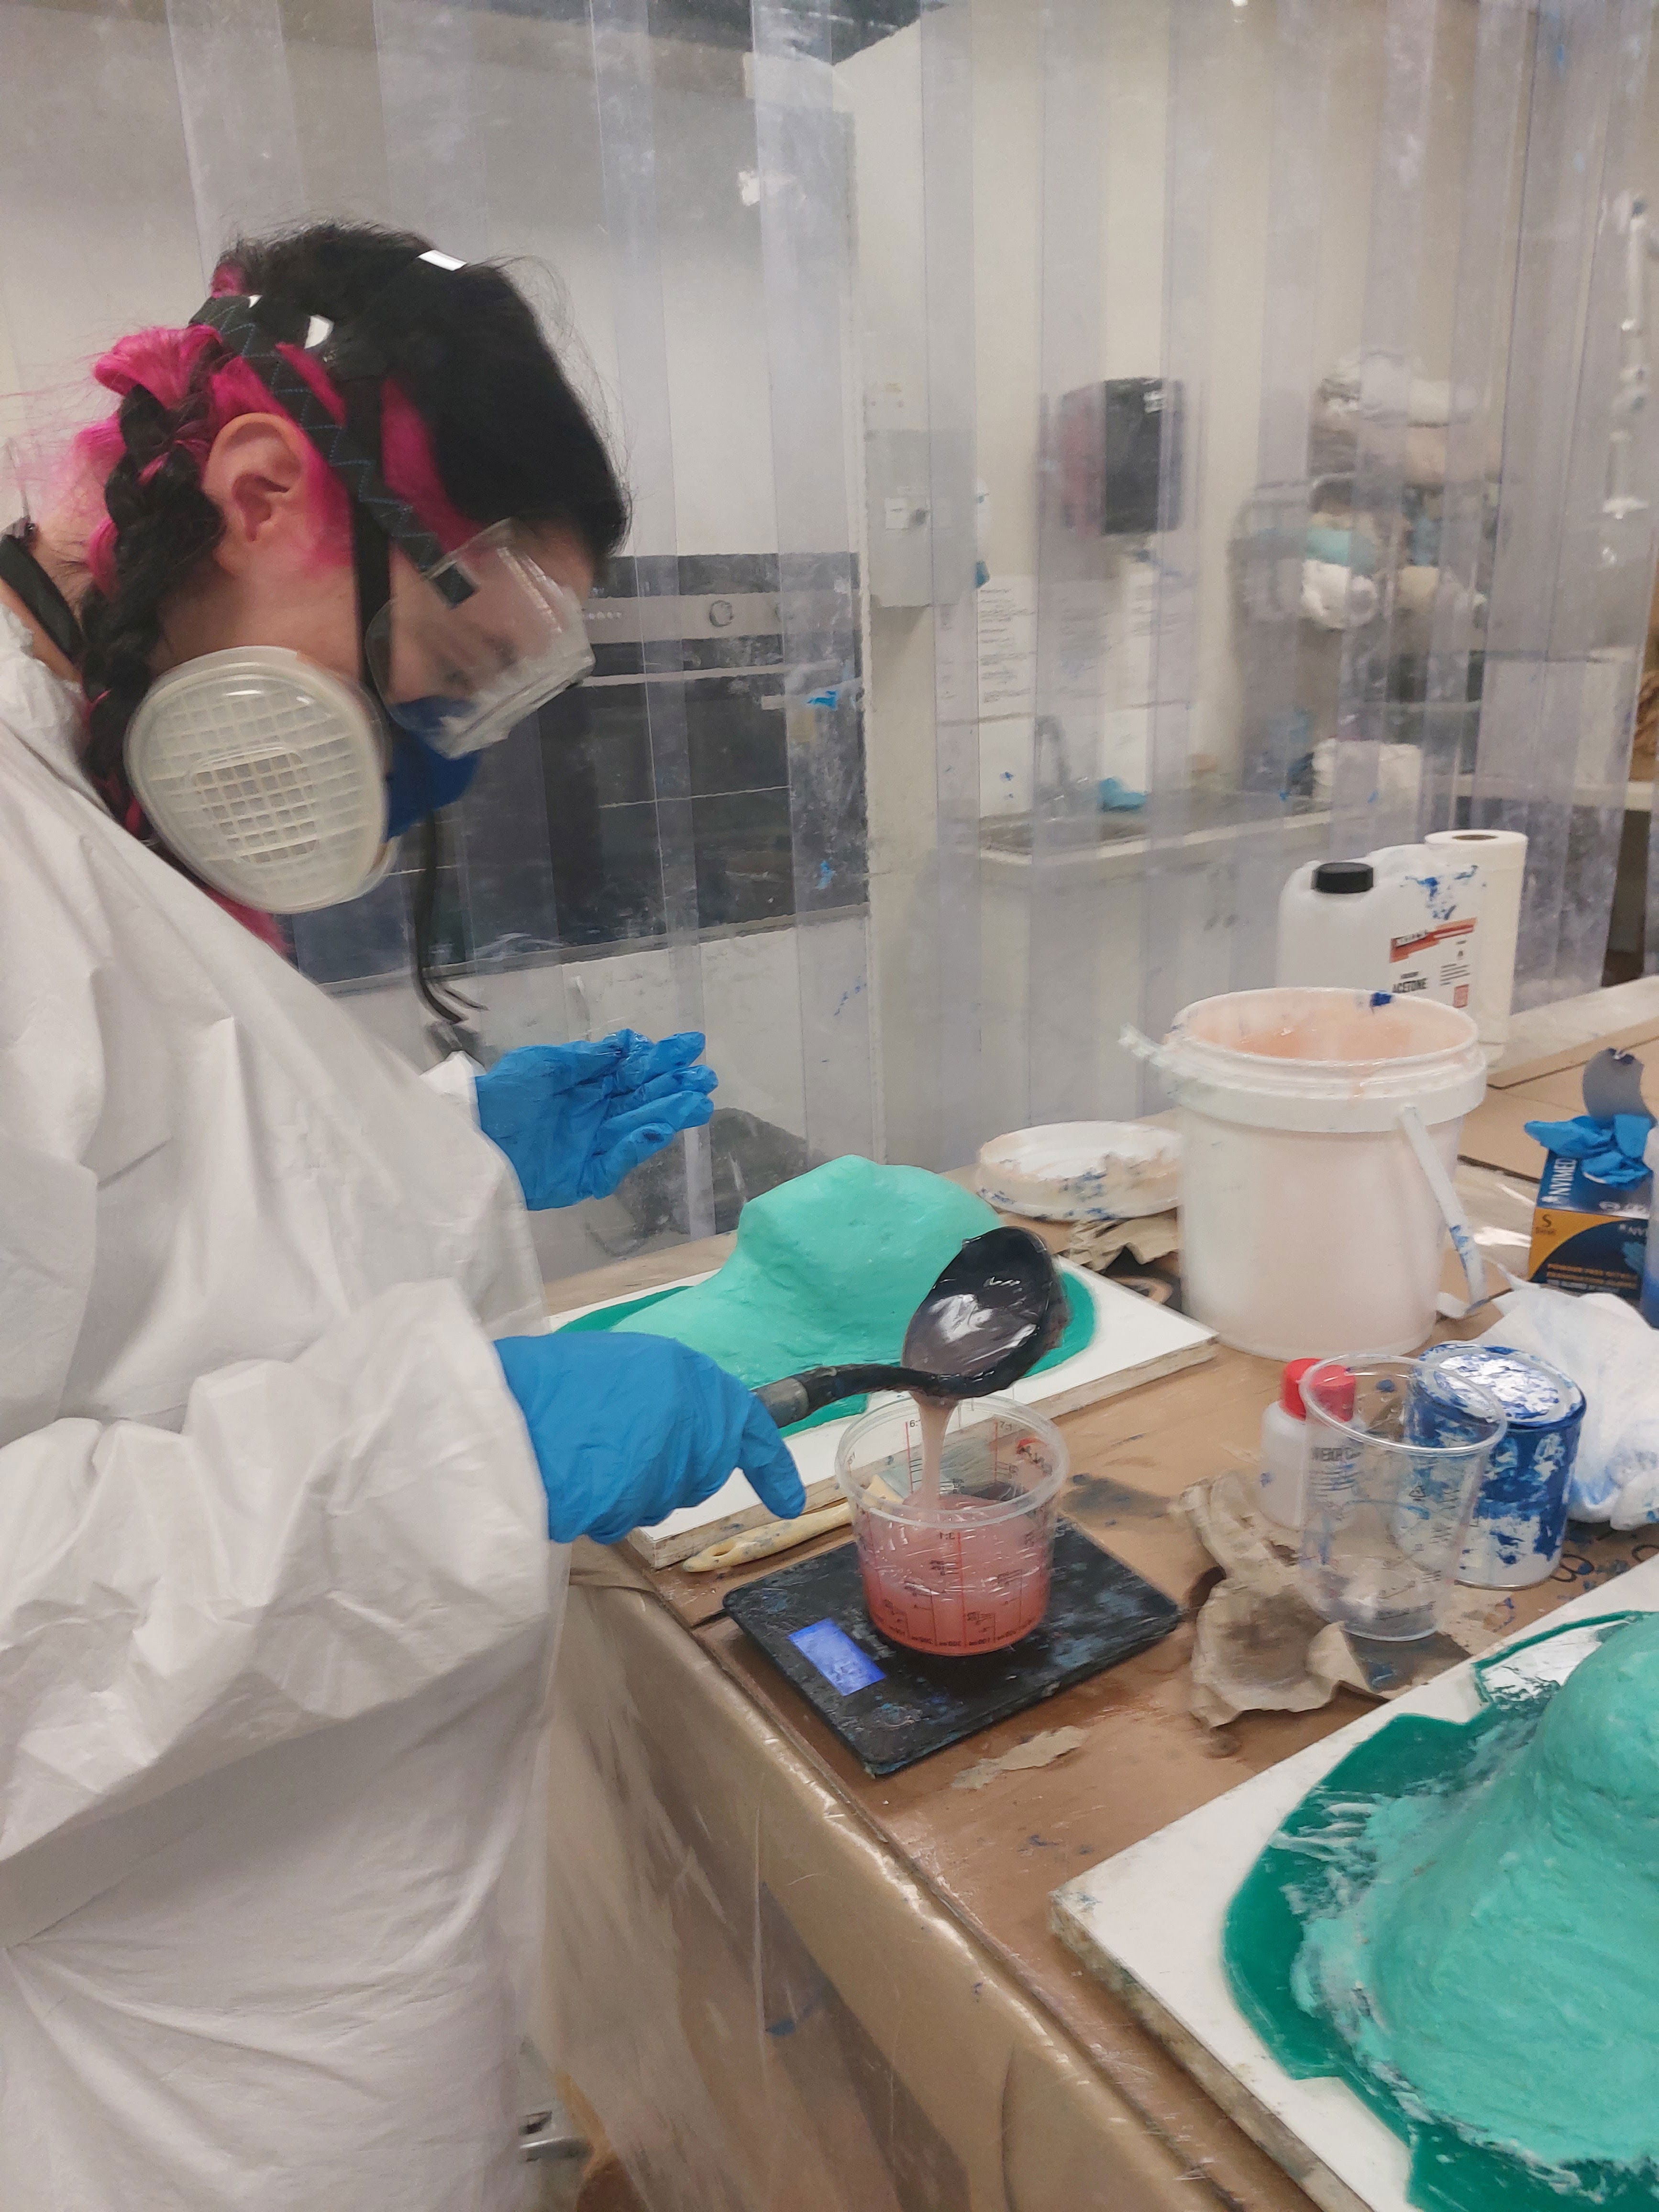
Figure 10: Creating master molds with Issy (Keites-Gorman, 2023)
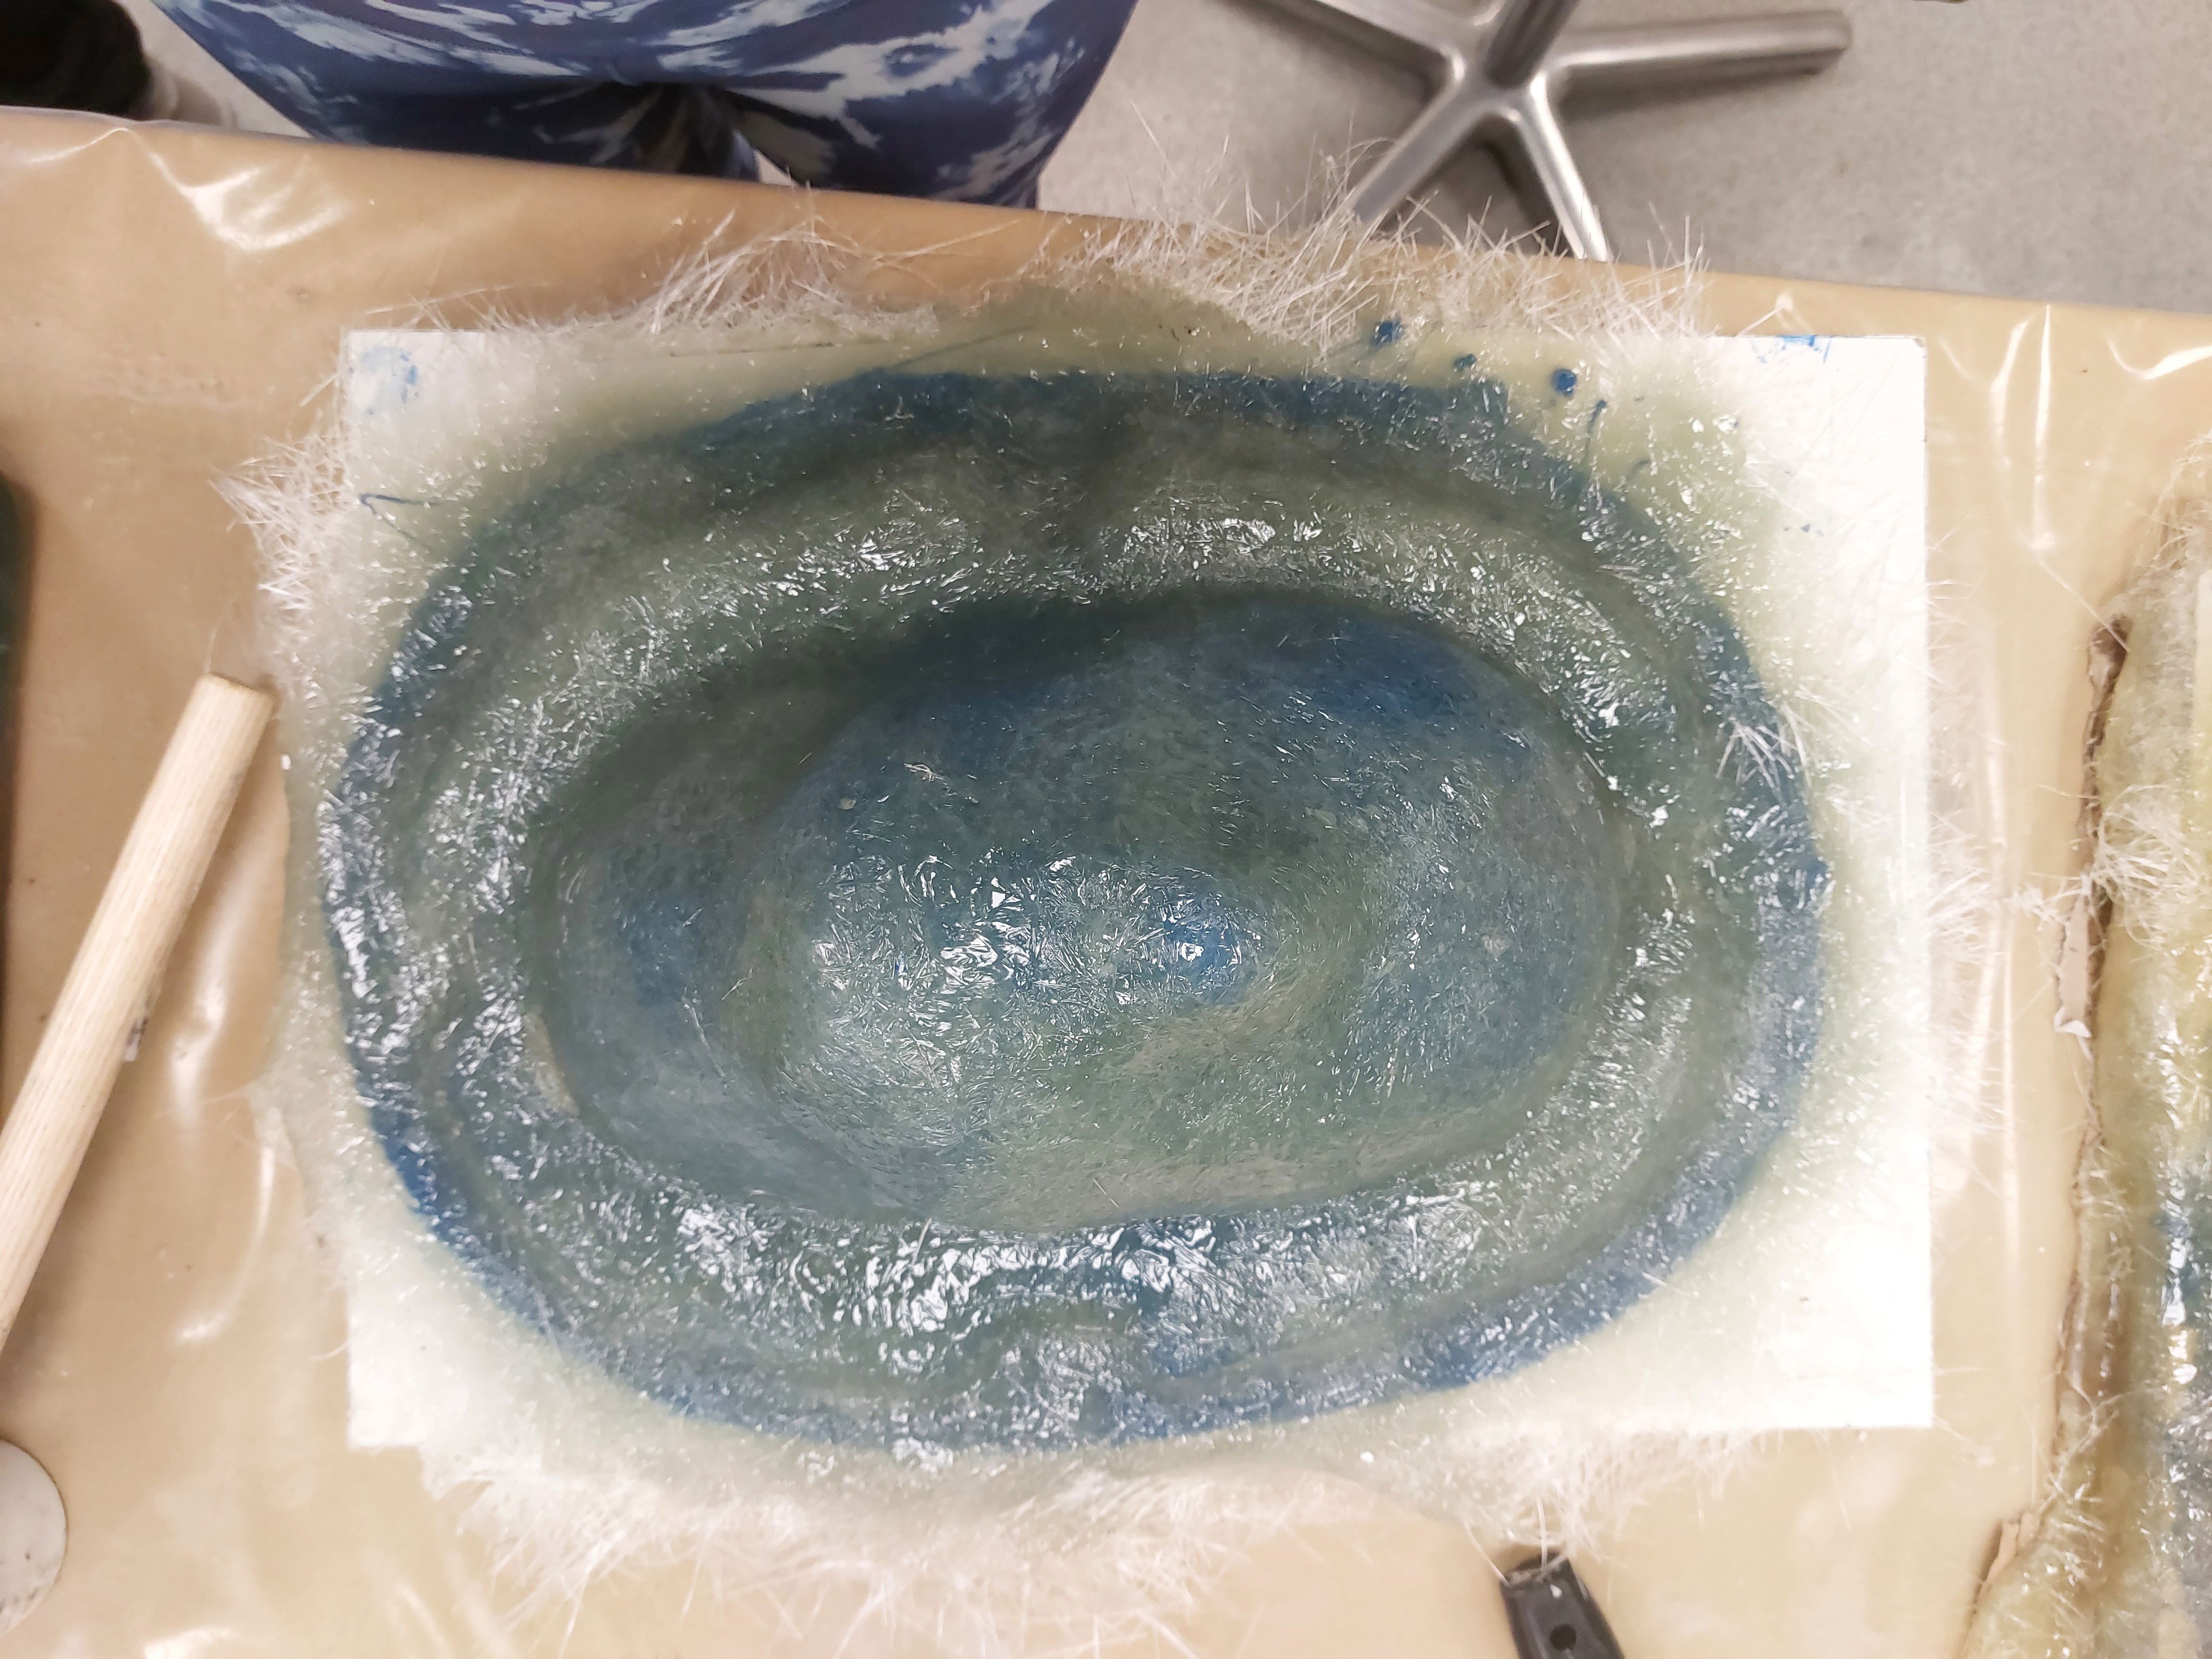
Figure 11: Fiber glass master mold (Keites-Gorman, 2023)
Apart from Fiber glassing, there are various forms of RTV silicone molds that are extensively used in the special effects industry to produce detailed prosthetics, props, and other effects. It's always good to expand my knowledge of different materials and techniques that people use, as you always find something new that works better or makes something easier!
What is RTV Silicone?
RTV stands for “Room Temperature Vulcanization.” It's a type of silicone rubber that cures at room temperature. RTV silicone molds are flexible and can replicate fine details with exceptional precision.
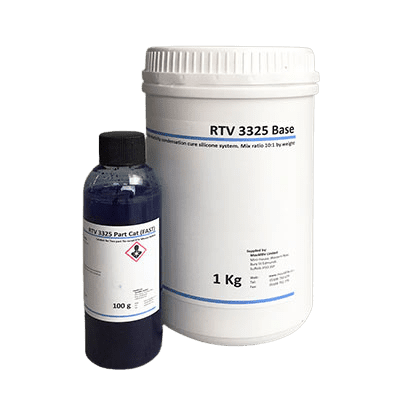
Figure 12: RTV silicone (Bluesil RTV 3325, no date)
Skin Replication in Prosthetics: RTV silicone is ideal for creating realistic skin textures and features. Special Effects Creatures and Props: Artists use RTV molds to craft lifelike animals, dragons, monsters and much more. Translucent Materials: Some RTV silicones are translucent, allowing for realistic skin tones when pigmented. (Special effects & film, no date).
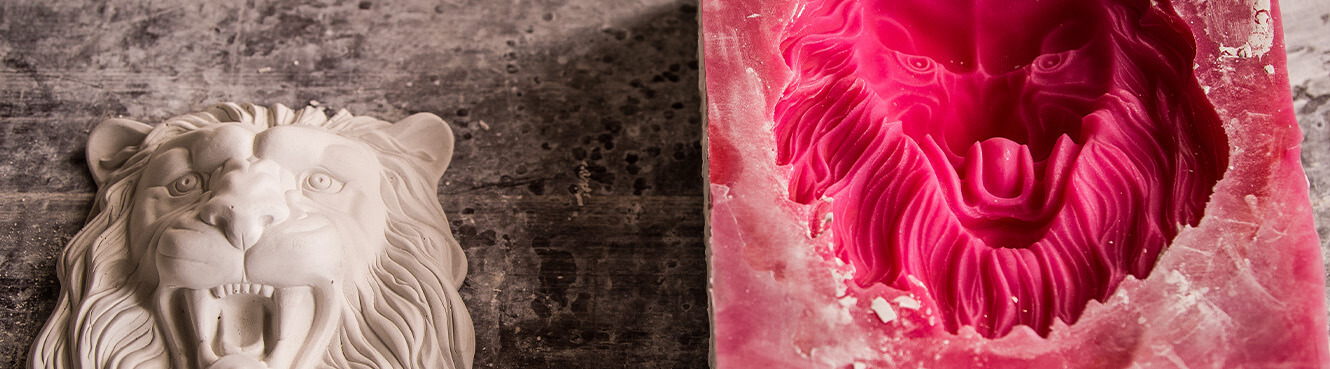
Figure 13: RTV mold (H.M. Royal, 2023)
Choosing the Right Silicone: RTV silicones are available in various hardness levels (Shore A) ranging from 6 to 70. (RTV Silicone | Mouldlife, no date).
So when selecting a specific RTV silicone for a project, considering factors such as tear strength, and curing time are deciding factors.
The Master Mold !
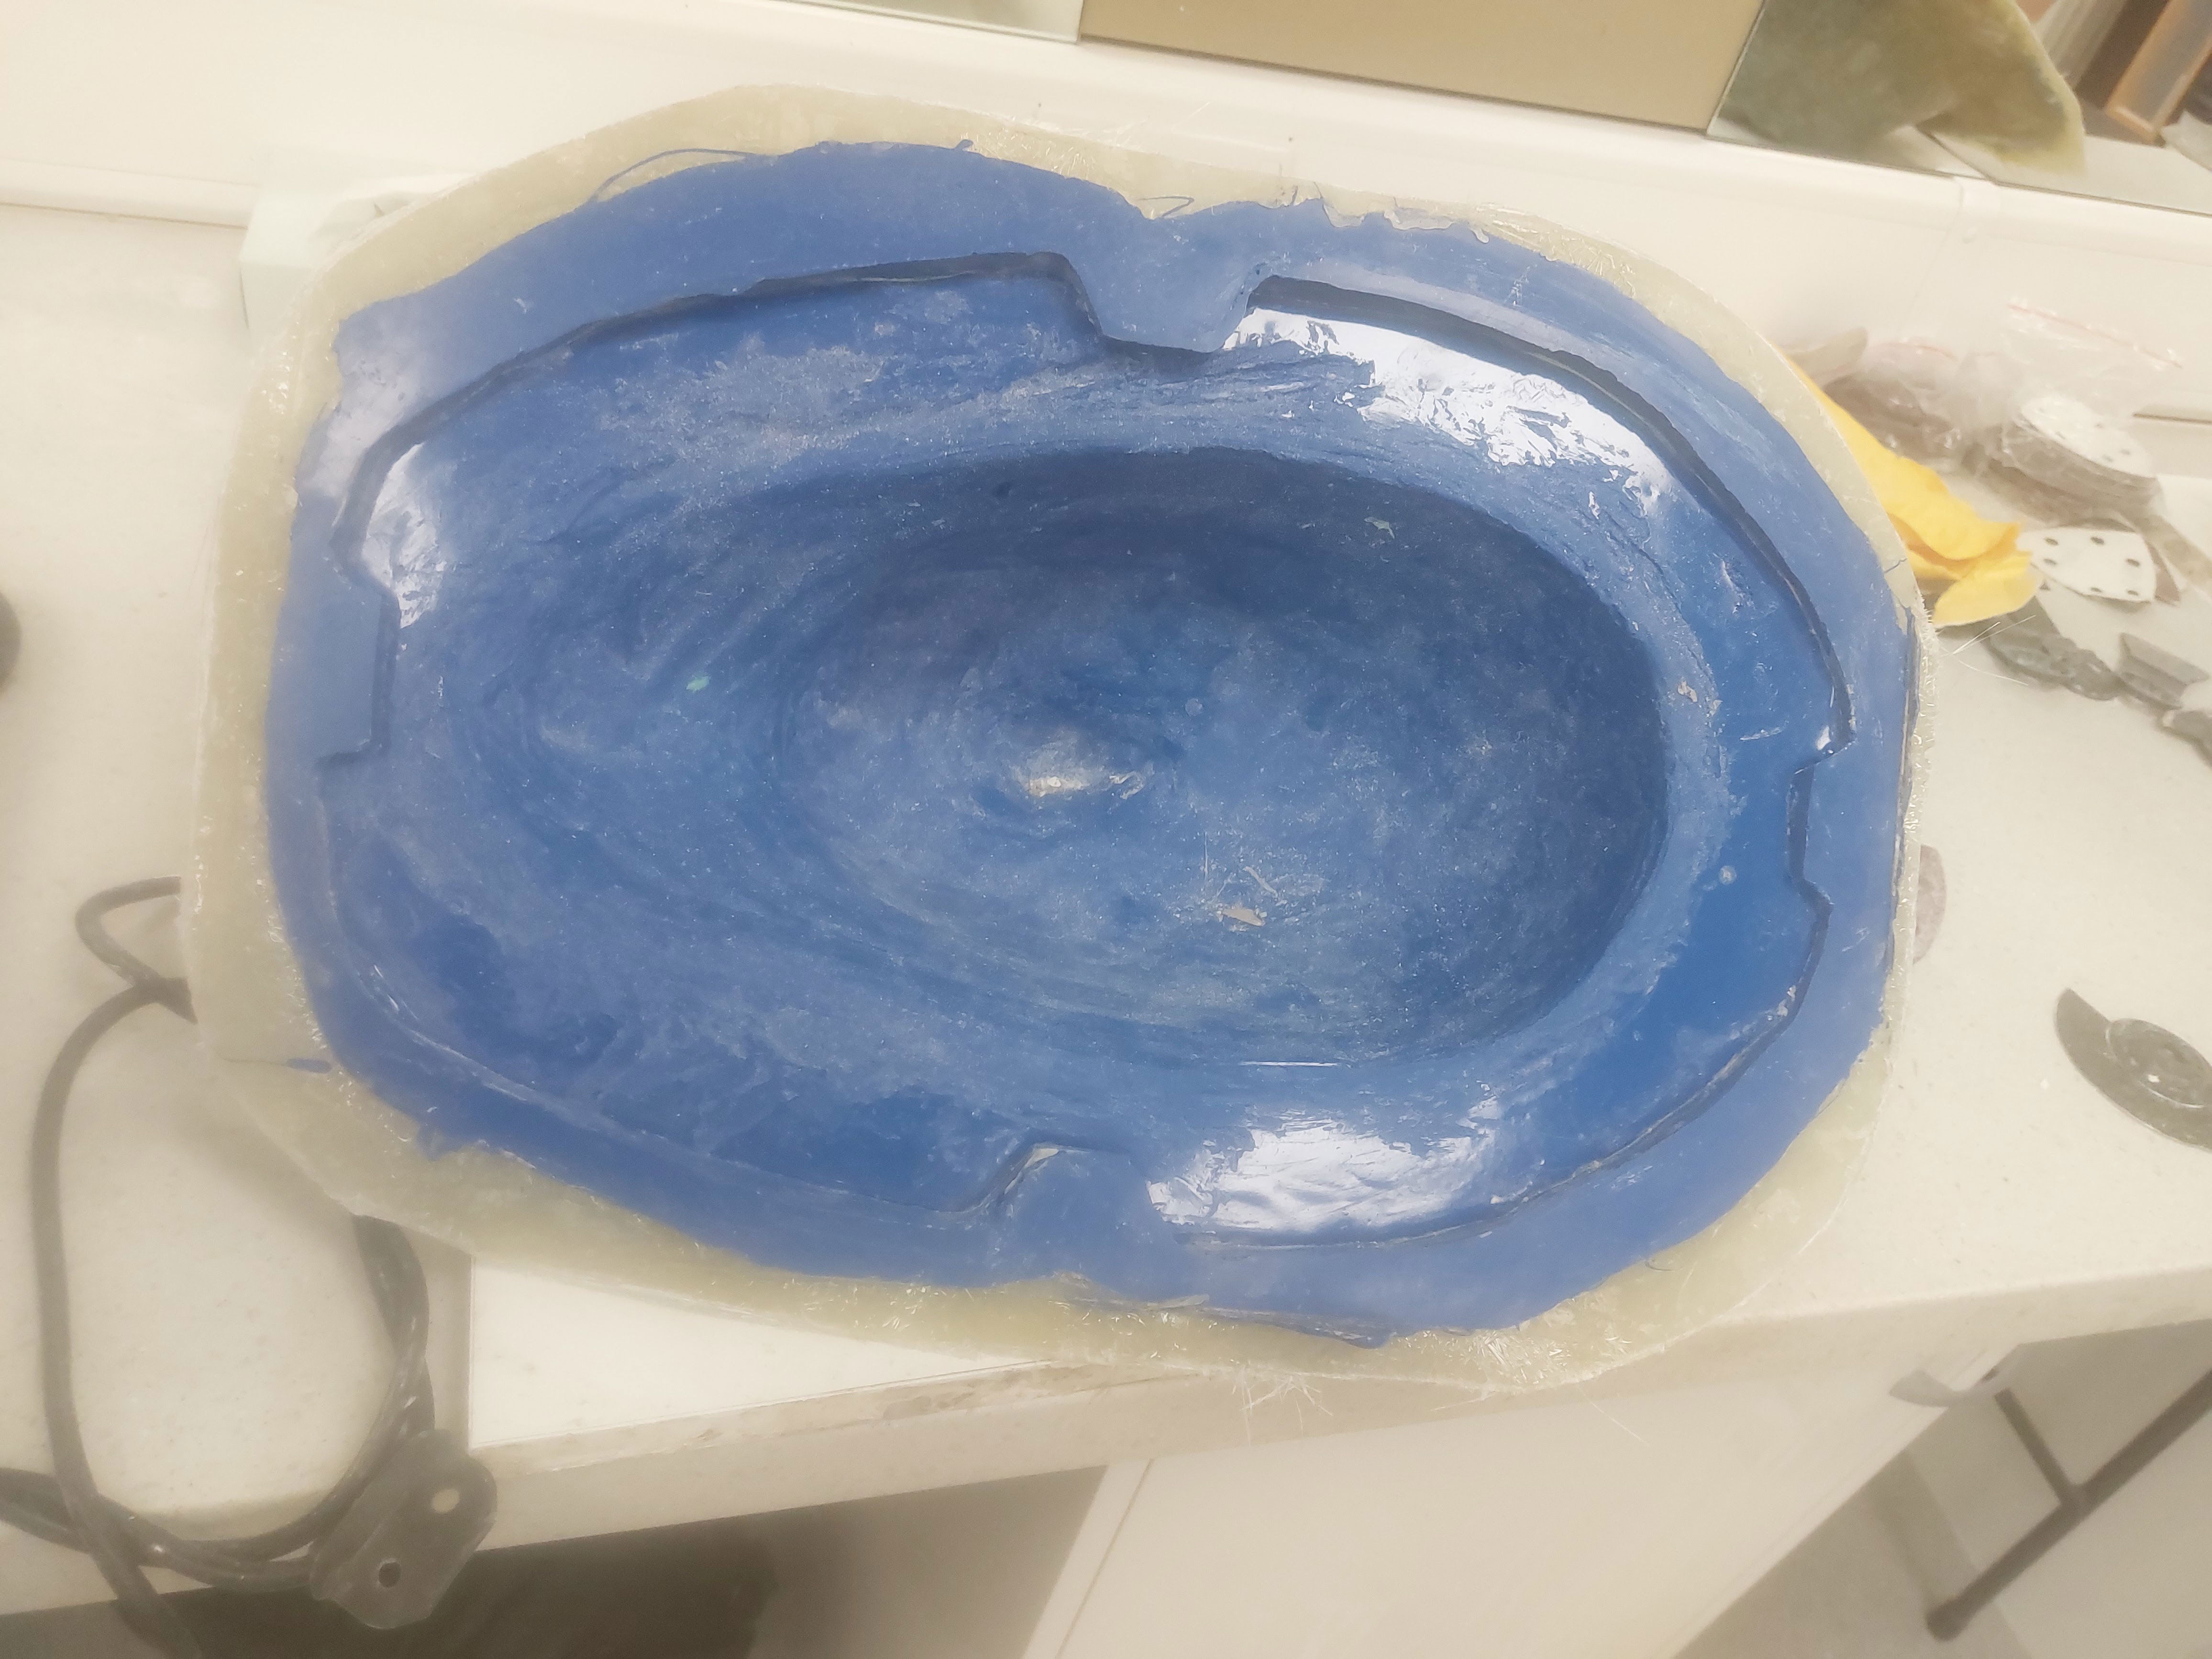
Figure 14: Fiberglass shell (Keites-Gorman, 2023)
This is the outcome, doesn't look to special but this is durable and allows me to then make as many face cast as I want without constantly face casting someone each time !
P.S. Forgot to add that I did sand this down to make the edges nice a smooth instead of sharp pieces of glass stabbing you.
Reference list
Bray, S. (2016) Master Moulding. [Blog] Available at: http://www.learnmakeupeffects.com/mastermoulds/. (Accessed 10th October).
Stevie, B. (n.d) Mold Making – Stevie Fx. [Website] Available at: https://www.steviefx.com/mold-making/. (Accessed 10th October). James, T. (1989) [Book]. The Prop Builder’s Molding & Casting Handbook. Penguin. Special effects & film (no date). [website]. Available at: https://cht-silicones.com/applications/mould-making/special-effects-film. (Accessed 15th October).
H.M. Royal (2023) RTV silicone rubber mold making. Available at: https://hmroyal.com/blog/top-challenges-rtv-silicone-rubber-mold-making/. (Accessed 15th October).
RTV Silicone | Mouldlife (no date). [Website]. Available at: https://www.mouldlife.net/rtv-silicones-96-c.asp. (Accessed 15th October).
Figure List
Figure 1: Keites-Gorman, E. (2023). Side Profile Cast. [Own Work]. York College, UK.
Figure 2: Keites-Gorman, E. (2023). Buff clay correction. [Own Work]. York College, UK.
Figure 3: Keites-Gorman, E. (2023). Walls. [Own Work]. York College, UK.
Figure 4: Keites-Gorman, E. (2023). Keys and Wall. [Own Work]. York College, UK.
Figure 5: Keites-Gorman, E. (2023). First Layer. [Own Work]. York College, UK.
Figure 6: Keites-Gorman, E. (2023). Third Layer. [Own Work]. York College, UK.
Figure 7: Keites-Gorman, E. (2023). Forth layer. [Own Work]. York College, UK.
Figure 8: Keites-Gorman, E. (2023). Fifth layer. [Own Work]. York College, UK.
Figure 9: Keites-Gorman, E. (2023). First layer. [Own Work]. York College, UK.
Figure 10: Keites-Gorman, E. (2023). Creating master molds with Issy. [Own Work]. York College, UK.
Figure 11: Keites-Gorman, E. (2023). Fiber glass master mold. [Own Work]. York College, UK.
Figure 12: Bluesil RTV 3325 (no date). Available at: https://www.mouldlife.net/bluesil-rtv-3325-7609-p.asp. (Accessed 11th October, 2023).
Figure 13: H.M. Royal (2023). RTV silicone rubber mold making. Available at: https://hmroyal.com/blog/top-challenges-rtv-silicone-rubber-mold-making/. (Accessed 11th October, 2023). Figure 14: Keites-Gorman, E. (2023). Fiberglass shell . [Own Work]. York College, UK.